ChevyParts
My Garage
My Account
Cart
OEM Cadillac Escalade ESV A/C Condenser
Air Conditioning Condenser- Select Vehicle by Model
- Select Vehicle by VIN
Select Vehicle by Model
orMake
Model
Year
Select Vehicle by VIN
For the most accurate results, select vehicle by your VIN (Vehicle Identification Number).
5 A/C Condensers found

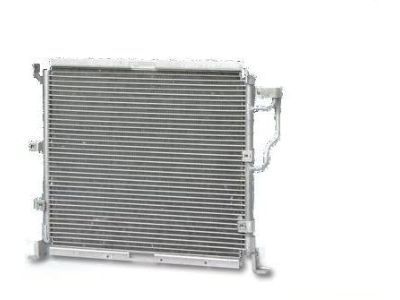
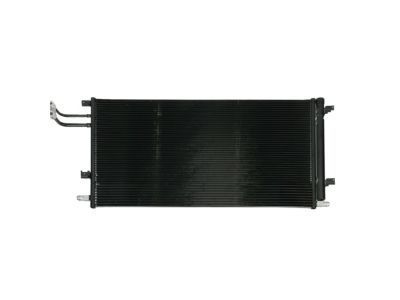
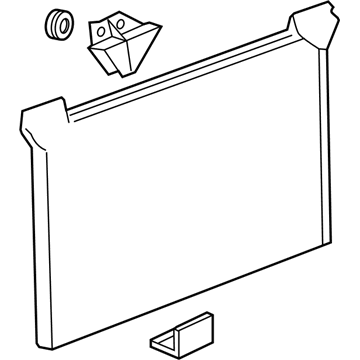
Cadillac Escalade ESV Condenser Part Number: 20913752
$209.16 MSRP: $358.19You Save: $149.03 (42%)
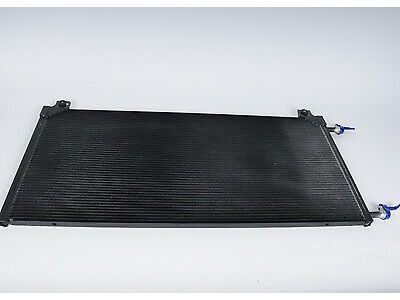
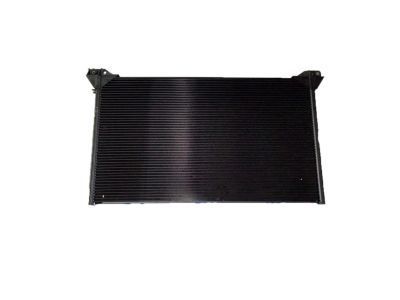
Cadillac Escalade ESV Condenser Part Number: 20913751
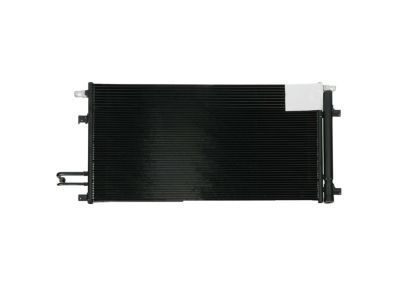
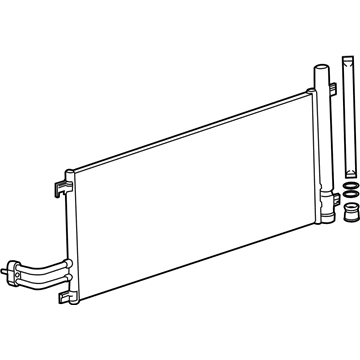
$121.55 MSRP: $208.18You Save: $86.63 (42%)Cadillac Escalade ESV Condenser Part Number: 87823302
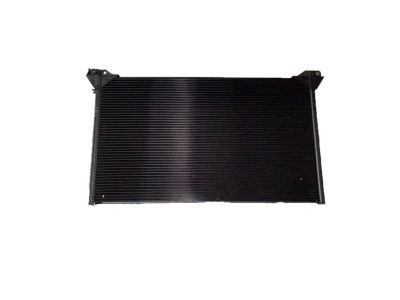
$204.55 MSRP: $305.75You Save: $101.20 (34%)Ships in 1-2 Business DaysCadillac Escalade ESV Condenser Part Number: 23409063
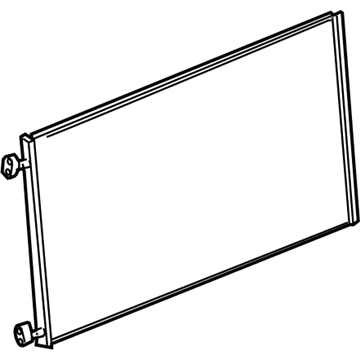
$177.68 MSRP: $265.60You Save: $87.92 (34%)Ships in 1-3 Business DaysCadillac Escalade ESV Condenser Assembly Part Number: 84802253
$168.44 MSRP: $251.78You Save: $83.34 (34%)
Cadillac Escalade ESV A/C Condenser
Want to cut long-term maintenance and repair costs? Choose OEM A/C Condenser. Those parts deliver top durability you can trust. On our site, you'll find a huge catalog of genuine Cadillac Escalade ESV parts. Prices are unbeatable, so you can keep more in your pocket. Every OEM Cadillac Escalade ESV A/C Condenser includes a manufacturer's warranty. You can also get an easy return policy that keeps buying risk free. Fast delivery, get your car on the road quickly. It's simple to search, compare, and order. Stop guessing about quality or fit. Order today and save with parts that last.
Cadillac Escalade ESV A/C Condenser Parts Questions & Experts Answers
- Q: How to replace the A/C Condenser in the HVAC system on Cadillac Escalade ESV?A:The first step to replace the condenser in an HVAC system involves recovering all refrigerant from it. Begin by accessing and removing the upper tie bar bolts from behind the upper radiator support and disconnect the compressor discharge hose assembly from the condenser while removing the bolt that holds the assembly. The next step is to unscrew the evaporator tube nut after which you should detach the evaporator tube from the condenser. The condenser can be removed from the vehicle as you first remove the insulator retainer bolts together with the upper insulator retainers. Refrigerant oil should be added during the process of installing the new condenser. After installing the condenser place the upper insulator retainers and insulator retainer bolts in position and torque them to 2.4 N.m (21 lb in). Attach the evaporator tube to the condenser using fresh sealing washers after putting the evaporator tube nut through and tightening it to 16 N.m (12 lb ft) torque. You should connect the compressor discharge hose to the condenser by using new sealing washers before installing the compressor discharge hose nut and tightening it to 16 N.m (12 lb ft). Screw in the lower bolts to the hood latch support bracket and tighten them to 9 N.m (80 lb in). Then install the tie bar to radiator brace bolts by accessing them from behind the upper radiator support before tightening to 9 N.m (80 lb in). Evacuate and recharge the system and utilize a Halogen Leak Detector (J 39400-A) to conduct the fittings leak test.
