ChevyParts
My Garage
My Account
Cart
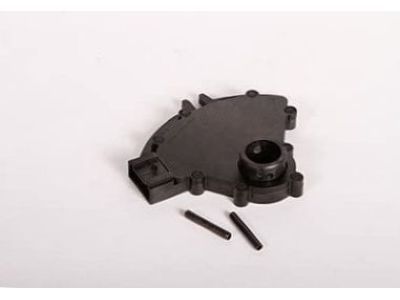
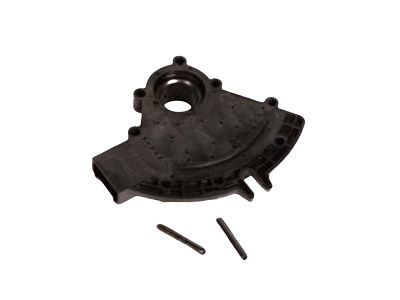
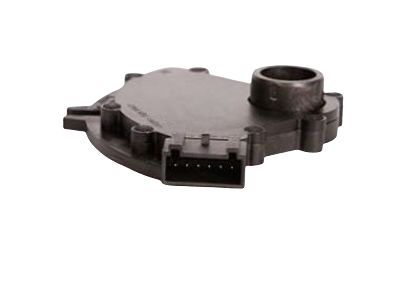
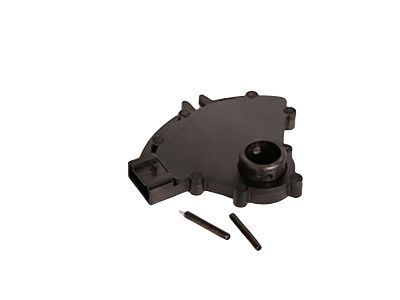
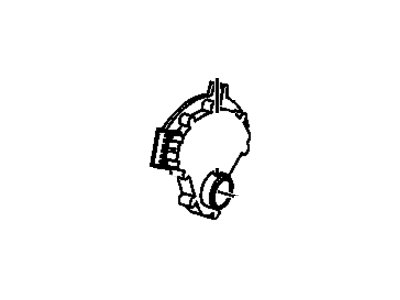
OEM 2005 Cadillac SRX Neutral Safety Switch
Transmission Neutral Safety Switch- Select Vehicle by Model
- Select Vehicle by VIN
Select Vehicle by Model
orMake
Model
Year
Select Vehicle by VIN
For the most accurate results, select vehicle by your VIN (Vehicle Identification Number).
1 Neutral Safety Switch found

2005 Cadillac SRX Neutral Safety Switch Part Number: 96042540
Product Specifications- Other Name: Switch, Transmission Control
- Item Weight: 0.70 Pounds
- Item Dimensions: 6.2 x 3.0 x 3.1 inches
- Condition: New
- Fitment Type: Direct Replacement
- SKU: 96042540
- Warranty: This genuine part is guaranteed by GM's factory warranty.
2005 Cadillac SRX Neutral Safety Switch
With a comprehensive array of OEM 2005 Cadillac SRX Neutral Safety Switch, from fuel pumps to door handles, our website is a one-stop-shop for your needs. All our genuine 2005 Cadillac SRX Neutral Safety Switch are backed by the manufacturer's warranty and are offered at competitive prices in the market. Rest assured, you can shop with complete confidence.
2005 Cadillac SRX Neutral Safety Switch Parts Questions & Experts Answers
- Q: How to replace the Neutral Safety Switch on the manual shaft shift position on 2005 Cadillac SRX?A: Replace the manual shaft shift position switch by lifting the vehicle while applying support. The j 44767 seal installer helps install new shaft seals when leaks occur while you must remove the transmission manual shift shaft nut. Start by detaching the shift linkage from the transmission manual shift shaft before you eliminate the exhaust system. You need to disconnect the propeller shaft coupler from the transmission flange before pushing the front propeller shaft toward the vehicle's rear to free the coupler. Use one end of mechanics wire to maintain the front propeller shaft's attachment position to the shift control lever. Discard the shaft seal and cup plug yet maintain them in service unless they show signs of leakage. Performing shift shaft position switch replacement does not demand transmission disassembly from the vehicle. You can either leave the transmission fluid pan and filter they in or remove them based on your needs. Use a suitable pin punch to remove the manual shift shaft position switch's retaining pin after disconnecting its electrical connector. The transmission specialist places a suitable transmission jack under the transmission support after removing detent spring bolts and shaft detent spring from the manual shift shaft. Lower the transmission rear until the manual shift shaft clears the floor pan of the vehicle body while you remove the transmission support from its body mounting. You should draw out the manual shift shaft from the transmission case to access the manual shift shaft position switch and manual shift shaft detent lever and assembly spacer and park pawl actuator as one combined unit. The manual shift shaft position switch should go into the assembly install with other components under specific conditions which require elevation of the park pawl. After joining the manual shift shaft inside the transmission case, raise the transmission until it reaches its original position before finally installing the transmission support. Installation includes restoring the manual shift shaft to its complete position inside the transmission case. After removing the transmission jack install the manual shift shaft detent spring then secure it through control valve body bolts without any torque. Check that all connections are aligned correctly between the manual shift shaft detent lever locating pin and manual valve link and between detent spring roller and manual shift shaft switch . Position the retaining pin on the manual shift shaft position switch with a suitable pin punch. Then connect the electrical connector. The manual shaft detent lever must receive a 0.8 mm wide spacer before the detent spring bolts receive a torque setting of 11 nm (97 inch lbs.). Discard the spacer after the bolts are tightened. Mount the transmission fluid pan and filter onto the case while also replacing the shaft seal using the j 44767. Push the j 44767 seal onto its opening before you insert it into the transmission case while making sure the entire part fits securely. After removal of the cup plug install a new part with transmission fluid lubrication reaching the transmission case height. The shift control lever and front propeller shaft require their mechanical wires removed before installing the propeller shaft coupler to the transmission flange and exhaust system reinstallation. Screw the transmission manual shift shaft nut until it attains 9 nm (80 inch lbs.) torque before installation. Complete the procedure by adjusting shift control linkage while lowering the vehicle.
