ChevyParts
My Garage
My Account
Cart
OEM 2006 Chevrolet Cobalt Timing Chain
Engine Timing Chain- Select Vehicle by Model
- Select Vehicle by VIN
Select Vehicle by Model
orMake
Model
Year
Select Vehicle by VIN
For the most accurate results, select vehicle by your VIN (Vehicle Identification Number).
2 Timing Chains found
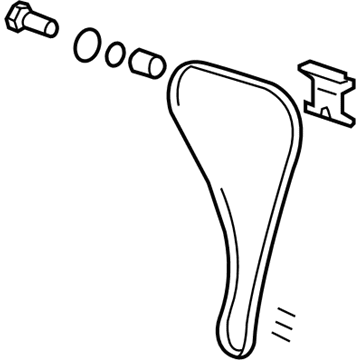
2006 Chevrolet Cobalt Timing Chain, Green Line Part Number: 24461834
$90.14 MSRP: $217.34You Save: $127.20 (59%)Ships in 1-2 Business DaysProduct Specifications- Other Name: Chain, Engine Timing
- Replaces: 90537338
- Item Weight: 1.40 Pounds
- Item Dimensions: 5.8 x 2.9 x 0.7 inches
- Condition: New
- Fitment Type: Direct Replacement
- SKU: 24461834
- Warranty: This genuine part is guaranteed by GM's factory warranty.
2006 Chevrolet Cobalt Timing Chain Part Number: 12600850
Product Specifications- Other Name: Chain Package, Timing; Camshaft Gear; Crankshaft Gear; Chain; Chain Package, Engine Timing
- Item Weight: 2.70 Pounds
- Item Dimensions: 13.6 x 7.1 x 2.8 inches
- Condition: New
- Fitment Type: Direct Replacement
- SKU: 12600850
- Warranty: This genuine part is guaranteed by GM's factory warranty.
2006 Chevrolet Cobalt Timing Chain
With a comprehensive array of OEM 2006 Chevrolet Cobalt Timing Chain, from fuel pumps to door handles, our website is a one-stop-shop for your needs. All our genuine 2006 Chevrolet Cobalt Timing Chain are backed by the manufacturer's warranty and are offered at competitive prices in the market. Rest assured, you can shop with complete confidence.
2006 Chevrolet Cobalt Timing Chain Parts Questions & Experts Answers
- Q: How to replace the timing chain, sprockets, and tensioner on 2006 Chevrolet Cobalt?A: To be able to change the Timing Chain, sprockets and or tensioner, asseble the following tools: tensioner tool (J 45027), angle meter (J 45059), and make sure to have the necessary Timing Chain parts. Begin by removing the #1 cylinder spark plug and rotating the Crankshaft clockwise until the #1 piston reaches top dead center (TDC) on the compression stroke. Next, remove the Camshaft cover and engine front cover, then upper Timing Chain Guide bolts and guide. It is also very important to remove the Timing Chain Tensioner to relieve chain tension before proceeding; otherwise, the Timing Chain might be become cocked making it more tricky to remove. By using an exhaust wrench (24mm), hold the exhaust Camshaft while discarding the exhaust actuator for Camshaft and take off the actuator. On, move on to the removal of the Timing Chain Tensioner guide bolt and guide, the fixed Timing Chain Guide access plug, and the fixed Timing Chain Guide bolts and guide. Perform the same for the intake Camshaft, and remove the intake Camshaft actuator and Timing Chain. Remove the Timing Chain Crankshaft sprocket; its balance shaft Timing Chain and sprocket, except if necessary, following the defined procedures. Install the balance shaft drive sprocket make sure that the balance shafts do not turn out-of-sync with the engine. Install the balance shaft chain, aligning it with the colored links and the timing marks of the sprockets. Secure the upper and small balance shaft drive chain guides, bolt together and tighten to a required torque. Reset the Timing Chain Tensioner, install, and remove retaining clips. Install the Crankshaft sprocket for the Timing Chain, making sure it is properly aligned. Assemble the intake Camshaft actuator with a new bolt, let the Timing Chain go through the cylinder head, and pass it around the Crankshaft sprocket, with the first pink link to coincide with the timing mark. Install the adjustable Timing Chain Guide and bolts by tightening in the specified torque. Mount the exhaust Camshaft actuator with a new bolt, thus it is correctly aligned with the timing marks. Check that all colored pieces and marks are aligned prior to installation of the fixed Timing Chain Guide and bolts, and then the upper Timing Chain Guide and bolts. Torque the Camshaft actuator bolts to the specified torque using a torque wrench and finish working by using the angle meter (J 45059). Check and clean the Timing Chain Tensioner to ensure that it is in a compressed state before installation. Tighten the Timing Chain Tensioner to required torque using a suitable tool and release it, apply sealant to the Timing Chain Guide bolt access hole plug before installation. Finally, reinstall the engine front cover, camshaft cover, and #1 cylinder spark plug to complete the procedure.


