ChevyParts
My Garage
My Account
Cart
OEM 2000 Buick LeSabre Radiator
Cooling Radiator- Select Vehicle by Model
- Select Vehicle by VIN
Select Vehicle by Model
orMake
Model
Year
Select Vehicle by VIN
For the most accurate results, select vehicle by your VIN (Vehicle Identification Number).
2 Radiators found

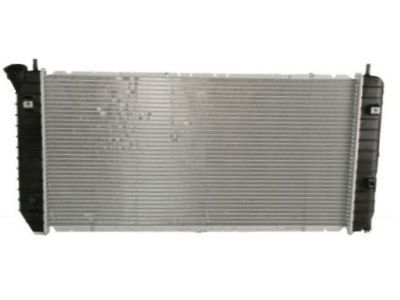
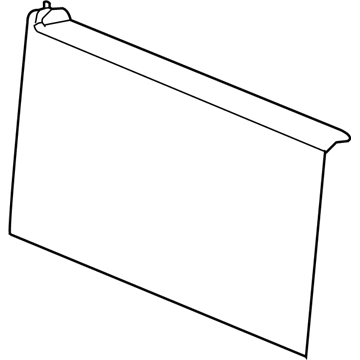
2000 Buick LeSabre Radiator Part Number: 89018545
$177.83 MSRP: $265.81You Save: $87.98 (34%)Product Specifications- Other Name: Radiator Assembly; Radiator, Radiator
- Replaces: 52489507, 25731392
- Item Weight: 18.20 Pounds
- Item Dimensions: 42.4 x 25.2 x 7.4 inches
- Condition: New
- Fitment Type: Direct Replacement
- SKU: 89018545
- Warranty: This genuine part is guaranteed by GM's factory warranty.
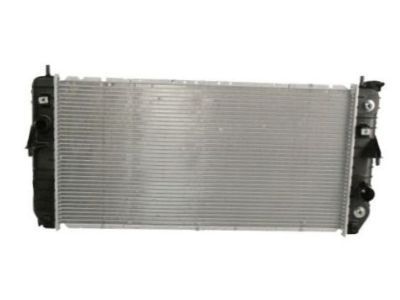
2000 Buick LeSabre Radiator Part Number: 52487030
Product Specifications- Other Name: Radiator Assembly; Radiator, Radiator
- Item Weight: 15.50 Pounds
- Item Dimensions: 43.4 x 7.6 x 25.0 inches
- Condition: New
- Fitment Type: Direct Replacement
- SKU: 52487030
- Warranty: This genuine part is guaranteed by GM's factory warranty.
2000 Buick LeSabre Radiator
With a comprehensive array of OEM 2000 Buick LeSabre Radiator, from fuel pumps to door handles, our website is a one-stop-shop for your needs. All our genuine 2000 Buick LeSabre Radiator are backed by the manufacturer's warranty and are offered at competitive prices in the market. Rest assured, you can shop with complete confidence.
2000 Buick LeSabre Radiator Parts and Q&A
- Q: How to service the radiator on 2000 Buick LeSabre?A: The first task when servicing a Radiator requires draining engine coolant before proceeding. Start the Radiator service by removing two components: upper Radiator seal and upper Radiator support bar. First disconnect the coolant overflow hose from the Radiator while plugging it then remove the upper and lower Radiator hoses and store them aside. First disconnect the bolt located on the transmission oil cooler pipe clip that is attached to the lower Radiator tie bar before removing the cooling fans. The first step requires you to unscrew the transmission cooler lines from the Radiator before placing them aside and then remove the condenser mounting bolts to separate the condenser from the Radiator. Before pulling the Radiator from the vehicle you must disconnect and remove the low coolant sensor if needed. The Radiator installation starts with placing the bottom section into lower pads followed by installing the low coolant sensor which requires electrical connector connection. Reconnect the condenser to the Radiator by using the 15 mm (0.6 inch) length bolt for condenser mounting while ensuring the end tank safety and tightening the bolts to 13 nm (10 ft. Lbs.). Install the transmission cooler lines into the transmission cooler that exists in the Radiator while tightening the bolts down to 31 nm (23 ft. Lbs.). Front and rear cooling fans should be installed along with the cooler line clip and lower tie bar bolt which needs a torque of 10 nm (89 inch lbs.) to become secure. Afterward attach the upper and lower Radiator hoses to the Radiator model. The coolant recovery hose needs installation to the Radiator neck while the upper Radiator support bar and upper Radiator seal must be installed. The process ends with filling the cooling system after leak inspection.
