ChevyParts
My Garage
My Account
Cart
OEM 2000 Buick Park Avenue Engine Mount
Engine Motor Mount- Select Vehicle by Model
- Select Vehicle by VIN
Select Vehicle by Model
orMake
Model
Year
Select Vehicle by VIN
For the most accurate results, select vehicle by your VIN (Vehicle Identification Number).
3 Engine Mounts found
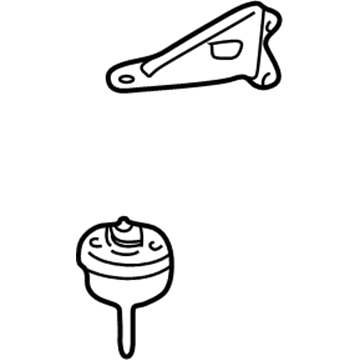
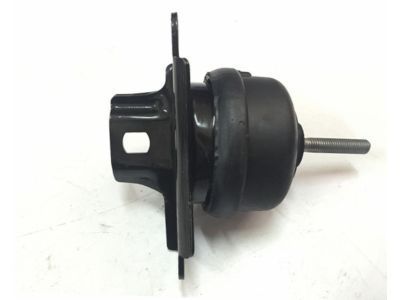
2000 Buick Park Avenue Transmission Mount Part Number: 25736430
$87.67 MSRP: $137.33You Save: $49.66 (37%)Product Specifications- Other Name: Mount, Transmission Mounting; Engine Mount Bracket; Transfer Case Mount; Motor Mount; Front Mount; Front Bracket; Mount
- Position: Front
- Replaces: 25706431
- Item Weight: 7.10 Pounds
- Item Dimensions: 10.4 x 7.6 x 7.4 inches
- Condition: New
- SKU: 25736430
- Warranty: This genuine part is guaranteed by GM's factory warranty.
 Product Specifications
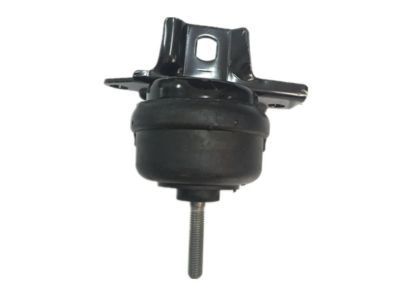
- Other Name: Mount; Engine Mount Bracket; Transfer Case Mount; Transmission Mount; Mount, Engine Mount Dampening; Mount, Engine Mounting
- Position: Passenger Side
- Replaces: 25638464, 25681326, 25715770, 25695085, 25695931, 25691731, 25713699
- Item Weight: 4.00 Pounds
- Item Dimensions: 8.3 x 7.1 x 4.7 inches
- Condition: New
- Fitment Type: Direct Replacement
- SKU: 25710672
- Warranty: This genuine part is guaranteed by GM's factory warranty.
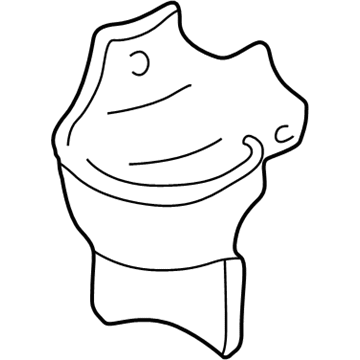
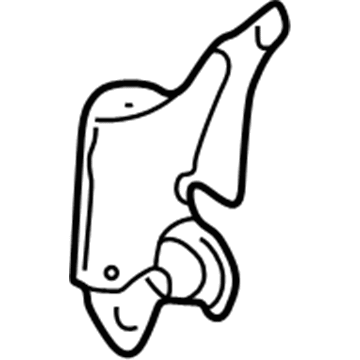
2000 Buick Park Avenue Support Part Number: 25740662
Product Specifications- Other Name: Bracket, Engine Mounting; Engine Mount Bracket; Transmission Mount; Motor Mount; Bracket
- Replaces: 25647356
- Item Weight: 6.20 Pounds
- Item Dimensions: 12.5 x 9.2 x 8.7 inches
- Condition: New
- Fitment Type: Direct Replacement
- SKU: 25740662
- Warranty: This genuine part is guaranteed by GM's factory warranty.
2000 Buick Park Avenue Engine Mount
With a comprehensive array of OEM 2000 Buick Park Avenue Engine Mount, from fuel pumps to door handles, our website is a one-stop-shop for your needs. All our genuine 2000 Buick Park Avenue Engine Mount are backed by the manufacturer's warranty and are offered at competitive prices in the market. Rest assured, you can shop with complete confidence.
2000 Buick Park Avenue Engine Mount Parts and Q&A
- Q: How to replace the engine mount on 2000 Buick Park Avenue?A: To replace the engine mount, disconnect the negative battery cable and remove the fuel injector sight shield. Install the Engine Support Fixture and remove the engine mount and bracket components. After removing the drive belt and other parts, install the new engine mount and secure it, then reinstall all components.
