ChevyParts
My Garage
My Account
Cart
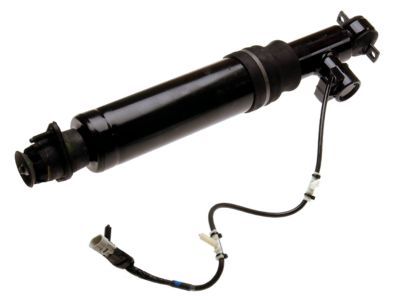
OEM 2004 Cadillac Seville Shock Absorber
Suspension Shock Absorber- Select Vehicle by Model
- Select Vehicle by VIN
Select Vehicle by Model
orMake
Model
Year
Select Vehicle by VIN
For the most accurate results, select vehicle by your VIN (Vehicle Identification Number).
9 Shock Absorbers found
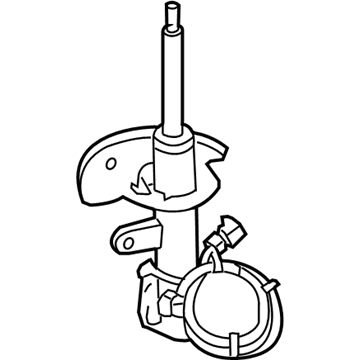
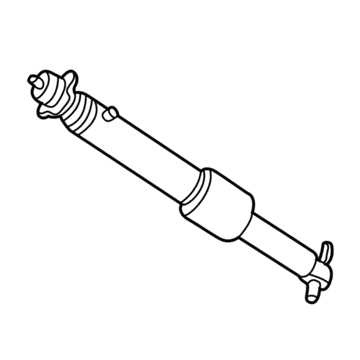
2004 Cadillac Seville Strut, Front Part Number: 19300076
$171.15 MSRP: $470.41You Save: $299.26 (64%)Ships in 1-2 Business DaysProduct Specifications- Other Name: Strut Assembly, Front Suspension; Shock Absorber; Strut, Front And Rear Suspension
- Position: Front
- Replaces: 88955399
- Item Weight: 15.30 Pounds
- Item Dimensions: 27.8 x 10.3 x 10.1 inches
- Condition: New
- Fitment Type: Direct Replacement
- Require Quantity: 2
- SKU: 19300076
- Warranty: This genuine part is guaranteed by GM's factory warranty.

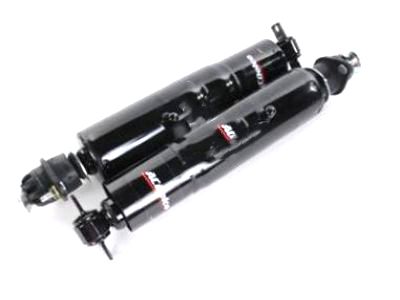
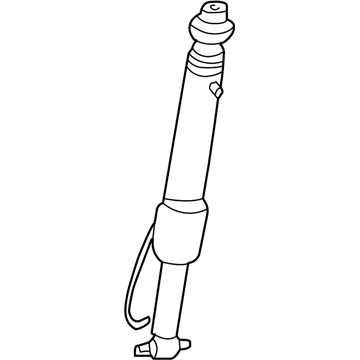
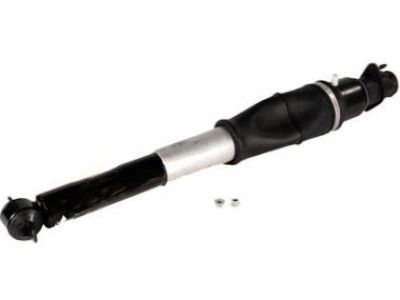
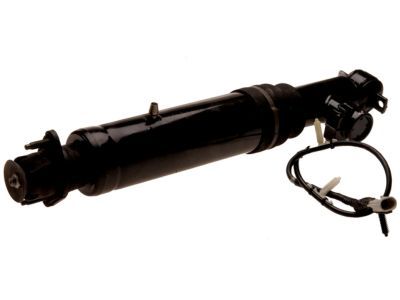
2004 Cadillac Seville Shock Absorber, Rear Part Number: 19299843
Product Specifications- Other Name: Absorber Assembly, Rear Leveling Shock; Shock; Strut
- Position: Rear
- Replaces: 19180220, 22064671, 22064869, 19177314, 88955457, 88955461, 22064672, 22064809, 22064810, 22064808, 19207418, 22064664, 88955460, 19257784, 88955458, 22064665
- Item Weight: 14.30 Pounds
- Item Dimensions: 20.3 x 6.6 x 4.2 inches
- Condition: New
- SKU: 19299843
- Warranty: This genuine part is guaranteed by GM's factory warranty.

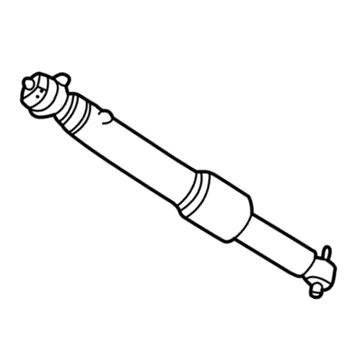
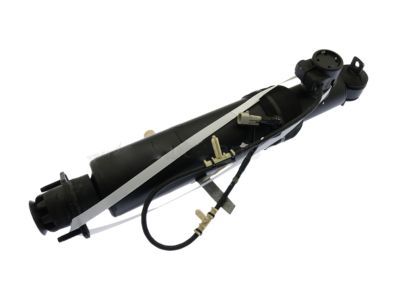
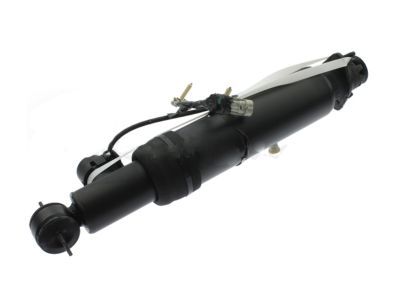
2004 Cadillac Seville Shock, Passenger Side Part Number: 19302777
Product Specifications- Other Name: Absorber, Shock Absorber Air Lift; Strut; Shock Absorber
- Position: Passenger Side
- Replaces: 22400278
- Item Weight: 8.20 Pounds
- Item Dimensions: 5.3 x 5.3 x 31.6 inches
- Condition: New
- Fitment Type: Direct Replacement
- SKU: 19302777
- Warranty: This genuine part is guaranteed by GM's factory warranty.

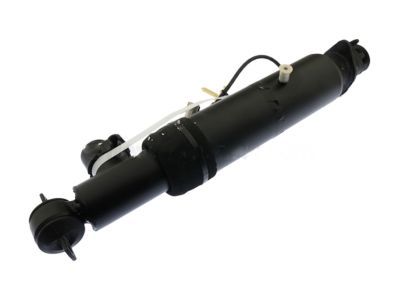
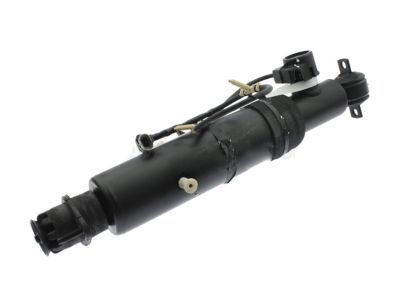
2004 Cadillac Seville Shock, Driver Side Part Number: 19302776
Product Specifications- Other Name: Absorber, Shock Absorber Air Lift; Strut; Shock Absorber
- Position: Driver Side
- Replaces: 22400277
- Item Weight: 8.40 Pounds
- Item Dimensions: 5.1 x 5.2 x 32.6 inches
- Condition: New
- Fitment Type: Direct Replacement
- SKU: 19302776
- Warranty: This genuine part is guaranteed by GM's factory warranty.
 Product Specifications
- Other Name: Absorber, Rear Leveling Shock; Air Spring to Coil Spring Conversion Kit; Suspension Strut Assembly.; Shock; Absorber, Shock Absorber Air Lift
- Position: Rear Passenger Side
- Replaces: 22064842
- Item Weight: 12.10 Pounds
- Item Dimensions: 25.0 x 8.4 x 8.5 inches
- Condition: New
- Fitment Type: Direct Replacement
- SKU: 22064873
- Warranty: This genuine part is guaranteed by GM's factory warranty.
 Product Specifications
- Other Name: Absorber, Rear Leveling Shock; Air Spring to Coil Spring Conversion Kit; Suspension Strut Assembly.; Shock; Absorber, Shock Absorber Air Lift
- Position: Rear Driver Side
- Replaces: 22064843
- Item Weight: 13.70 Pounds
- Item Dimensions: 25.7 x 8.2 x 8.1 inches
- Condition: New
- Fitment Type: Direct Replacement
- SKU: 22064872
- Warranty: This genuine part is guaranteed by GM's factory warranty.
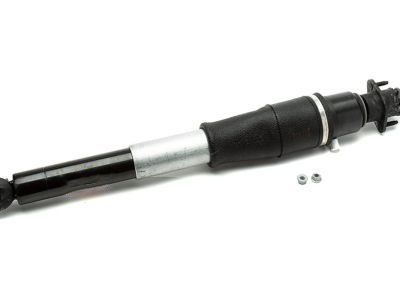
2004 Cadillac Seville Shock, Rear Passenger Side Part Number: 19300052
Product Specifications- Other Name: Absorber Assembly, Rear Leveling Shock; Shock Absorber; Absorber, Shock Absorber Air Lift
- Position: Rear Passenger Side
- Replaces: 22400231
- Item Weight: 7.50 Pounds
- Item Dimensions: 5.2 x 5.3 x 33.3 inches
- Condition: New
- Fitment Type: Direct Replacement
- SKU: 19300052
- Warranty: This genuine part is guaranteed by GM's factory warranty.
2004 Cadillac Seville Shock, Rear Driver Side Part Number: 19300051
Product Specifications- Other Name: Absorber Assembly, Rear Leveling Shock; Shock Absorber; Absorber, Shock Absorber Air Lift
- Position: Rear Driver Side
- Replaces: 22400230
- Item Weight: 7.10 Pounds
- Item Dimensions: 5.2 x 5.3 x 33.0 inches
- Condition: New
- Fitment Type: Direct Replacement
- SKU: 19300051
- Warranty: This genuine part is guaranteed by GM's factory warranty.
2004 Cadillac Seville Strut, Front Part Number: 22064764
Product Specifications- Other Name: Strut Assembly, Front Suspension; Air Spring to Coil Spring Conversion Kit; Conversion Kit; Shock Absorber; Strut, Front And Rear Suspension
- Position: Front
- Replaces: 22064763, 22064767
- Item Weight: 13.00 Pounds
- Item Dimensions: 19.3 x 10.5 x 10.5 inches
- Condition: New
- Fitment Type: Direct Replacement
- Require Quantity: 2
- SKU: 22064764
- Warranty: This genuine part is guaranteed by GM's factory warranty.
2004 Cadillac Seville Shock Absorber
With a comprehensive array of OEM 2004 Cadillac Seville Shock Absorber, from fuel pumps to door handles, our website is a one-stop-shop for your needs. All our genuine 2004 Cadillac Seville Shock Absorber are backed by the manufacturer's warranty and are offered at competitive prices in the market. Rest assured, you can shop with complete confidence.
2004 Cadillac Seville Shock Absorber Parts and Q&A
- Q: How to replace the front shock absorber on 2004 Cadillac Seville?A: To change the strut assembly, lift the vehicle and hold it in position, and take off the tire and wheel. Unscrew different electrical connectors and take out the strut mounting bolts. Install the new strut and fix it with the upper mount bolts. Re connect the electrical connectors, reattach components and re-attach the tire and wheel.
