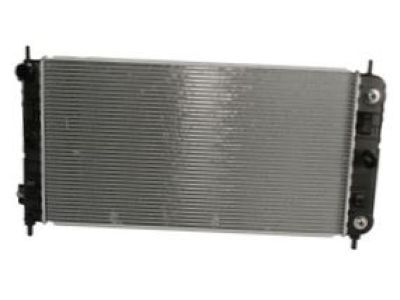
OEM 2004 Chevrolet Malibu Radiator

Cooling Radiator
  • Select Vehicle by Model
  • Select Vehicle by VIN
Select Vehicle by Model
Make
Model
Year
or
Select Vehicle by VIN
For the most accurate results, select vehicle by your VIN (Vehicle Identification Number).

2 Radiators found

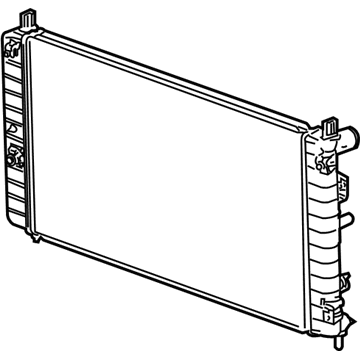
  • 2004 Chevy Malibu Radiator - 52494386
    2004 Chevy Malibu Radiator Diagram - 52494386
    View related parts
    Product Specifications
    • Other Name: Radiator, Radiator
    • Item Weight: 7.10 Pounds
    • Item Dimensions: 34.8 x 6.7 x 24.8 inches
    • Condition: New
    • Fitment Type: Direct Replacement
    • SKU: 52494386
    • Warranty: This genuine part is guaranteed by GM's factory warranty.
    More Info
    Fits the following 2004 Chevrolet Malibu Submodels:
    • LS, LT, LTZ, Maxx, Maxx LS, Maxx LT, Maxx LTZ, Maxx SS, SS | 6 Cyl 3.5 L GAS, 6 Cyl 3.9 L GAS
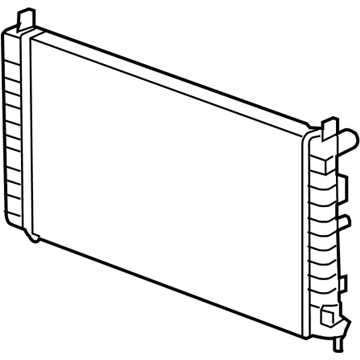
  • 2004 Chevy Malibu Radiator - 52486987
    2004 Chevy Malibu Radiator Diagram - 52486987
    View related parts
    Product Specifications
    • Other Name: Radiator, Radiator
    • Item Weight: 5.30 Pounds
    • Item Dimensions: 6.2 x 34.3 x 25.3 inches
    • Condition: New
    • Fitment Type: Direct Replacement
    • SKU: 52486987
    • Warranty: This genuine part is guaranteed by GM's factory warranty.
    More Info
    Fits the following 2004 Chevrolet Malibu Submodels:
    • Base, Classic LS, LS, LT | 4 Cyl 2.2 L GAS

2004 Chevrolet Malibu Radiator

With a comprehensive array of OEM 2004 Chevrolet Malibu Radiator, from fuel pumps to door handles, our website is a one-stop-shop for your needs. All our genuine 2004 Chevrolet Malibu Radiator are backed by the manufacturer's warranty and are offered at competitive prices in the market. Rest assured, you can shop with complete confidence.

2004 Chevrolet Malibu Radiator Parts Questions & Experts Answers

  • Q: How to replace the radiator (L61) on 2004 Chevrolet Malibu?
    A: The replacement of Radiator (L61) requires draining coolant before extracting both left and right headlamps. Secure two tabs of the condenser with rope then wrap the ropes to the upper tie bar. Start by removing the upper Radiator support bracket bolts followed by the removal of upper Radiator support brackets. The hose clamp pliers (J 38185) supports the repositioning process of outlet and inlet Radiator Hose clamps at the Radiator before hose removal. Raising the vehicle allows access to remove both lower Radiator air deflector retainers together with the lower Radiator air deflector. Directly after the removal of the right front fender liner you should move on to removing right and left Radiator air deflector retainers along with air deflectors. Before removing them position a drain pan under transmission oil cooler pipes before taking out both the transmission oil cooler pipe attachment nut and the pipe components. The support brackets and the bolts securing them must be removed before detaching the Radiator lower mounts. Start by discarding the condenser mounting bolts after pushing the Radiator upward while simultaneously pushing down on the condenser to unsnap the condenser mounting tabs from Radiator clips before discarding the condenser mounting nuts. Beginning with the removal of Radiator air side seals leads to Radiator removal alongside cooling Fan Shroud and transmission oil cooler pipe assembly. Next step includes extraction of transmission oil cooler pipes from the Radiator. Use the upward motion on Fan Shroud tabs which are mounted at Radiator clips for dismounting the cooling fan and shroud assembly from the Radiator. The first step of installation includes mounting the cooling fan assembly to the Radiator by snapping the shroud tabs into position at the clips. The first step of installation involves mounting transmission oil cooler pipes to the Radiator and you should proceed to install the Radiator and then the cooling Fan Shroud and finally the transmission oil cooler pipe assembly. Fit the Radiator air side seals onto the condenser mounting tabs of the Radiator by using the special length bolt to maintain condenser safety. After connecting the Radiator mounting nuts install the condenser tabs inside the clips and secure the condenser bolts at 6 nm torque (53 inch-lb). Place the bent Radiator air side seals correctly in each opening of the intake air splash shields for ideal airflow function. You must install new lower Radiator mounts together because they form a pair that requires fitting between the Radiator and its support brackets and bolts which need to be tightened to 60 nm (44 ft. Lbs.). Attach the transmission oil cooler pipes to the transmission using the attachment nut before tightening to reach 7 nm (62 inch lbs.). Start by properly attaching both left and right Radiator air deflectors with their retainers and proceed with installation of the right front fender liner after that followed by lower Radiator air deflector which must be secured with its retainers. Lower the vehicle before installing the Radiator inlet hose and outlet hose to the Radiator through refinement of each clamp with hose clamp pliers (J 38185). Disembark the condenser together with the upper tie bar before you can install the upper Radiator support brackets and tighten their bolts to 10 nm (7 ft. Lbs.). After both right and left headlamps have been replaced you should complete coolant replacement then verify the transmission fluid level.

Related 2004 Chevrolet Malibu Parts