ChevyParts
My Garage
My Account
Cart
OEM 2009 Chevrolet Aveo Control Arm Bushing
Suspension Arm Bushing- Select Vehicle by Model
- Select Vehicle by VIN
Select Vehicle by Model
orMake
Model
Year
Select Vehicle by VIN
For the most accurate results, select vehicle by your VIN (Vehicle Identification Number).
2 Control Arm Bushings found

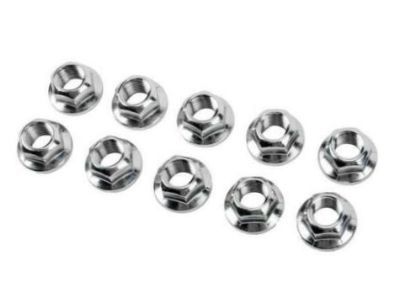
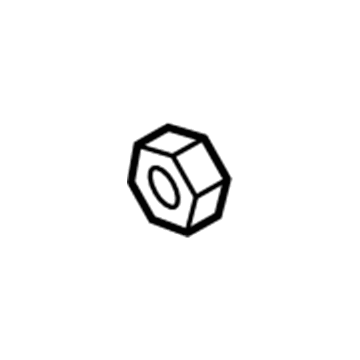
2009 Chevrolet Aveo Strut Nut Part Number: 94515070
$1.32 MSRP: $2.19You Save: $0.87 (40%)Ships in 1-2 Business DaysProduct Specifications- Other Name: Nut, Front Suspension Strut; Lower Ball Joint Nut, Steering Knuckle, Front & Rear, Transmission, Shock, Stabilizer, Engine Mounting
- Position: Front
- Item Weight: 0.70 Pounds
- Item Dimensions: 3.2 x 2.3 x 1.1 inches
- Condition: New
- Fitment Type: Direct Replacement
- SKU: 94515070
- Warranty: This genuine part is guaranteed by GM's factory warranty.
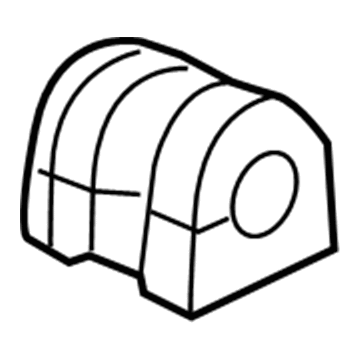
2009 Chevrolet Aveo Stabilizer Bar Bushing Part Number: 42589352
$5.16 MSRP: $8.19You Save: $3.03 (37%)Ships in 1-2 Business DaysProduct Specifications- Other Name: Insulator, Stabilizer Shaft; Suspension Stabilizer Bar Bushing Kit; Stabilizer Bushing Kit; Sway Bar Bushing; Bushings; Bushing, Upper Control Arm Shaft; Bushing, Stabilizer Shaft
- Position: Front
- Replaces: 96870461, 96535092, 96653351, 96435292
- Item Weight: 0.40 Pounds
- Item Dimensions: 5.6 x 4.0 x 1.7 inches
- Condition: New
- Fitment Type: Direct Replacement
- SKU: 42589352
- Warranty: This genuine part is guaranteed by GM's factory warranty.
2009 Chevrolet Aveo Control Arm Bushing
With a comprehensive array of OEM 2009 Chevrolet Aveo Control Arm Bushing, from fuel pumps to door handles, our website is a one-stop-shop for your needs. All our genuine 2009 Chevrolet Aveo Control Arm Bushing are backed by the manufacturer's warranty and are offered at competitive prices in the market. Rest assured, you can shop with complete confidence.
2009 Chevrolet Aveo Control Arm Bushing Parts Questions & Experts Answers
- Q: What tools are required to replace the front lower control arm bushing on 2009 Chevrolet Aveo?A: These tools serve as necessities when you need to replace front lower Control Arm Bushing: drivers will need front Control Arm rear bushing replacer (CH-48358) and remover/installer (KM-158) together with removal plate (KM-307-B) and Control Arm Bushing remover/installer (KM-508-A). Front Control Arm rear bushing replacer (CH-48358), remover/installer (KM-158), removal plate (KM-307-B), and Control Arm Bushing remover/installer (KM-508-A). Begin your work by removing the front lower Control Arm assembly while recording the arrow directional position on the rear bushing relative to the dot on the Control Arm combined with the plus signs on the front bushing. First position the ch-48358-2 on the ch-48358 kit before you put the Control Arm assembly on the press with its rear bushing facing the ch-48358-2. Install the ch-48358-1 into the front Control Arm rear bushing hole before running it through the press to extract the rear bushing. Clear any remains of dirt or burrs before reinstalling. Position the km-508-4 from the km-508-a kit onto the km-307-b on a press before setting the Control Arm assembly on it and attaching the front bushing. Use km-158-5 from the km-158 kit with a press to separate the front bushing on the assembly. When ready to assemble use a press to set the ch-48358-4 and place the Control Arm onto it making sure to match the arrow on the rear bushing with the dot on the Control Arm. To assemble the Control Arm use the press to insert a new rear bushing on the Control Arm then add the ch-48358-3 on the rear bushing and use the press again for installation. Select km-307-b from the collection of products on your press then choose the km-508-4 from the km-508-a kit. Now install the Control Arm onto km-508-4 followed by km-508-2. Apply lubricating material to the front bushing exterior and its matching hole inside the Control Arm before securely placing the front bushing into the km-508-2 and setting the Control Arm's plus signs in alignment. To finish the installation, place the km-508-3 onto the front bushing and utilize the press until the front bushing achieves center position before reinstalling the front lower Control Arm assembly.


