ChevyParts
My Garage
My Account
Cart
OEM GMC Sierra 1500 A/C Condenser
Air Conditioning Condenser- Select Vehicle by Model
- Select Vehicle by VIN
Select Vehicle by Model
orMake
Model
Year
Select Vehicle by VIN
For the most accurate results, select vehicle by your VIN (Vehicle Identification Number).
7 A/C Condensers found

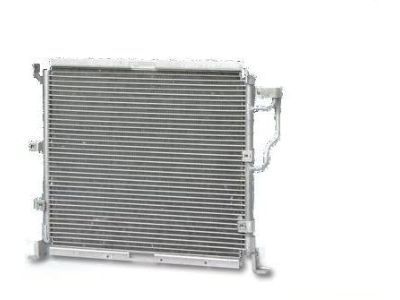
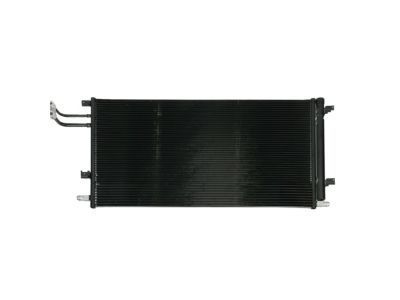
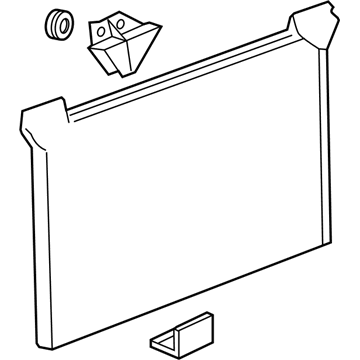
GMC Sierra 1500 Condenser Part Number: 20913752
$209.16 MSRP: $358.19You Save: $149.03 (42%)
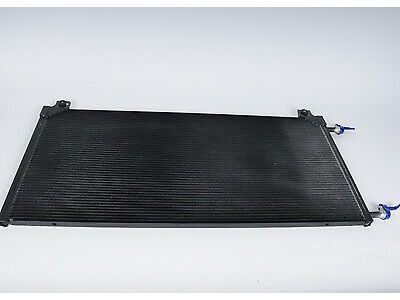
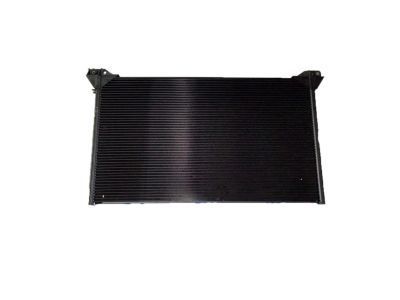
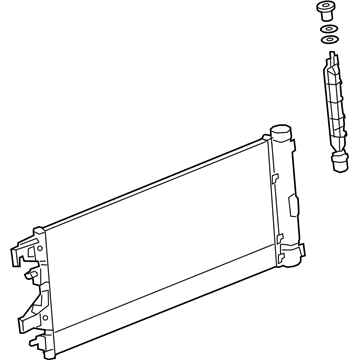
GMC Sierra 1500 Condenser Part Number: 20913751
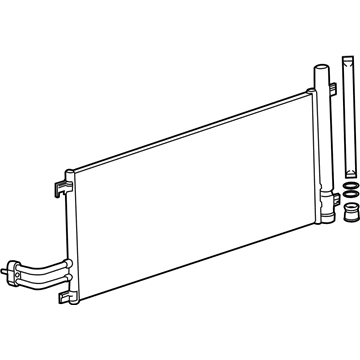
$121.55 MSRP: $208.18You Save: $86.63 (42%)GMC Sierra 1500 Condenser Part Number: 87823303
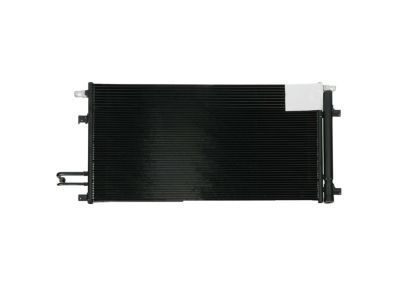
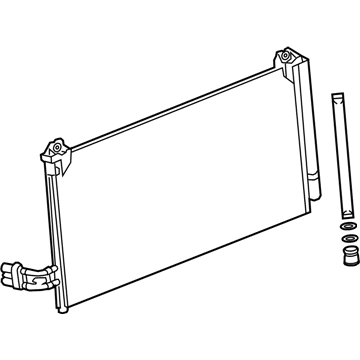
$132.81 MSRP: $267.69You Save: $134.88 (51%)Ships in 1-3 Business DaysGMC Sierra 1500 Condenser Part Number: 84621303
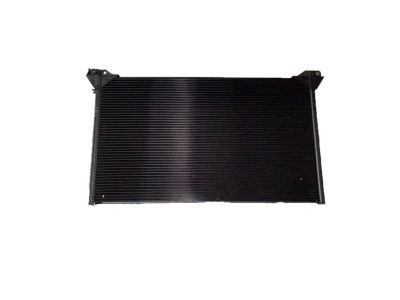
$229.91 MSRP: $343.65You Save: $113.74 (34%)Ships in 1-3 Business DaysGMC Sierra 1500 Condenser Part Number: 84243592
$366.44 MSRP: $547.76You Save: $181.32 (34%)Ships in 1-2 Business DaysGMC Sierra 1500 Condenser Assembly Part Number: 84537373
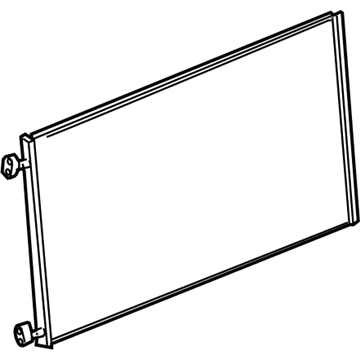
GMC Sierra 1500 Condenser Assembly Part Number: 84802253
$168.44 MSRP: $251.78You Save: $83.34 (34%)
GMC Sierra 1500 A/C Condenser
Our website offers an extensive catalog of genuine GMC Sierra 1500 A/C Condenser at unbeatable prices. Every OEM GMC Sierra 1500 A/C Condenser comes with a manufacturer's warranty, an easy return policy, and rapid delivery service. Don't miss out on this great opportunity!
GMC Sierra 1500 A/C Condenser Parts Questions & Experts Answers
- Q: How to replace the A/C Condenser on GMC Sierra 1500?A: The refrigerant recovery process begins before condenser replacement starts. Begin by removing the fascia followed by the radiator support bolts from behind the upper radiator support. Next, remove the radiator support bracket bolts. Start by disconnecting the compressor discharge hose assembly from the condenser while you remove the compressor discharge hose assembly bolt. Disconnect the evaporator tube from the condenser by removing its nut at the evaporator tube. First remove the insulator retainer bolts alongside the upper insulator retainers to successfully extract the condenser from the vehicle. Refrigerant oil needs to be added to the new condenser before installation. The fastener notice determines condenser installation while upper insulator retainers and insulator retainer bolts get installed afterward at 2.4 N.m (21 lb in) torque. The evaporator tube needs new sealing washers before connecting it to the condenser via a 16 N.m (12 lb ft) torque on the evaporator tube nut. Install new sealing washers between the compressor discharge hose and the condenser then achieve 16 N.m (12 lb ft) of torque when tightening the hose nut. First install the lower bolts to the hood latch support bracket at 9 N.m (80 lb in) torque before installing the radiator support by accessing the bolts through the rear of the upper radiator support while tightening to 16 N.m (12 lb ft). Install bolts to the radiator support bracket followed by attaching the fascia. The system must be evacuated then recharged before conducting a J 39400-A Halogen Leak Detector test on the component fittings.
