ChevyParts
My Garage
My Account
Cart
OEM GMC Sierra 3500 Classic Universal Joint
U-Joint- Select Vehicle by Model
- Select Vehicle by VIN
Select Vehicle by Model
orMake
Model
Year
Select Vehicle by VIN
For the most accurate results, select vehicle by your VIN (Vehicle Identification Number).
3 Universal Joints found

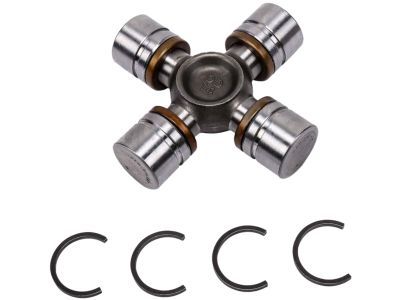
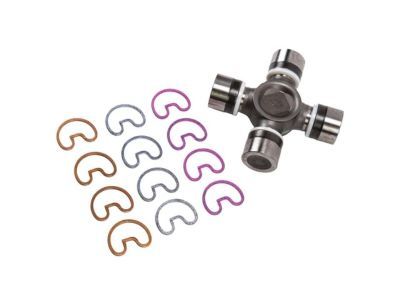
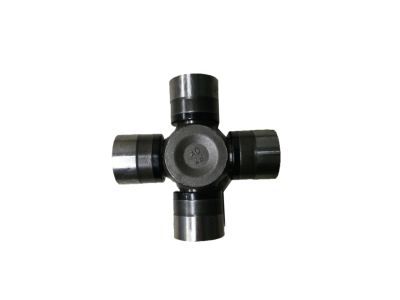
GMC Sierra 3500 Classic Universal Joints Part Number: 23104840
$36.45 MSRP: $88.98You Save: $52.53 (60%)
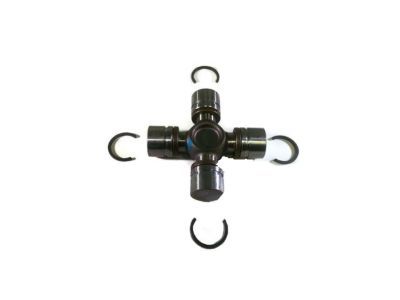
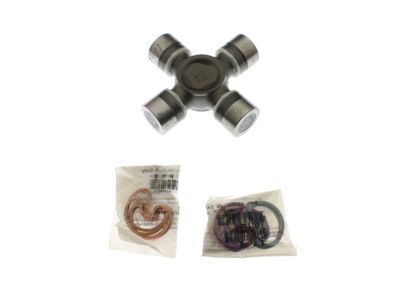
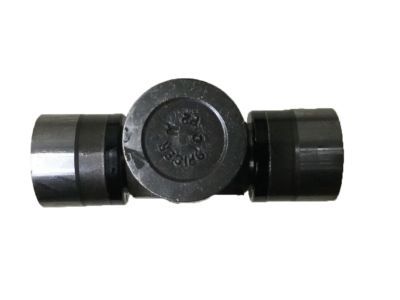
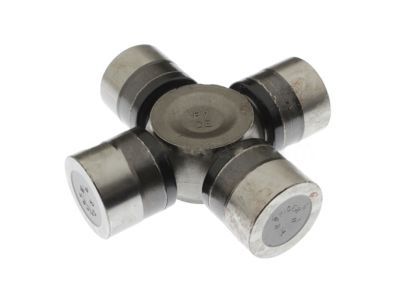
GMC Sierra 3500 Classic Universal Joints Part Number: 88964413
$196.62 MSRP: $328.19You Save: $131.57 (41%)Ships in 1-2 Business Days
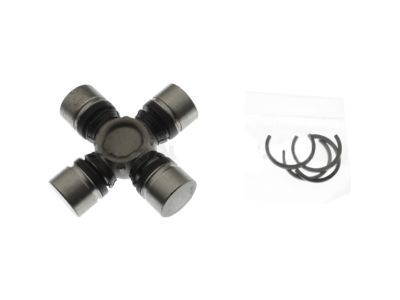
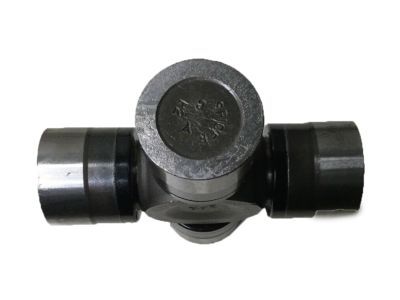
GMC Sierra 3500 Classic Universal Joints Part Number: 19121436
$130.13 MSRP: $308.44You Save: $178.31 (58%)Ships in 1-2 Business Days
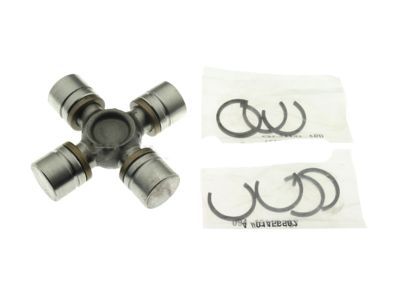
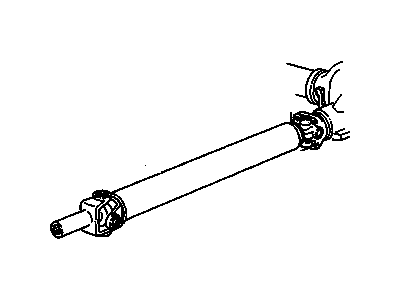
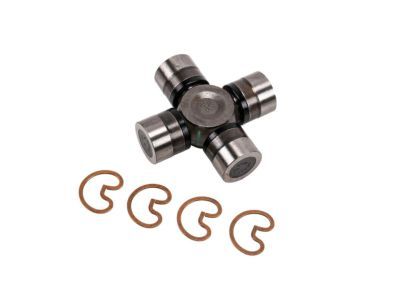
GMC Sierra 3500 Classic Universal Joint
Want to cut long-term maintenance and repair costs? Choose OEM Universal Joint. Those parts deliver top durability you can trust. On our site, you'll find a huge catalog of genuine GMC Sierra 3500 Classic parts. Prices are unbeatable, so you can keep more in your pocket. Every OEM GMC Sierra 3500 Classic Universal Joint includes a manufacturer's warranty. You can also get an easy return policy that keeps buying risk free. Fast delivery, get your car on the road quickly. It's simple to search, compare, and order. Stop guessing about quality or fit. Order today and save with parts that last.
GMC Sierra 3500 Classic Universal Joint Parts Questions & Experts Answers
- Q: How to replace the universal joint with an external snap ring on GMC Sierra 3500 Classic?A:Begin replacement of the universal joint by acquiring U-Joint Bearing Separator (J 9522-3) and U-Joint Bearing Spacer Remover (J 9522-5). Hold the propeller shaft flat during this process because securely fastening the tubing in a vise can harm it. Label the ends of the propeller shaft before you disassemble it. Use pliers to pinch both snap ring ends before tapping the cup lightly to release trapped pressure if needed. Fitting the U-Joint Bearing Separator onto open horizontal bearing cups pushes the lower cup through the yoke ear when you put the 30 mm (1-1/8 inch) hex head socket or 27 mm (1-1/16 inch) socket under the yoke base. By lifting the cross first you should put the U-Joint Bearing Spacer Remover (J 9522-5) between the seal and the bearing cup. Keep compressing until the bearing cup comes out. Turn the propeller shaft to push out the other bearing cup in the slip yoke while you note its relationship to the tube. Carefully remove the cross and other universal joint parts before checking if retaining ring grooves and bearing cup bores maintain cleanliness and order. Put a bearing cup into one yoke side with smooth trunnion movement before pressing it to touch the yoke ear. Push the opposite bearing cup into place at both trunnion holes and confirm that parts move freely when pressed gently. Check the needle bearings when motion is restricted. Push the tool until you see the groove on the retainer, push both pieces together after adding the bearing retainer until they lock into place. To make the retaining ring easier to place use a dead blow hammer and grease to assist the process.
