ChevyParts
My Garage
My Account
Cart
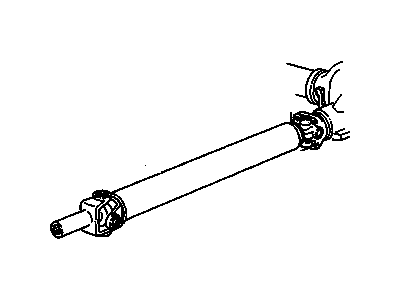
OEM 2003 Chevrolet Express 3500 Universal Joint
U-Joint- Select Vehicle by Model
- Select Vehicle by VIN
Select Vehicle by Model
orMake
Model
Year
Select Vehicle by VIN
For the most accurate results, select vehicle by your VIN (Vehicle Identification Number).
3 Universal Joints found

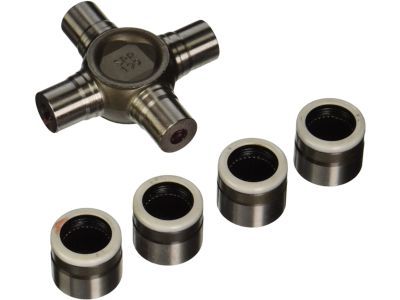
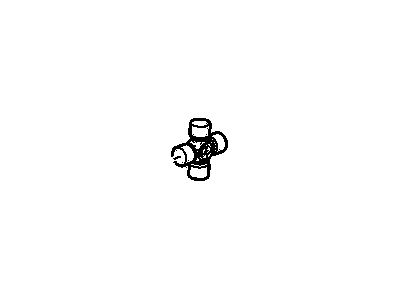
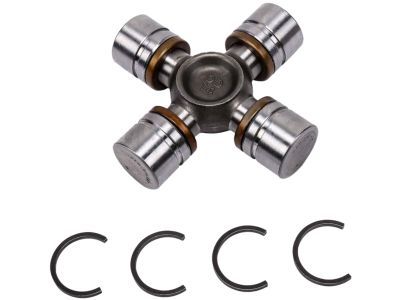
2003 Chevrolet Express 3500 Universal Joints Part Number: 89059111
$163.83 MSRP: $273.43You Save: $109.60 (41%)Ships in 1-2 Business DaysProduct Specifications- Other Name: Joint Kit, Front Axle Propeller Shaft Universal *Outside Snap; Slip Yoke; Joint Kit, Propeller Shaft Universal Joint
- Position: Front
- Replaces: 12472409, 12476231, 12471503, 12522048, 26049843, 88982758, 88964507, 94772179, 12476230
- Item Weight: 1.90 Pounds
- Item Dimensions: 4.1 x 4.1 x 1.6 inches
- Condition: New
- Fitment Type: Direct Replacement
- SKU: 89059111
- Warranty: This genuine part is guaranteed by GM's factory warranty.

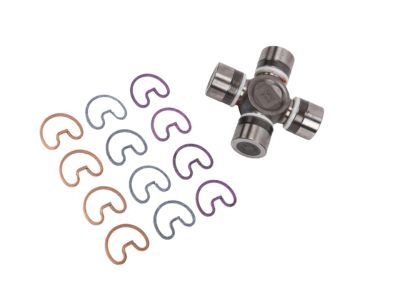
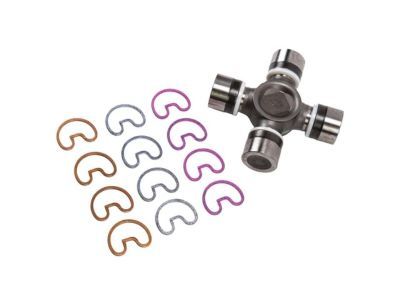
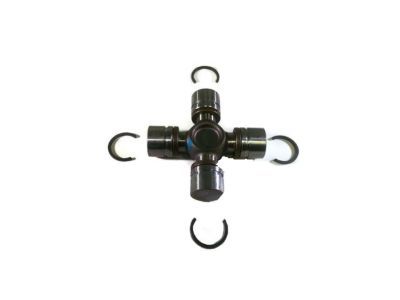
2003 Chevrolet Express 3500 Universal Joints Part Number: 88964413
$196.62 MSRP: $328.19You Save: $131.57 (41%)Ships in 1-2 Business DaysProduct Specifications- Other Name: Joint Kit, Front Axle Propeller Shaft Universal *Outside Snap; U Joint; Joint Kit, Propeller Shaft Universal Joint
- Position: Front
- Replaces: 12385742, 12472406, 15599179, 19256729, 88982759, 12478057, 12471510, 12476310
- Item Weight: 2.20 Pounds
- Item Dimensions: 4.1 x 4.2 x 1.6 inches
- Condition: New
- Fitment Type: Direct Replacement
- SKU: 88964413
- Warranty: This genuine part is guaranteed by GM's factory warranty.

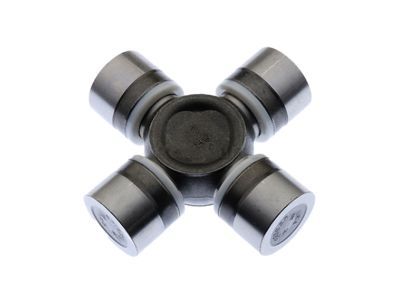
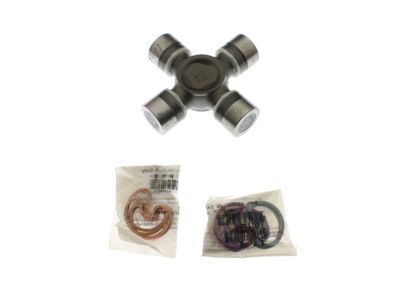
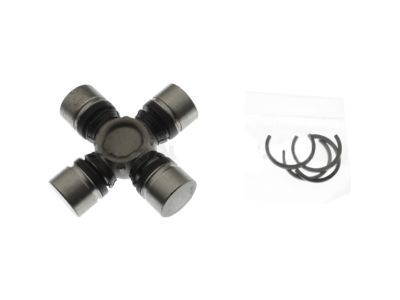
2003 Chevrolet Express 3500 Universal Joints Part Number: 23104840
$36.45 MSRP: $88.98You Save: $52.53 (60%)Product Specifications- Other Name: Joint Kit, Propeller Shaft Universal Joint; U Joint
- Position: Front
- Replaces: 12471502, 12479126, 26042371
- Item Weight: 1.80 Pounds
- Item Dimensions: 5.9 x 5.4 x 2.9 inches
- Condition: New
- Fitment Type: Direct Replacement
- SKU: 23104840
- Warranty: This genuine part is guaranteed by GM's factory warranty.
2003 Chevrolet Express 3500 Universal Joint
With a comprehensive array of OEM 2003 Chevrolet Express 3500 Universal Joint, from fuel pumps to door handles, our website is a one-stop-shop for your needs. All our genuine 2003 Chevrolet Express 3500 Universal Joint are backed by the manufacturer's warranty and are offered at competitive prices in the market. Rest assured, you can shop with complete confidence.
2003 Chevrolet Express 3500 Universal Joint Parts Questions & Experts Answers
- Q: How to replace the universal joint with a nylon injected ring on 2003 Chevrolet Express 3500?A: You need two tools to replace the universal joint with a nylon injected ring: U Joint Bearing Separator (J9522-3) and U Joint Bearing Spacer Remover (J9522-5). Rest the propeller shaft horizontally on the press for replacement while keeping the tubing away from the vise for safety. Note the correct placement of the propeller shaft ends ahead of setup. Place the universal joint with its lower yoke ear onto a 30 mm (1 1/8 inch) socket. Use the U Joint Bearing Separator tool part J9522-3 to cut the plastic retaining ring of the bearing cup before pressing out the lower bearing cup through the yoke ear. When the bearing cup refuses to come loose put the U Joint Bearing Spacer Remover between the seal and the cup then proceed with pressing. Turn the propeller shaft to drive out the bearing cup from its housing. Check the retaining ring grooves and bearing cup bores for damage during inspection of the assembled parts before cleaning sheared plastic from them. Place one bearing cup inside the yoke before you position the cross to engage the trunnion without resistance. Push each bearing cup even with the yoke end while making sure trunnions stay in the proper position. Check if the needle bearings prevent proper movement since they may need adjustment. Push the bearing retainer to its proper position and then put on both pieces with a dead blow hammer as needed. Add chassis grease to the snap ring when necessary to help it fit properly into the bearing cup groove.
