ChevyParts
My Garage
My Account
Cart
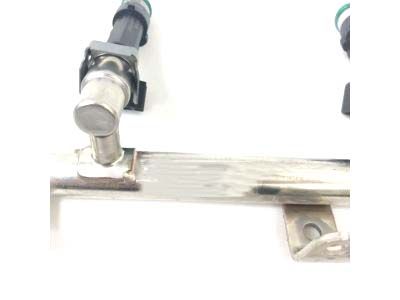
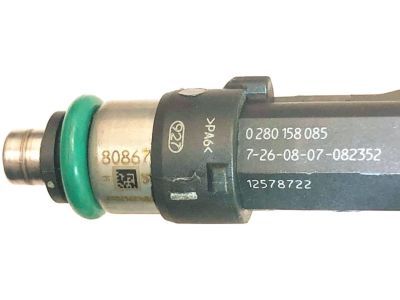
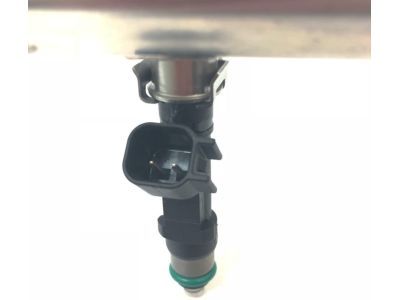
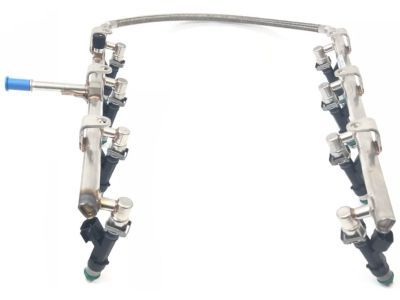
OEM 2007 Cadillac XLR Fuel Rail
Engine Fuel Rail- Select Vehicle by Model
- Select Vehicle by VIN
Select Vehicle by Model
orMake
Model
Year
Select Vehicle by VIN
For the most accurate results, select vehicle by your VIN (Vehicle Identification Number).
2 Fuel Rails found
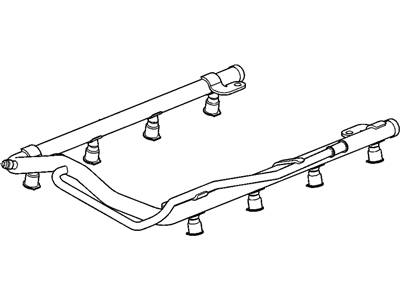
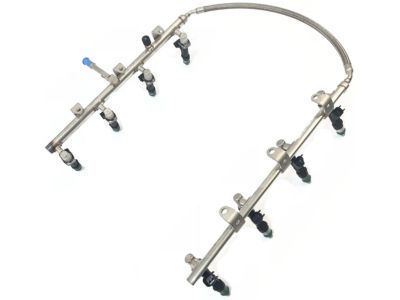
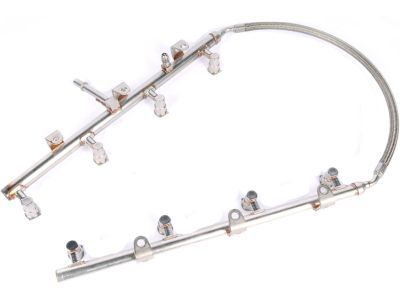
2007 Cadillac XLR Fuel Rail Part Number: 12598328
$76.97 MSRP: $324.14You Save: $247.17 (77%)Ships in 1-2 Business DaysProduct Specifications- Other Name: Rail Kit, Fuel Injection
- Item Weight: 2.30 Pounds
- Item Dimensions: 17.5 x 14.6 x 13.5 inches
- Condition: New
- Fitment Type: Direct Replacement
- SKU: 12598328
- Warranty: This genuine part is guaranteed by GM's factory warranty.

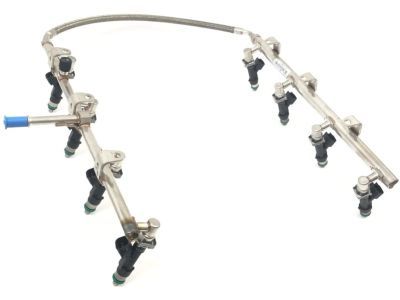
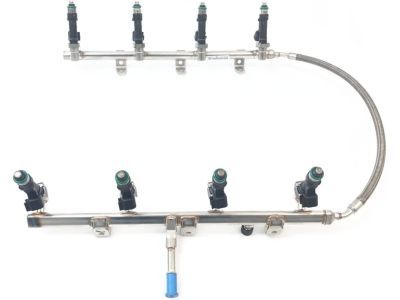
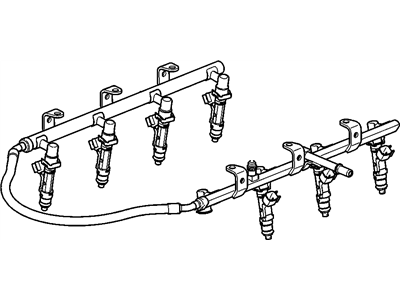
2007 Cadillac XLR Fuel Rail Part Number: 12598840
Product Specifications- Other Name: Rail, Multiport Fuel Injection Fuel; Rail, Fuel Injection
- Item Weight: 2.30 Pounds
- Item Dimensions: 4.0 x 23.5 x 19.8 inches
- Condition: New
- Fitment Type: Direct Replacement
- SKU: 12598840
- Warranty: This genuine part is guaranteed by GM's factory warranty.
2007 Cadillac XLR Fuel Rail
With a comprehensive array of OEM 2007 Cadillac XLR Fuel Rail, from fuel pumps to door handles, our website is a one-stop-shop for your needs. All our genuine 2007 Cadillac XLR Fuel Rail are backed by the manufacturer's warranty and are offered at competitive prices in the market. Rest assured, you can shop with complete confidence.
2007 Cadillac XLR Fuel Rail Parts and Q&A
- Q: How to replace the fuel injectors and fuel rail on 2007 Cadillac XLR?A: A person must remove fuel system pressure through ch 48027 or without it while placing safety glasses on for the process. The next step involves removing the front supercharger inlet duct assembly piece. I will use compressed air to clean injector ports and Fuel Rail ports from the supercharger before i remove the electrical connectors of map, baro, and sciap sensors and their vacuum lines from map and sciap sensors. Detach the map and baro and sciap sensors along with the bracket while using a shop rag below the supercharger drive belt to prevent coolant contact. Treat the charge air heating system drainage before you detach the front section of the charge air cooler front manifold assembly while discarding its o-ring seals instead of separating the hoses. Disconnect the electrical connectors of the air inlet temperature 2 sensor and supercharger bypass solenoid valve as well as detach the vacuum line from the supercharger actuator valve. Initiate by disconnecting the engine compartment fuel line fitting from the Fuel Rail and then proceed with disconnecting the Fuel Injector electrical connectors (1, 4, 6, 8) from both sides of the engine. Detach the ground wire from the right rear injector rail bolt while eliminating oxygen sensor electrical connector assemblies (1, 2) on both sides of the Fuel Rail brackets. Open the clip holding the Fuel Rail to the supercharger while also removing Fuel Rail attaching studs and reposition the rear inlet duct when needed to extract the Fuel Rail assembly from the supercharger. To proceed with the Fuel Rail service, you should first remove the injector lower o-ring seals from each injector. Next remove the retainer if required and the fuel injectors from the Fuel Rail and finally discard the o-ring seals. Before installation apply clean engine oil to new Fuel Injector o-ring seals then mount them onto the fuel injectors while utilizing new retainer clips to fasten the fuel injectors onto the Fuel Rail which must be vertical with the crankshaft centerline. The installation includes lubricating new o-ring seals which should go onto the spray tip ends of each injector followed by precise alignment of the fuel injectors and Fuel Rail assembly to the supercharger components before carefully pressing down the Fuel Rail assembly until it reaches full seating position. Secure the Fuel Rail onto the attaching studs by applying 10 n.m (89 lb in) torque before fastening it to the clip located in front of the supercharger. The technician must install the oxygen sensor electrical connector assemblies (1, 2) onto the two sides of both Fuel Rail brackets and position the ground wire at the right rear injector rail bolt and complete the electrical connection by securing the Fuel Injector electrical connectors (1, 4, 6, 8) to engine sides. You should reconnect the engine compartment fuel line fitting to the Fuel Rail and the vacuum line to the supercharger actuator valve as well as the supercharger bypass solenoid valve electrical connector . Begin by connecting the electrical connector to the air inlet temperature 2 sensor before installing the front section of the charge air cooler front manifold assembly with new o-ring seals followed by attaching the sciap, baro and map sensors with the bracket. The installation requires the addition of vacuum lines to map and sciap sensors together with electrical connector connections to sciap, baro and map sensors. The last steps include reinstalling the front duct section of the supercharger inlet assembly along with sealing the fuel fill pipe and filling coolant into the charge air system then inspecting fuel-related leaks before attaching the engine sight shield.
