ChevyParts
My Garage
My Account
Cart
OEM 2007 Chevrolet Express 3500 Universal Joint
U-Joint- Select Vehicle by Model
- Select Vehicle by VIN
Select Vehicle by Model
orMake
Model
Year
Select Vehicle by VIN
For the most accurate results, select vehicle by your VIN (Vehicle Identification Number).
3 Universal Joints found

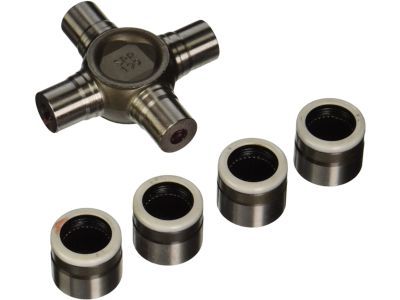
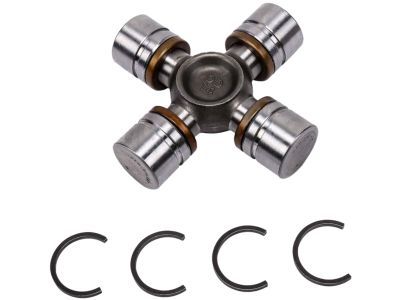
2007 Chevrolet Express 3500 Universal Joints Part Number: 89059111
$163.83 MSRP: $273.43You Save: $109.60 (41%)Ships in 1-2 Business DaysProduct Specifications- Other Name: Joint Kit, Front Axle Propeller Shaft Universal *Outside Snap; Slip Yoke; Joint Kit, Propeller Shaft Universal Joint
- Position: Front
- Replaces: 12472409, 12476231, 12471503, 12522048, 26049843, 88982758, 88964507, 94772179, 12476230
- Item Weight: 1.90 Pounds
- Item Dimensions: 4.1 x 4.1 x 1.6 inches
- Condition: New
- Fitment Type: Direct Replacement
- SKU: 89059111
- Warranty: This genuine part is guaranteed by GM's factory warranty.

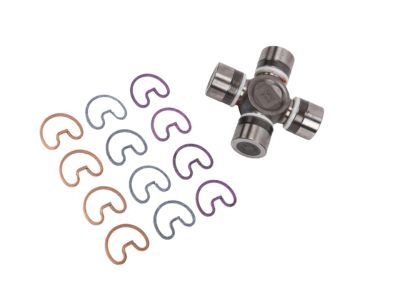
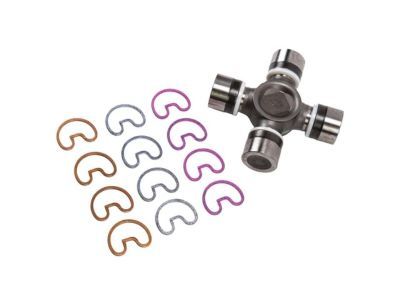
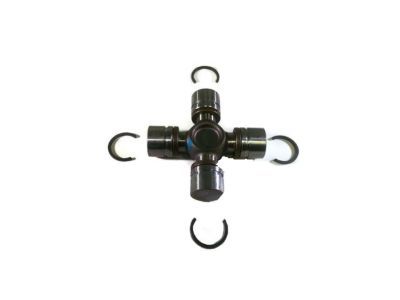
2007 Chevrolet Express 3500 Universal Joints Part Number: 88964413
$196.62 MSRP: $328.19You Save: $131.57 (41%)Ships in 1-2 Business DaysProduct Specifications- Other Name: Joint Kit, Front Axle Propeller Shaft Universal *Outside Snap; U Joint; Joint Kit, Propeller Shaft Universal Joint
- Position: Front
- Replaces: 12385742, 12472406, 15599179, 19256729, 88982759, 12478057, 12471510, 12476310
- Item Weight: 2.20 Pounds
- Item Dimensions: 4.1 x 4.2 x 1.6 inches
- Condition: New
- Fitment Type: Direct Replacement
- SKU: 88964413
- Warranty: This genuine part is guaranteed by GM's factory warranty.

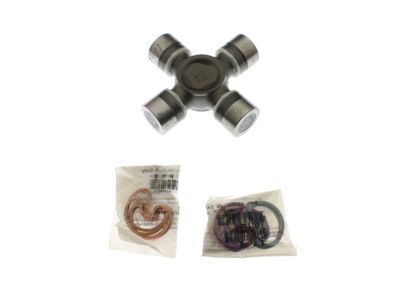
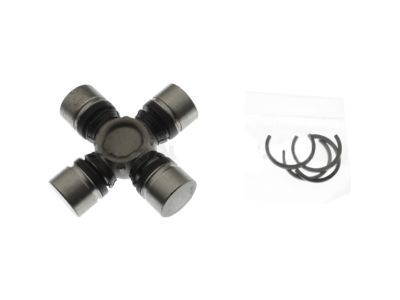
2007 Chevrolet Express 3500 Universal Joints Part Number: 23104840
$36.45 MSRP: $88.98You Save: $52.53 (60%)Product Specifications- Other Name: Joint Kit, Propeller Shaft Universal Joint; U Joint
- Position: Front
- Replaces: 12471502, 12479126, 26042371
- Item Weight: 1.80 Pounds
- Item Dimensions: 5.9 x 5.4 x 2.9 inches
- Condition: New
- Fitment Type: Direct Replacement
- SKU: 23104840
- Warranty: This genuine part is guaranteed by GM's factory warranty.
2007 Chevrolet Express 3500 Universal Joint
With a comprehensive array of OEM 2007 Chevrolet Express 3500 Universal Joint, from fuel pumps to door handles, our website is a one-stop-shop for your needs. All our genuine 2007 Chevrolet Express 3500 Universal Joint are backed by the manufacturer's warranty and are offered at competitive prices in the market. Rest assured, you can shop with complete confidence.
2007 Chevrolet Express 3500 Universal Joint Parts Questions & Experts Answers
- Q: How to replace the universal joint with a nylon injected ring on 2007 Chevrolet Express 3500?A: To change the Universal Joint for a nylon injected ring you need two specific tools including u joint bearing separator (J 9522-3) and u joint bearing spacer remover (J 9522-5). Set the propeller shaft flat for support with all clamping performed in different areas to protect tubing. Put reference marks on the propeller shaft to separate the transmission end from the rear axle end. Lay the Universal Joint on its lower part with yoke ear facing down to contact a 30 mm (1 1/8 in) socket. The u joint bearing separator (J 9522-3) tool cuts through the plastic bearing cup retainer while the lower bearing cup pushes out from the yoke ear. To finish removing the affected bearing cup insert the u joint bearing spacer remover (J 9522-5) between the seal and the cup. Use the shaft rotation to press the second bearing out from the other side before marking the Slip Yoke tube position for reinstalling it. Check both yoke bearing cup bores and retaining ring grooves for defects before discarding all parts of the cross assembly. Get rid of any plastic shears that clog the groove space to support new bearing cup installation. Set one bearing cup into the yoke before turning the yoke ear down so you can mount the cross unit to freely seat the trunnion. Apply equal pressure to push the bearing cup into each yoke side until it aligns with the trunnions smoothly. Check the needled bearings to find out if they are correctly lined up. Drive the yoke until the bearing retainer groove slips from its position before inserting the bearing retainer which will snap into position when you tighten further. A dead blow hammer may help when installing the retainer while you should lubricate the snap ring with chassis grease for easier grabbing.
