ChevyParts
My Garage
My Account
Cart
OEM Chevrolet Astro A/C Clutch
Air Conditioning Clutch- Select Vehicle by Model
- Select Vehicle by VIN
Select Vehicle by Model
orMake
Model
Year
Select Vehicle by VIN
For the most accurate results, select vehicle by your VIN (Vehicle Identification Number).
8 A/C Clutches found

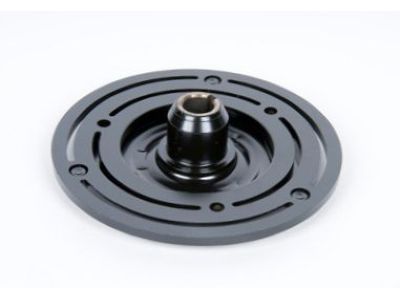
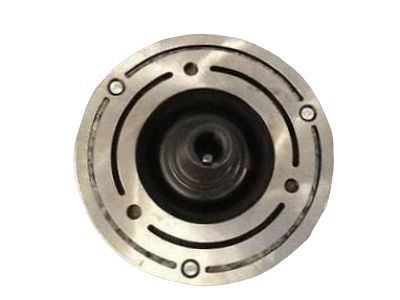
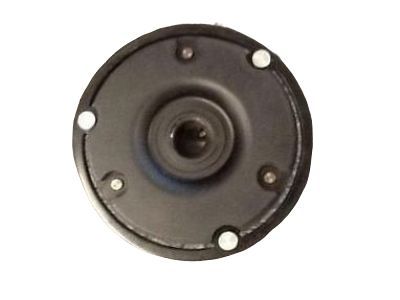
Chevrolet Astro Compressor Pulley Part Number: 6581515
$64.19 MSRP: $119.78You Save: $55.59 (47%)
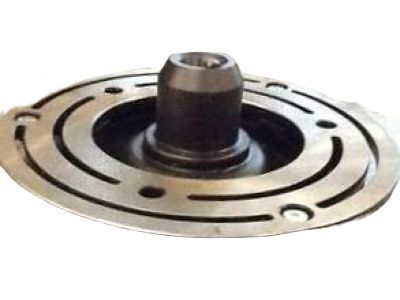
Chevrolet Astro Clutch Drive Part Number: 89019049
$138.27 MSRP: $259.66You Save: $121.39 (47%)Ships in 1-2 Business DaysChevrolet Astro Coil Assembly Part Number: 89019186
$34.63 MSRP: $102.48You Save: $67.85 (67%)Chevrolet Astro Idler Pulley Part Number: 6580037
$133.29 MSRP: $248.72You Save: $115.43 (47%)
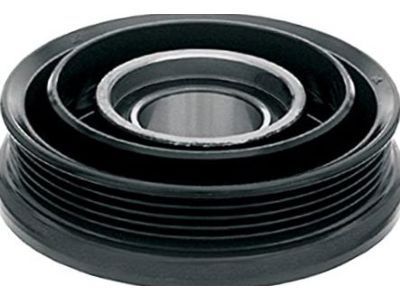
Chevrolet Astro Pulley W/Bearing Part Number: 6580044
Chevrolet Astro Clutch Coil Part Number: 3091128
Chevrolet Astro Coil Assembly Part Number: 89019188
Chevrolet Astro Clutch Drive Part Number: 6580056
Chevrolet Astro A/C Clutch
Want to cut long-term maintenance and repair costs? Choose OEM A/C Clutch. Those parts deliver top durability you can trust. On our site, you'll find a huge catalog of genuine Chevrolet Astro parts. Prices are unbeatable, so you can keep more in your pocket. Every OEM Chevrolet Astro A/C Clutch includes a manufacturer's warranty. You can also get an easy return policy that keeps buying risk free. Fast delivery, get your car on the road quickly. It's simple to search, compare, and order. Stop guessing about quality or fit. Order today and save with parts that last.
Chevrolet Astro A/C Clutch is one of the parts of the air conditioning systems in Chevrolet Astro automobiles famous for their sturdiness and efficiency. This A/C Clutch effectively transfers energy from the engine to drive the A/C compressor whenever the AC is turned on. It's efficient in its design so that when the vehicle is not transmitting the car's power to the ground it puts a little strain on the engine hence improving the vehicle efficiency. The Chevrolet Astro A/C Clutch is designed to fit in a multitude of Astro models manufactured between 1985 and 2005, which means that both, passenger and cargo Astros, can take advantage of the Clutch's definitive reliability. The compatibility of the A/C Clutch then establishes the proper controller for climate which in turn fosters the passenger comfort and safety when within the car. Importantly, Chevrolet Astro A/C Clutch relies on a magnetized drum, which has the function to lock the belt drive, thus ensuring the reliable work of the compressor. This feature does not only contribute to better performance but it also protect the A/C system or strap from what like slipping or sticking hence reducing the efficiency of the A/C system and thereby increasing fuel consumption. Thus, the Chevrolet Astro, as a reliable multifunctional automobile, can continue the conversation regarding its performance of A/C Clutch in automobile market with confidence. Chevrolet Astro division manufactures about 3,200,000 units of a car that has standard feature such as the Astro A/C Clutch; this means that the company is focused on providing quality and innovative automobiles that would make driving comfortable for the driver irrespective of the prevailing weather.
Chevrolet Astro A/C Clutch Parts and Q&A
- Q: How to service and repair the A/C Clutch on Chevrolet Astro?A:Start compressor clutch servicing and repair by taking the compressor out of the vehicle then fixing it in a vise with the compressor holding fixture (J 41790). Secure the compressor onto the holding fixture through both thumb screws. Extract the clutch hub shaft protector while maintaining performance of the clutch hub or shaft to prevent internal damage during removal. The clutch plate and hub assembly installer-remover j 33013-b should have its forcing tip flat when in use to prevent damage to shaft/axial plate assembly components. Insert the j 33013-b tool into the hub before using a wrench to secure the remover body. Turn the central screw to disassemble the clutch plate and hub assembly. Keep the shaft key aside for reuse during reassembly and remove both the clutch plate and hub assembly. Put the shaft key in the hub key groove so it extends 3.2 mm (0.125 inches) past the keyway for installation. To install the compressor shaft placement requires washing both the clutch plate and clutch rotor followed by alignment of the shaft key with the keyway. Then place the assembly on the compressor shaft. Use the j 33013-b forcing tip to set up the center screw thread while using a wrench for support before installing the screw onto the compressor shaft end. Apply pressure through the hex portion of the j 33013-b body to mount the hub onto the shaft keeping 3.81-51 mm (0.15-0.20 in) space between clutch plate and clutch rotor frictional surfaces. Perform a clearance test in three locations before using the tool to remove the installer while keeping the shaft key proper. Write down the shaft key position relative to clutch hub alignment and check it sits at or just above the center line. Next confirm that pulley rotor rotation does not cause friction between clutch drive plate surfaces. To finish the installation install the shaft protector to the clutch hub shaft before taking both thumb screws off the compressor holding fixture (J 41790). Pull the fixture from the vise to reinstall the compressor to the vehicle.
