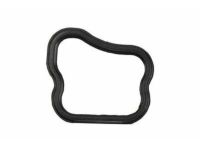
Make sure this part fits

GM 15882261
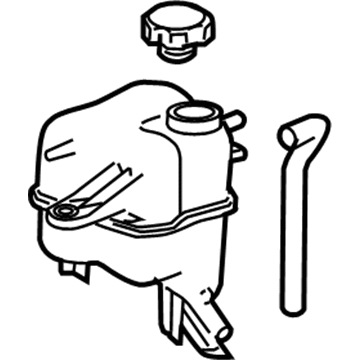
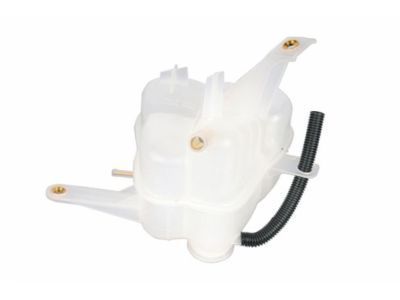
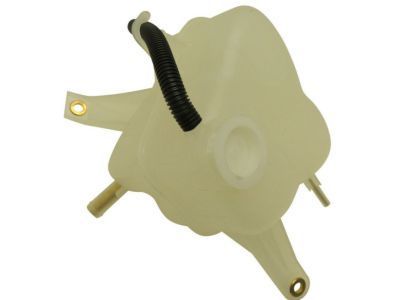
Reservoir Tank

2007-2011 GM

Customer Questions & Expert Answers (8)
GM 15882261 Reservoir Tank
  • Part Description
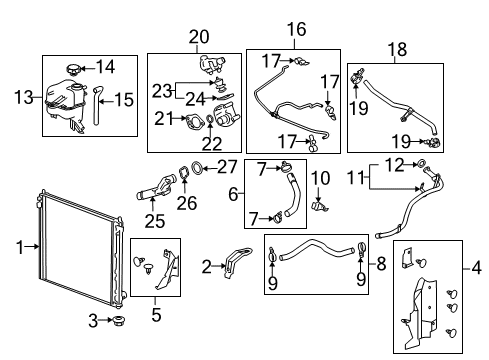
    Container, Heater Coolant Tank; Coolant Reservoir
  • Manufacturer
    General Motors
  • Manufacturer's Notes
    This part is discontinued.
Make sure this part fits
  • Related Parts
  • Product Specifications
  • Vehicle Fitment
  • Customer Questions & Expert Answers
  • Product Specifications

    BrandGenuine GM
    Manufacturer Part Number15882261
    Part DescriptionContainer, Heater Coolant Tank; Coolant Reservoir
    Other NamesReservoir; Tank, Engine Coolant Recovery
    Item Dimensions16.6 x 13.5 x 13.8 inches
    Item Weight2.30 Pounds
    ConditionNew
    Fitment TypeDirect Replacement
    ManufacturerGeneral Motors
    SKU15882261
    WarrantyThis genuine GM part is guaranteed by GM's factory warranty.
    Shipping & ReturnShipping Policy Return Policy
    Warning: California's Proposition 65
  • Vehicle Fitment

    Year Make Model Trim Engine
    2007-2009 Cadillac SRXBase6 Cyl 3.6 L GAS, 8 Cyl 4.6 L GAS
    2007-2011 Cadillac STSBase, Platinum, V6 Cyl 3.6 L GAS, 8 Cyl 4.4 L GAS, 8 Cyl 4.6 L GAS
  • Customer Questions & Expert Answers

    Q:
    Is this 15882261 designed for my car? Posted by ChevyPartsGiant Specialist
    A:
    Please Select Your Vehicle model to see if part number 15882261 is suitable before ordering.
    Posted by ChevyPartsGiant Specialist
    Q:
    How to replace the coolant reservoir on a left-hand drive on Cadillac SRX? Posted by Customer
    A:
    You must drain coolant using cooling system draining and filling tools (GE 47716 -Vac N Fill Coolant Refill Tool and Static Fill) to start the Coolant Reservoir replacement on left-hand drive vehicles. Disconnect the electrical connection to the master cylinder fluid level sensor and place it apart. A hose clamp pliers (J 38185) should be used to remove the reservoir outlet hose clamp along with slight rearrangement before hose disconnect. Use hose clamp pliers (J 38185) to disconnect and reposition the reservoir inlet hose clamp before removing the hose. First detach the reservoir bolt and nut following low coolant sensor electrical connector separation and reservoir removal. Position the reservoir for installation then connect the low coolant sensor electrical connector. Install the reservoir nut first with a torque specification of 9 n.m (80 lb in). Then install the reservoir bolt following a torque specification of 9 n.m (80 lb in). Applying clean coolant lubrication to the reservoir hose inside diameters is mandatory before hose installation using hose clamp pliers (J 38185). Use hose clamp pliers (J 38185) to attach both reservoir outlet and inlet hoses. The master cylinder fluid level sensor electrical connector gets reattached before you use the cooling system draining and filling (GE 47716 -Vac N Fill Coolant Refill Tool) along with the cooling system draining and filling (Static Fill) to complete system filling.
    Posted by ChevyPartsGiant Specialist
    Q:
    How to service and repair the coolant reservoir, specifically for the surge tank replacement on left-hand drive on Cadillac SRX? Posted by Customer
    A:
    In order to service and repair the Coolant Reservoir more particularly for the Coolant Reservoir replacement, left-hand drive vehicle, start by draining the coolant. Remove the master cylinder fluid level sensor electrical connector and put it aside. Use the hose clamp pliers (J 38185) to move the Coolant Reservoir outlet hose clamp and then remove the Coolant Reservoir outlet hose. Again, it is recommended to use the hose clamp pliers (J 38185) to disengage and reposition the Coolant Reservoir inlet hose clamp prior to disconnecting the Coolant Reservoir inlet hose. Take off the bolt and nut of the Coolant Reservoir, disconnecting the low coolant sensor electric connector in order to remove the Coolant Reservoir. For installation, put the Coolant Reservoir in its place and plug the low coolant sensor electrical connector. Install the Coolant Reservoir nut and tighten it 9 n.m (80 lb in), the Coolant Reservoir bolt, which should be tightened to 9 n.m (80 lb in). The inside diameters of the hoses need to be lubricated with clean coolant before connecting the Coolant Reservoir inlet hose and fixing it with the hose clamp pliers (J 38185). Connect the Coolant Reservoir outlet hose and secure it with the hose clamp pliers (J 38185) as well. Lastly, reconnect the master cylinder fluid level sensor electrical connection and top off the cooling system.
    Posted by ChevyPartsGiant Specialist
    Q:
    How to replace the coolant reservoir on Cadillac STS? Posted by Customer
    A:
    Begin by draining coolant followed by disconnecting the master cylinder fluid level sensor electrical connector then setting it aside. Use the Hose Clamp Pliers (J 38185) to disengage and reposition the coolant reservoir outlet hose clamp, then disconnect the coolant reservoir outlet hose. Disengage and move the coolant reservoir inlet hose clamp first using Hose Clamp Pliers (J 38185) before disconnecting the coolant reservoir inlet hose. Start by removing the coolant reservoir bolt and securing the low coolant sensor electrical connector to remove the coolant reservoir. Reinstall the coolant reservoir into its original position while connecting the low coolant sensor electrical connector. Affix the coolant reservoir nut first and give it 9 N.m (80 lb in) torque before adding the coolant reservoir bolt with the same 9 N.m (80 lb in) torque. Apply clean coolant lubricant onto all hoses inside diameters before installation. The Hose Clamp Pliers (J 38185) helps secure the coolant reservoir inlet hose after connecting it to the coolant reservoir. You should now use Hose Clamp Pliers (J 38185) to wrap the coolant reservoir outlet hose before securing it. Complete the installation by reattaching the master cylinder fluid level sensor electrical connector then filling the cooling system.
    Posted by ChevyPartsGiant Specialist
    Q:
    What is the first step to replace the radiator surge tank for the 2009 Cadillac SRX? Posted by Customer
    A:
    First, drain the coolant.
    Posted by ChevyPartsGiant Specialist
    See expert answers on similar Coolant Reservoir
    Q:
    What needs to be removed to take out the surge tank for the 2009 Cadillac STS? Posted by Customer
    A:
    Remove the surge tank bolt and nut, then disconnect the low coolant sensor electrical connector.
    Posted by ChevyPartsGiant Specialist
    See expert answers on similar Coolant Reservoir
    Q:
    What needs to be removed to take out the surge tank for the 2010 Cadillac STS? Posted by Customer
    A:
    Remove the surge tank bolt and nut, then disconnect the low coolant sensor electrical connector.
    Posted by ChevyPartsGiant Specialist
    See expert answers on similar Coolant Reservoir
    Q:
    How should the surge tank nut and bolt be tightened for the 2008 Cadillac STS? Posted by Customer
    A:
    Install the surge tank nut and tighten it to 9 N.m (80 lb in), then install the surge tank bolt and tighten it to 9 N.m (80 lb in).
    Posted by ChevyPartsGiant Specialist
    See expert answers on similar Coolant Reservoir
    If you have any questions about this product, please don't hesitate to ask us. We will be happy to help you!

OEM GM 15882261, Excellent Performance and Perfect Fitment

To ensure reliability, purchase GM part # 15882261 Reservoir Tank. It is sometimes referred to as GM Coolant Reservoir. Choosing OEM parts is the optimal decision for guaranteeing superior quality and perfect performance. These components undergo stringent quality checks and are carefully constructed to comply with GM's factory specifications, ensuring a smooth installation process.

ChevyPartsGiant.com is a leading supplier of genuine GM parts such as GM 15882261 Reservoir Tank. Our website boasts an extensive inventory of OEM GM parts, available at highly competitive prices in the market. Should you require any new genuine GM parts, rest assured we will deliver them swiftly and efficiently to your doorstep. Furthermore, all our parts come with the assurance of a manufacturer's warranty. For detailed Cadillac parts information, click here.
Choose ChevyPartsGiant for discounted prices, exceptional service and fast delivery