ChevyParts
My Garage
My Account
Cart
OEM 2002 Chevrolet Camaro Coil Springs
Strut Spring- Select Vehicle by Model
- Select Vehicle by VIN
Select Vehicle by Model
orMake
Model
Year
Select Vehicle by VIN
For the most accurate results, select vehicle by your VIN (Vehicle Identification Number).
4 Coil Springs found
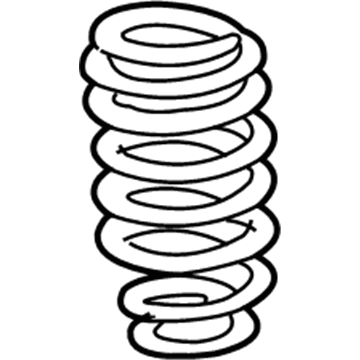
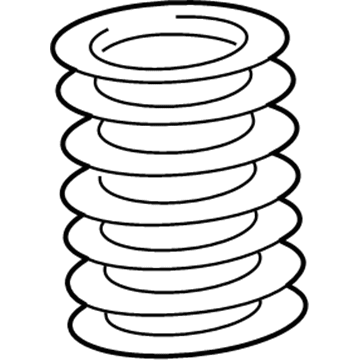
2002 Chevrolet Camaro Coil Spring, Rear Part Number: 10305134
Product Specifications- Other Name: Spring, Rear Spring; Coil Springs; Spring
- Position: Rear
- Replaces: 10018092, 22132889, 22077418, 22077421
- Item Weight: 8.30 Pounds
- Item Dimensions: 15.6 x 5.3 x 5.3 inches
- Condition: New
- Fitment Type: Direct Replacement
- Require Quantity: 2
- SKU: 10305134
- Warranty: This genuine part is guaranteed by GM's factory warranty.
2002 Chevrolet Camaro Spring, Front Part Number: 22197228
Product Specifications- Other Name: Spring, Front Chassis; Coil Springs
- Position: Front
- Item Weight: 7.20 Pounds
- Item Dimensions: 16.9 x 5.1 x 4.9 inches
- Condition: New
- Fitment Type: Direct Replacement
- Require Quantity: 2
- SKU: 22197228
- Warranty: This genuine part is guaranteed by GM's factory warranty.
2002 Chevrolet Camaro Coil Spring, Front Part Number: 22197223
Product Specifications- Other Name: Spring, Front Chassis; Coil Springs; Spring
- Position: Front
- Replaces: 22077189, 22133437
- Item Weight: 7.80 Pounds
- Item Dimensions: 16.0 x 4.8 x 4.6 inches
- Condition: New
- Fitment Type: Direct Replacement
- Require Quantity: 2
- SKU: 22197223
- Warranty: This genuine part is guaranteed by GM's factory warranty.
2002 Chevrolet Camaro Coil Spring, Front Part Number: 22197230
Product Specifications- Other Name: Spring, Front; Coil Springs; Spring; Spring, Front Chassis
- Position: Front
- Condition: New
- Fitment Type: Direct Replacement
- Require Quantity: 2
- SKU: 22197230
- Warranty: This genuine part is guaranteed by GM's factory warranty.
2002 Chevrolet Camaro Coil Springs
With a comprehensive array of OEM 2002 Chevrolet Camaro Coil Springs, from fuel pumps to door handles, our website is a one-stop-shop for your needs. All our genuine 2002 Chevrolet Camaro Coil Springs are backed by the manufacturer's warranty and are offered at competitive prices in the market. Rest assured, you can shop with complete confidence.
2002 Chevrolet Camaro Coil Springs Parts and Q&A
- Q: How to replace the front coil springs on 2002 Chevrolet Camaro?A: Upgrading front Coil Springs starts with having the following tools on hand: liquidtool offers essential tooling for spring replacements including strut spring compressor (J 34013-B), shock compressor adapter (J 34013-114), strut compressor adapter (J 34013-88), ball joint and tie rod end separator (J 39549), shock nut removal tool set (J 39642), and modular shock alignment rod (J 34013-115). Strut spring compressor (J 34013-B), shock compressor adapter (J 34013-114), strut compressor adapter (J 34013-88), ball joint and tie rod end separator (J 39549), shock nut removal tool set (J 39642), and modular shock alignment rod (J 34013-115). When working with Coil Springs you need to treat them gently to avoid damaging their protective layer. Start by removing the Brake Master Cylinder nuts so you can move the Brake Master Cylinder softly to the side. To start the procedure you must first remove the shock absorber upper mounting bolts while raising the vehicle and then removing the tire and wheel before support. Start by disengaging the stabilizer shaft link while removing both shock absorber lower bolts and nuts. You need to discard the lower Control Arm cotter pin and then take out the lower Control Arm nut. Use Ball Joint and tie rod end separator tool (J 39549) to disconnect the lower Ball Joint from steering knuckle before you can remove lower Control Arm and Ball Joint. Record the lower mount's position in relation to the upper mount prior to taking the shock absorber and coil spring off. Take out the shock absorber together with the coil spring from the vehicle. Apply the strut compressor adapter (J 34013-88) to the strut spring compressor (J 34013-B) through its specified holes while using the shock compressor adapter (J 34013-114) on the strut spring compressor (J 34013-B) through its specified holes. Placing tools correctly before attaching the shock absorber and coil spring to adapter mounts. Before removing the shock absorber nut, compress the coil spring to 13 mm (0.50 inch) through utilization of shock nut removal tool set (J 39642). The shock absorber maintenance requires the user to release coil spring tension before removing the coil spring from the absorber. After installing the coil spring to the shock absorber users need to position the coil spring seats before putting the shock absorber into the strut spring compressor (J 34013-B). Raise the shock absorber rod while the coil spring stays uncompressed before pressing the coil spring until the rod goes through its mount. Maintain a fresh shock absorber nut during installation before tightening it by holding the shock absorber in place and removing the assembly from the compressor. Place the shock absorber along with the coil spring onto the lower Control Arm before securing its lower bolts then tightening them properly. Apply the lower Ball Joint to the steering knuckle, follow by installing its nut while adding a new cotter pin. Install the stabilizer shaft link, tire, and wheel then lower the vehicle before tightening the shock absorber upper mounting bolts and nuts to the recommended torque. When servicing the driver side position the Brake Master Cylinder before attaching its nuts which need tightening at specified torque values.


