ChevyParts
My Garage
My Account
Cart
OEM 2004 Chevrolet Impala Shock Absorber
Suspension Shock Absorber- Select Vehicle by Model
- Select Vehicle by VIN
Select Vehicle by Model
orMake
Model
Year
Select Vehicle by VIN
For the most accurate results, select vehicle by your VIN (Vehicle Identification Number).
3 Shock Absorbers found

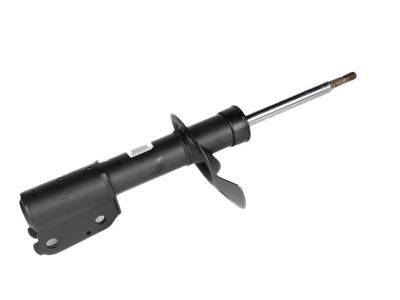
2004 Chevrolet Impala Strut Part Number: 88965467
$109.69 MSRP: $212.92You Save: $103.23 (49%)Product Specifications- Other Name: Strut Assembly, Front Suspension; Complete Strut and Shock Absorber Kit.; Strut, Front And Rear Suspension
- Position: Front
- Replaces: 22064733, 22064793, 22064745, 22064754, 22064750, 22064755, 22400002, 22064717, 22064784, 22064716, 22064774, 22064707
- Item Weight: 12.70 Pounds
- Item Dimensions: 24.3 x 9.6 x 7.6 inches
- Condition: New
- Fitment Type: Direct Replacement
- SKU: 88965467
- Warranty: This genuine part is guaranteed by GM's factory warranty.
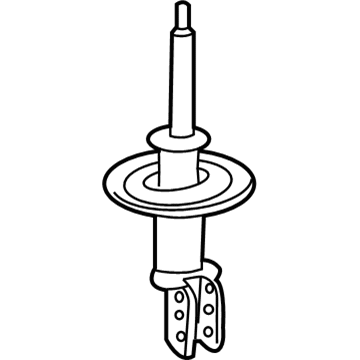
2004 Chevrolet Impala Strut Part Number: 88965468
Product Specifications- Other Name: Strut Assembly, Rear Suspension; Complete Strut Kit; Shock Absorber.; Strut, Front And Rear Suspension
- Position: Rear
- Replaces: 15846383, 15846386
- Item Weight: 13.50 Pounds
- Item Dimensions: 24.2 x 9.0 x 8.1 inches
- Condition: New
- Fitment Type: Direct Replacement
- Require Quantity: 2
- SKU: 88965468
- Warranty: This genuine part is guaranteed by GM's factory warranty.
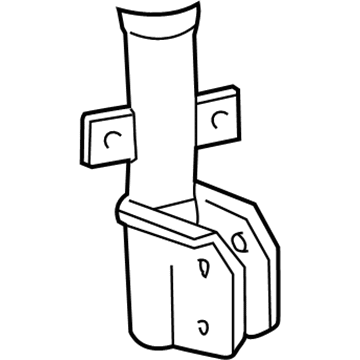
2004 Chevrolet Impala Strut Part Number: 88965469
Product Specifications- Other Name: Strut Assembly, Rear Suspension; Complete Strut Kit; Shock Absorber.; Strut, Front And Rear Suspension
- Position: Rear
- Replaces: 22064710, 22400003, 22064747, 15846384, 22064752, 22064751, 22064736, 15846385, 22064753
- Item Weight: 14.80 Pounds
- Item Dimensions: 9.3 x 8.3 x 25.2 inches
- Condition: New
- Fitment Type: Direct Replacement
- Require Quantity: 2
- SKU: 88965469
- Warranty: This genuine part is guaranteed by GM's factory warranty.
2004 Chevrolet Impala Shock Absorber
With a comprehensive array of OEM 2004 Chevrolet Impala Shock Absorber, from fuel pumps to door handles, our website is a one-stop-shop for your needs. All our genuine 2004 Chevrolet Impala Shock Absorber are backed by the manufacturer's warranty and are offered at competitive prices in the market. Rest assured, you can shop with complete confidence.
2004 Chevrolet Impala Shock Absorber Parts and Q&A
- Q: How to replace the front shock absorber assembly on 2004 Chevrolet Impala?A: In order to change the strut assembly, loosen the strut upper nuts and hoist the car with a frame-contact lift. Take off the tire and wheel after which you scrape the strut on the knuckle and take off the lower strut bolts and nuts. Install the new strut with the proper specifications of the torque and re-install the tire and the wheel.


