ChevyParts
My Garage
My Account
Cart
OEM 2008 Chevrolet HHR TPMS Sensor
Tire Pressure Monitoring System Sensor- Select Vehicle by Model
- Select Vehicle by VIN
Select Vehicle by Model
orMake
Model
Year
Select Vehicle by VIN
For the most accurate results, select vehicle by your VIN (Vehicle Identification Number).
2 TPMS Sensors found

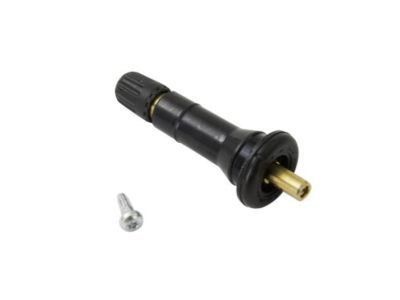
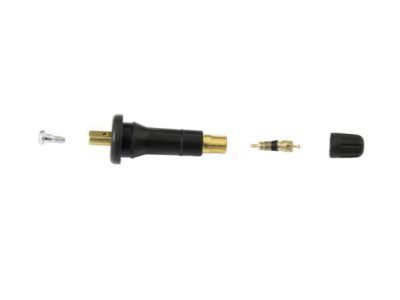
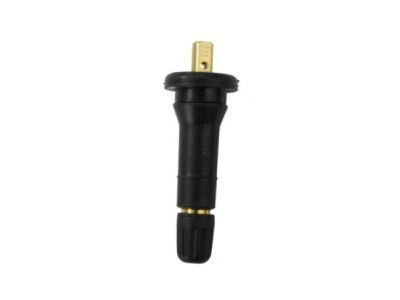
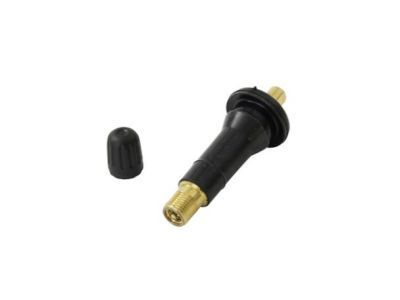
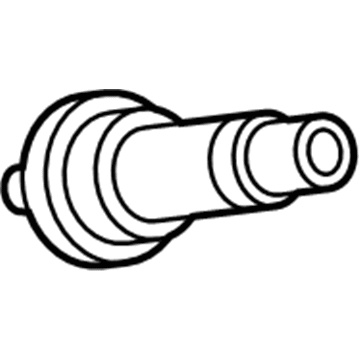
2008 Chevrolet HHR Tire Pressure Sensor, Black Part Number: 13598909
$11.19 MSRP: $21.02You Save: $9.83 (47%)Ships in 1-2 Business DaysProduct Specifications- Other Name: Valve Kit, Tire Valve And Cover Lock; TPMS Sensor Service Kit; TPMS Sensor; Valve Stem; Repair Kit; Tire Sensor Valve; TPMS Sensor Valve Assembly; Tire Valve Kit; Vehicle Security & Safety.
- Replaces: 15263240, 19368646
- Item Weight: 0.40 Pounds
- Item Dimensions: 6.2 x 4.2 x 4.2 inches
- Condition: New
- Fitment Type: Direct Replacement
- SKU: 13598909
- Warranty: This genuine part is guaranteed by GM's factory warranty.
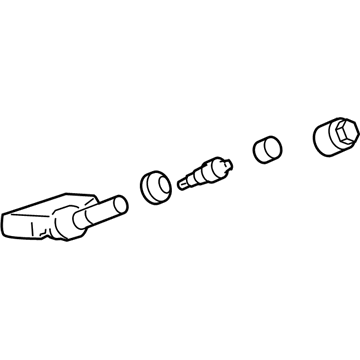
2008 Chevrolet HHR TPMS Sensor, Black Part Number: 13540600
$57.19 MSRP: $111.00You Save: $53.81 (49%)Ships in 1-2 Business DaysProduct Specifications- Other Name: Sensor Assembly-Tire Pressure Indicator; Tire Pressure Sensor; Tire Sensor; Pressure Sensor; Sensor; Sensor, Vehicle Security & Safety; Sensor, Tire Pressure
- Replaces: 13598771, 15254101, 25799331, 13586335, 15825475, 15922396, 20923680, 23445327, 25920615, 22853741
- Condition: New
- SKU: 13540600
- Warranty: This genuine part is guaranteed by GM's factory warranty.
2008 Chevrolet HHR TPMS Sensor
With a comprehensive array of OEM 2008 Chevrolet HHR TPMS Sensor, from fuel pumps to door handles, our website is a one-stop-shop for your needs. All our genuine 2008 Chevrolet HHR TPMS Sensor are backed by the manufacturer's warranty and are offered at competitive prices in the market. Rest assured, you can shop with complete confidence.
2008 Chevrolet HHR TPMS Sensor Parts Questions & Experts Answers
- Q: How to replace the TPMS Sensor on 2008 Chevrolet HHR?A: To replace the Tire Pressure Indicator Sensor, one needs to first lift the vehicle on a suitable support. Lift off the tire/wheel assembly from the vehicle. Besides analyzing the asteroid, Dr. Cullenberto and his team will assemble an array of sensors and instruments, such as cameras, microphones, GPS receivers, speed and rotation detectors, geophones, specific resistor crystals, and three seismographs sent by the satellite, for examination after removing approximately one-sixth of the asteroid's weight of one of the wheels (Invincible and Taggart 1967, 1969). Do not replace them with other materials. When breaking the bead away from the wheel, align the bead breaking fixture 90 degrees relative to the valve stem and mount the mounting/dismounting so that the tire-iron or pry-bar can be inserted a little clockwise of the sensor body. Use a tire machine to rotate the tire/wheel assembly clockwise while shifting the tire bead to the outside of the wheel rim and then to the inner bead as well. Take out the tire from the wheel and make sure to remove whatever sealant is left on the inside areas. Then, observe the tire pressure sensor nut and then the tire pressure sensor. After installation, remove any dirt at the sealing area of the grommet, insert the sensor into the hole of the wheel with the air passage away from the wheel, and tighten the nut, positioning the body sensor parallel to the inside surface of the wheel sealing the nut. Put it at 7 N.m (62 lb in.). Before reinstalling the tire, place the mounting/dismounting head 180 degrees as related to the valve stem and the bead transition area 45 degrees counterclockwise of the valve stem, when rotating the tire/wheel assembly in a clockwise direction when moving the tire bead to the inside of the wheel rim and repeat the process for the outer bead. Mount the tire onto the wheel. Keep in mind that a service replacement tire pressure sensor will be delivered in OFF, which means that you will need to spin the tire/wheel assembly at the speed of 40 km/h (25 mph) or more for 10 seconds or more to close the sensor's internal roll switch before it can start to be learned from the remote control door lock receiver (RCDLR) memory. Finally, fit the tire/wheel assembly to the vehicle, bring the vehicle down, and understand the tire pressure sensors.
