ChevyParts
My Garage
My Account
Cart
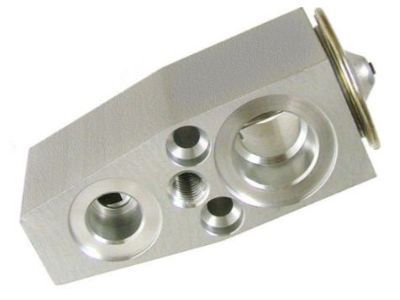
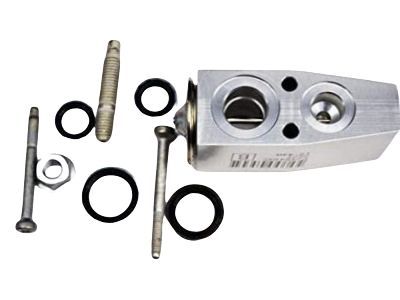
OEM 2009 Chevrolet Impala A/C Expansion Valve
Air Conditioning Expansion Valve- Select Vehicle by Model
- Select Vehicle by VIN
Select Vehicle by Model
orMake
Model
Year
Select Vehicle by VIN
For the most accurate results, select vehicle by your VIN (Vehicle Identification Number).
1 A/C Expansion Valve found

2009 Chevrolet Impala Expansion Valve, Green Line Part Number: 52495729
$85.31 MSRP: $175.32You Save: $90.01 (52%)Ships in 1-2 Business DaysProduct Specifications- Other Name: Valve Kit, Air Conditioner Evaporator; A/C Expansion Valve; Valve Kit, A/C Expansion Refrigerant; Valve, A/C Expansion Refrigerant; Valve Kit, A/C Evaporator
- Item Weight: 1.00 Pounds
- Item Dimensions: 4.9 x 5.0 x 3.7 inches
- Condition: New
- Fitment Type: Direct Replacement
- SKU: 52495729
- Warranty: This genuine part is guaranteed by GM's factory warranty.
2009 Chevrolet Impala A/C Expansion Valve
With a comprehensive array of OEM 2009 Chevrolet Impala A/C Expansion Valve, from fuel pumps to door handles, our website is a one-stop-shop for your needs. All our genuine 2009 Chevrolet Impala A/C Expansion Valve are backed by the manufacturer's warranty and are offered at competitive prices in the market. Rest assured, you can shop with complete confidence.
2009 Chevrolet Impala A/C Expansion Valve Parts and Q&A
- Q: How to replace the A/C Expansion Valve on 2009 Chevrolet Impala?A: The first step when replacing the A/C Expansion Valve requires recovery of refrigerant from the a/c system. The first step requires you to detach the expansion valve nut from the Evaporator tube before disconnecting outlet and inlet tubes from the txv. Cover both open Evaporator tubes with caps or tape following the removal of protective washers to stop tube contamination. You should pull out the txv by removing its bolts from the Evaporator core while disposing of the new sealing washers. The installation process involves placing new sealing washers onto the Evaporator core followed by setting the txv correctly on its position while tightness should reach 7 nm (62 lb in). Washers must first go on both Evaporator inlet and outlet tubes before you cap or tape these tubes. Fasten the txv with the Evaporator outlet and inlet tube before tightening the Evaporator tube nut to 17 nm (13 lb ft). After system evacuation and recharge operations complete the component leak testing by using j 39400-a - halogen leak detector on the component fittings.


