ChevyParts
My Garage
My Account
Cart
OEM 2010 Buick Lucerne Intake Manifold
Engine Intake Manifold- Select Vehicle by Model
- Select Vehicle by VIN
Select Vehicle by Model
orMake
Model
Year
Select Vehicle by VIN
For the most accurate results, select vehicle by your VIN (Vehicle Identification Number).
3 Intake Manifolds found
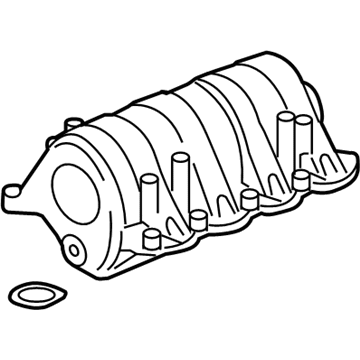
2010 Buick Lucerne Intake Manifold Part Number: 12611485
$1265.71 MSRP: $1628.97You Save: $363.26 (23%)Ships in 1-3 Business DaysProduct Specifications- Other Name: Manifold, Engine Fuel Intake Manifold; Intake Plenum
- Position: Upper
- Replaces: 12626550
- Item Weight: 12.20 Pounds
- Item Dimensions: 20.1 x 14.7 x 10.1 inches
- Condition: New
- Fitment Type: Direct Replacement
- SKU: 12611485
- Warranty: This genuine part is guaranteed by GM's factory warranty.
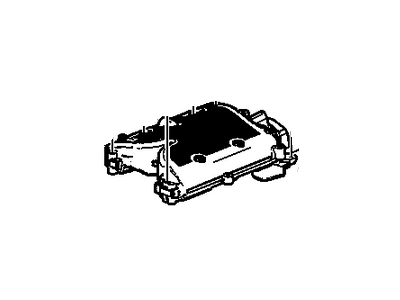
2010 Buick Lucerne Intake Manifold Part Number: 19330172
$606.14 MSRP: $1031.91You Save: $425.77 (42%)Ships in 1-2 Business DaysProduct Specifications- Other Name: Manifold; Manifold, Engine Fuel Intake Manifold
- Replaces: 19303933, 12588847, 12564771
- Item Weight: 8.80 Pounds
- Item Dimensions: 25.3 x 15.5 x 12.7 inches
- Condition: New
- Fitment Type: Direct Replacement
- SKU: 19330172
- Warranty: This genuine part is guaranteed by GM's factory warranty.
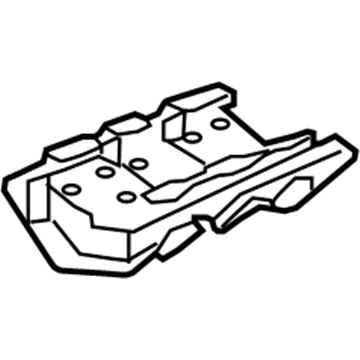
2010 Buick Lucerne Intake Manifold Part Number: 89017809
Product Specifications- Other Name: Manifold, Engine Fuel Intake Manifold; Intake Plenum
- Position: Lower
- Item Weight: 10.30 Pounds
- Item Dimensions: 21.2 x 14.6 x 9.2 inches
- Condition: New
- Fitment Type: Direct Replacement
- SKU: 89017809
- Warranty: This genuine part is guaranteed by GM's factory warranty.
2010 Buick Lucerne Intake Manifold
With a comprehensive array of OEM 2010 Buick Lucerne Intake Manifold, from fuel pumps to door handles, our website is a one-stop-shop for your needs. All our genuine 2010 Buick Lucerne Intake Manifold are backed by the manufacturer's warranty and are offered at competitive prices in the market. Rest assured, you can shop with complete confidence.
2010 Buick Lucerne Intake Manifold Parts and Q&A
- Q: How to replace the upper intake manifold on 2010 Buick Lucerne?A: To remove the upper Intake Manifold, it's necessary to first disconnect the negative Battery Cable. Remove the Intake Manifold cover and drain the cooling systems. Next, unplug the positive crankcase ventilation (PCV) fresh air tube, the pcv foul air tube, and then you unplug the Brake Booster Vacuum Hose from the Intake Manifold fitting. Relocate the heater inlet and outlet hose/pipe clamps from the engine pipes and unfasten the heater inlet and outlet hose/pipes from the engine pipes and Throttle Body studs. Make the hoses/pipes out of the way, then remove the fuel line and the evaporative emission (EVAP) line clip from the manifold absolute pressure (MAP) sensor bracket, remove the map sensor electrical connector, the evap canister purge solenoid electrical connector, and the chassis evap line quick connect fitting from the purge solenoid. Unplug the electronic throttle control (ETC) electric connector, take the air cleaner outlet duct off, and take the left side Spark Plug Wires off the sparkplugs and Ignition Coil. Pull off the spark plug retainer clips on the Spark Plug Wires, pull off the left side Spark Plug Wires, pull off the Throttle Body bolts and nuts, the Throttle Body and gasket. In replacing a manifold, strip the Throttle Body to manifold studs, then there is stripping of the evap canister purge solenoid valve bolt, then lower valve. Remove Ignition Coil bracket to Intake Manifold bolts, loosen power steering reservoir to Intake Manifold bolt and reposition it, and remove generator to Intake Manifold bracket bolt. Next, take out the Intake Manifold cover ball stud nut and the upper Intake Manifold bolts and stud, and then disconnect and take out the upper Intake Manifold from the lower Intake Manifold and the upper to lower Intake Manifold gaskets. Clean the mating surfaces of the gasket before attaching the upper Intake Manifold to the lower Intake Manifold. Apply thread lock to the upper Intake Manifold bolt/stud threads and then install and tighten the upper Intake Manifold bolts and stud to 25 nm (18 lb ft). Install the Intake Manifold cover ball stud nut and replace the loose bolt with the tyre; the bolt must be tightened tight to 5 nm (44 lb in); replace the Ignition Coil bracket to Intake Manifold bolts; they must be tightened to 25 nm (18 lb ft). Mount the map sensor and bracket by tightening map sensor bracket/upper Intake Manifold bolts to 25 nm (18 lb ft), and mount the evap canister purge solenoid valve and tighten its bolt to 16 nm (12 lb ft). Check the Throttle Body seal for its long previous performance and install if necessary, then apply threadlock to Throttle Body bolts/studs threads. Hold the Throttle Body Gasket and Throttle Body to the intake and attach the Throttle Body studs if needed and tighten to 6 nm (53 lb in), then Throttle Body bolts and nuts to 10 nm (89 lb in). Reconnect the left side Spark Plug Wires, hooking the wires onto the retainer clips for the Spark Plug Wires, and connect the wires to the coil at the Ignition Coil and spark plugs. Mount the air cleaner outlet duct, attach the evap canister purge solenoid electrical and attach the chassis evap line quick connect fitting to the purge solenoid. Let the electrical connector for etc and the map sensor electrical connector be reconnected, then fit the fuel feed with the evap line clip to map sensor bracket. Exter the hoses/pipes, install the heater inlet and outlet hoses/pipes to the engine hoses/pipes and Throttle Body studs, and tighten the heater inlet and outlet hose/pipe clamp nuts to 10 nm (89 lb in). Reposition the heater inlet and outlet hose/pipe clamps, install the Brake Booster Vacuum Hose to Intake Manifold and install the pcv foul air tube and the pcv fresh air tube. Lastly, fill the cooling system, installing the Intake Manifold cover, reconnecting the negative Battery Cable.


