ChevyParts
My Garage
My Account
Cart
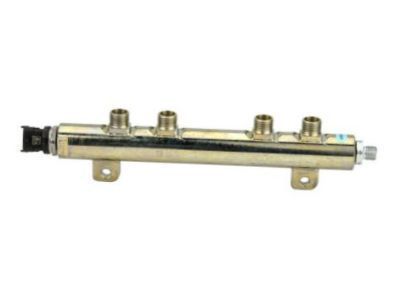
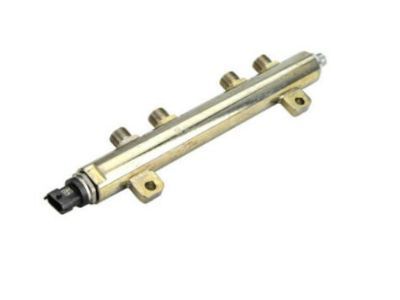
OEM Cadillac Escalade Fuel Rail
Engine Fuel Rail- Select Vehicle by Model
- Select Vehicle by VIN
Select Vehicle by Model
orMake
Model
Year
Select Vehicle by VIN
For the most accurate results, select vehicle by your VIN (Vehicle Identification Number).
19 Fuel Rails found

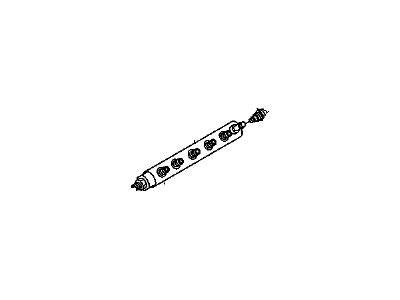
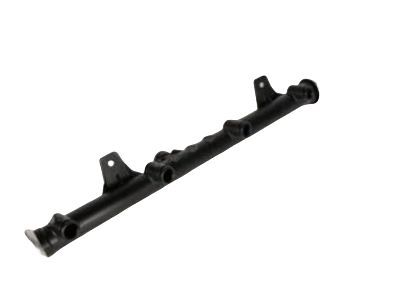
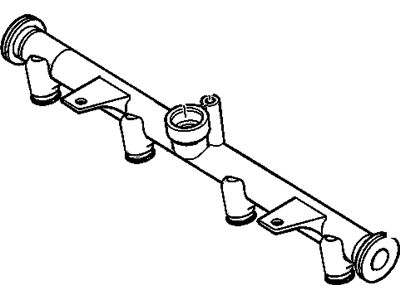
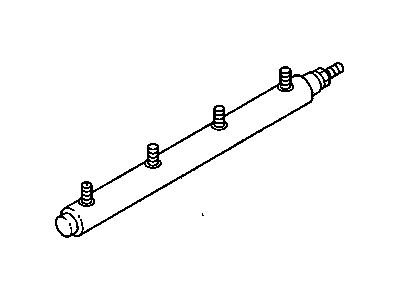
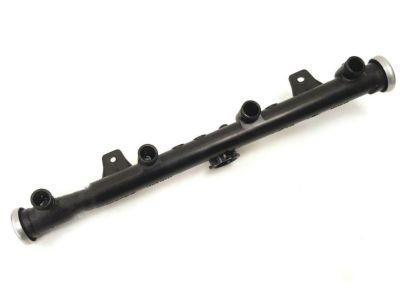
Cadillac Escalade Fuel Rail Part Number: 97361352
$351.85 MSRP: $714.61You Save: $362.76 (51%)
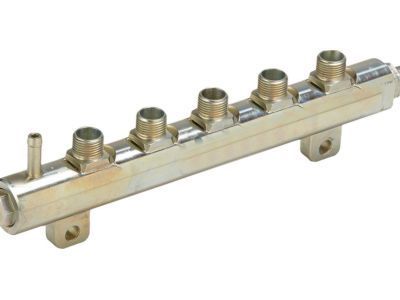
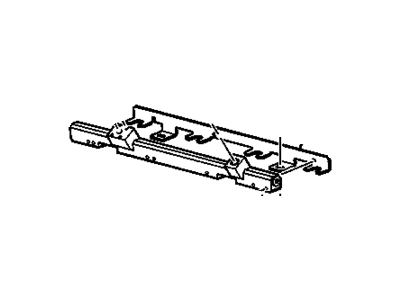
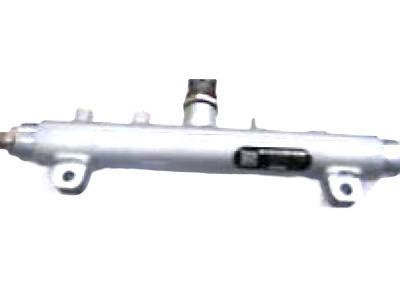
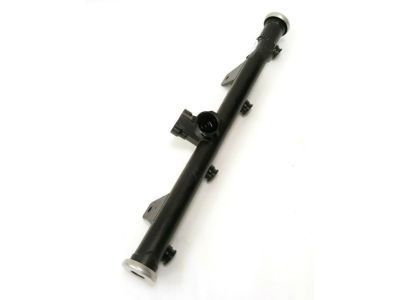
Cadillac Escalade Fuel Rail Part Number: 97361353
$336.68 MSRP: $683.83You Save: $347.15 (51%)
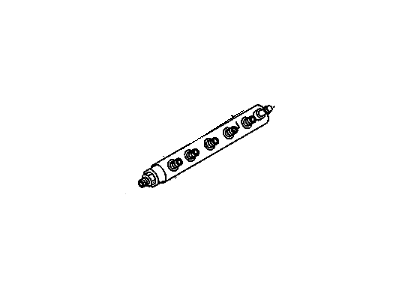
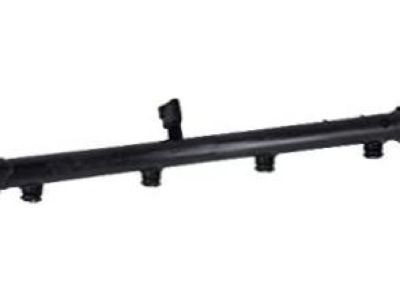
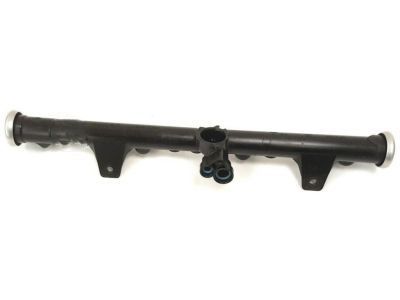
Cadillac Escalade Fuel Rail Part Number: 17113695
$104.95 MSRP: $327.45You Save: $222.50 (68%)Ships in 1-2 Business Days
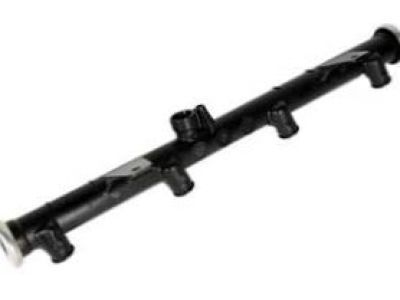
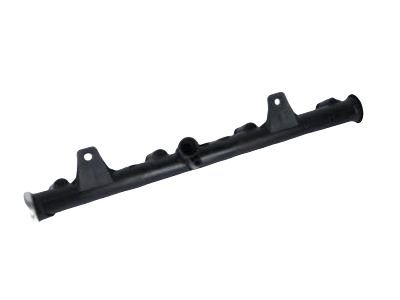
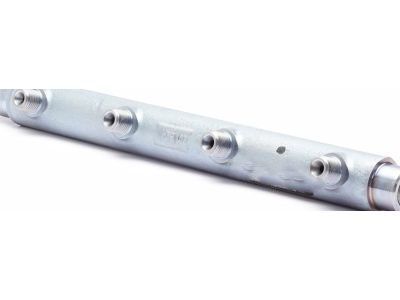
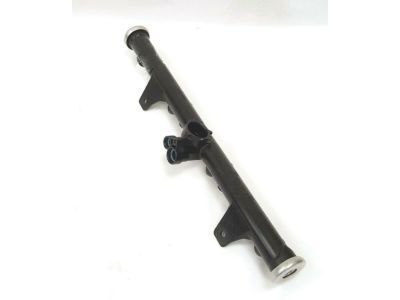
Cadillac Escalade Fuel Rail Part Number: 12602113
$114.68 MSRP: $232.93You Save: $118.25 (51%)Ships in 1-2 Business DaysCadillac Escalade Fuel Rail Part Number: 12621668
$198.77 MSRP: $359.76You Save: $160.99 (45%)Ships in 1-2 Business DaysCadillac Escalade Fuel Rail Part Number: 12719352
$131.16 MSRP: $235.26You Save: $104.10 (45%)Cadillac Escalade Fuel Rail Part Number: 12719353
$128.28 MSRP: $229.32You Save: $101.04 (45%)Ships in 1-3 Business DaysCadillac Escalade Fuel Rail Part Number: 55505909
$198.35 MSRP: $355.78You Save: $157.43 (45%)Ships in 1-3 Business DaysCadillac Escalade Fuel Rail Part Number: 40009114
$134.63 MSRP: $273.44You Save: $138.81 (51%)Cadillac Escalade Fuel Rail Part Number: 12729466
$117.50 MSRP: $238.66You Save: $121.16 (51%)Cadillac Escalade Fuel Rail Part Number: 12729464
$117.50 MSRP: $238.66You Save: $121.16 (51%)Ships in 1-2 Business Days
Cadillac Escalade Fuel Rail Part Number: 97303659

Cadillac Escalade Fuel Rail Part Number: 97208075

Cadillac Escalade Fuel Rail Part Number: 17113696
Cadillac Escalade Fuel Rail Part Number: 89018111
Cadillac Escalade Fuel Rail Part Number: 89018109
Cadillac Escalade Fuel Rail Part Number: 12592185
Cadillac Escalade Fuel Rail Part Number: 12592184
Cadillac Escalade Fuel Rail Part Number: 97303658
Cadillac Escalade Fuel Rail
Want to cut long-term maintenance and repair costs? Choose OEM Fuel Rail. Those parts deliver top durability you can trust. On our site, you'll find a huge catalog of genuine Cadillac Escalade parts. Prices are unbeatable, so you can keep more in your pocket. Every OEM Cadillac Escalade Fuel Rail includes a manufacturer's warranty. You can also get an easy return policy that keeps buying risk free. Fast delivery, get your car on the road quickly. It's simple to search, compare, and order. Stop guessing about quality or fit. Order today and save with parts that last.
Cadillac Escalade Fuel Rail Parts Questions & Experts Answers
- Q: How to replace the fuel rail assembly on Cadillac Escalade?A:The procedure starts by taking out the air cleaner outlet duct followed by pressure relief of the fuel system. The engine wiring harness should have its connectors removed from the evap purge solenoid and generator and MAP Sensor and Ignition Coil and Fuel Injectors. Each connector should get marked for correct reinstallation. First disconnect engine wiring harness clips along with the negative Battery Cable from the right cylinder head next to the removal of positive crankcase ventilation (PCV) hose and the chassis fuel feed pipe quick connect fitting from the Fuel Rail. The evap tube must be separated from its connection before the Fuel Rail bolts are removed while supporting the Fuel Rail to avoid any damage. Clean the Fuel Rail with a spray type engine cleaner while lifting it evenly to remove the Fuel Rail assembly before discarding the old o-ring seals from the fuel injectors. The new o-ring seals go onto the crossover fuel pipe before the crossover parts are installed with their retainers fastened to 3.8 n.m (34 lb in) torque. Instal new o-ring seals on the fuel injectors before placing them into the fuel rails and using retainers for fastening. Install the Fuel Rail on the Intake Manifold with all injectors properly seated before fastening the Fuel Rail bolts to 10 n.m (89 lb in). Rejoin the evap tube followed by the chassis fuel feed pipe and pcv hose and relocate the engine wiring harness before installing its clips. Perform inspection for leaks when the ignition cycle reaches on and off after reconnecting the negative Battery Cable as instructed. The last step involves putting back the air cleaner outlet duct.
