ChevyParts
My Garage
My Account
Cart
OEM GMC Canyon Oil Pan
Oil Drain Pan- Select Vehicle by Model
- Select Vehicle by VIN
Select Vehicle by Model
orMake
Model
Year
Select Vehicle by VIN
For the most accurate results, select vehicle by your VIN (Vehicle Identification Number).
22 Oil Pans found

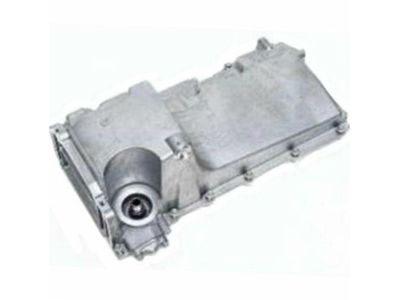
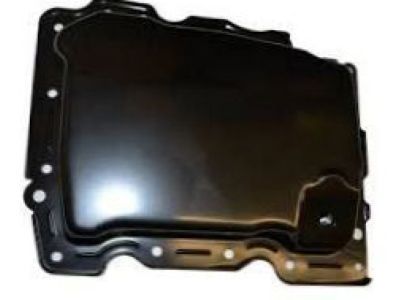
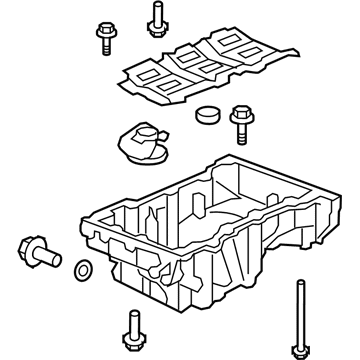
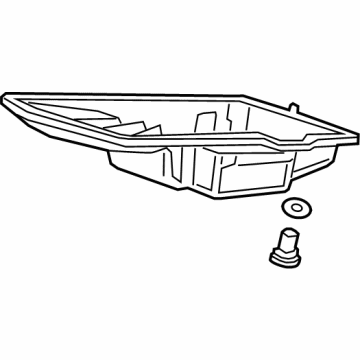
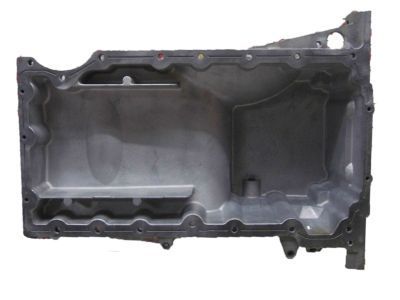
GMC Canyon Oil Pan Part Number: 12624621
$173.87 MSRP: $273.58You Save: $99.71 (37%)
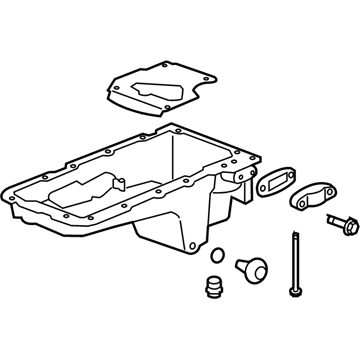
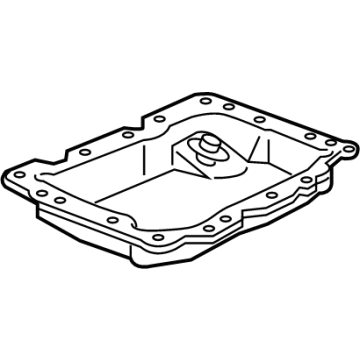
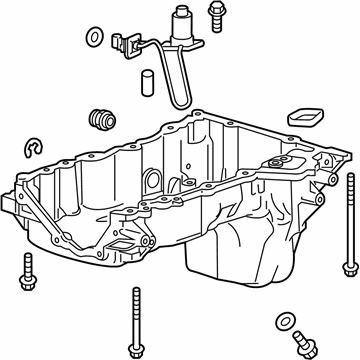
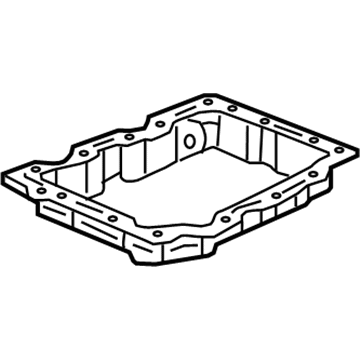
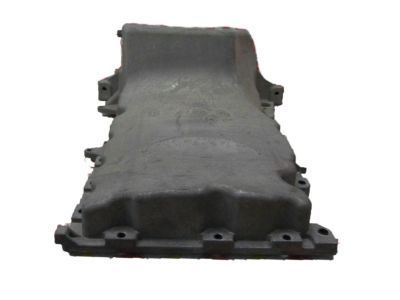
GMC Canyon Oil Pan Part Number: 12676340
$28.47 MSRP: $46.87You Save: $18.40 (40%)Ships in 1-2 Business Days
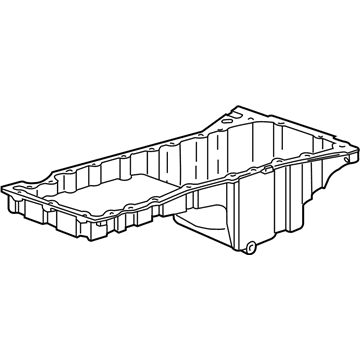
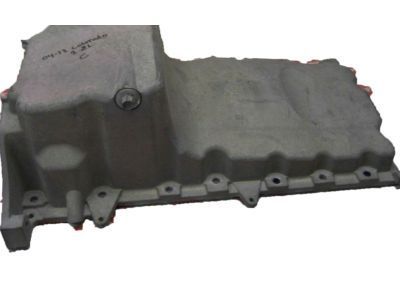
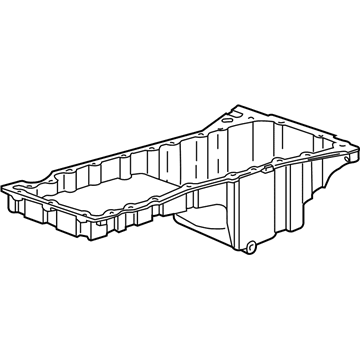
GMC Canyon Oil Pan Part Number: 12628375
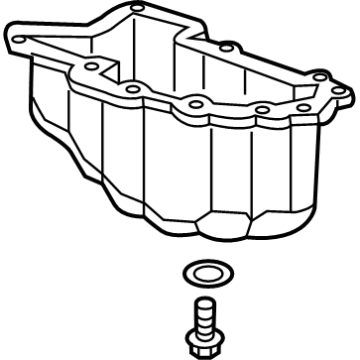
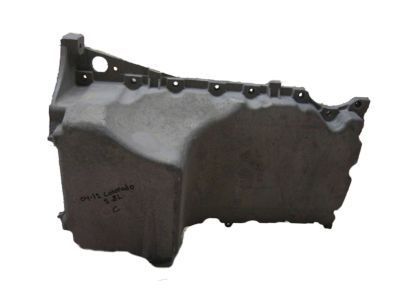
$103.40 MSRP: $161.91You Save: $58.51 (37%)GMC Canyon Oil Pan Part Number: 12666372
$221.76 MSRP: $348.80You Save: $127.04 (37%)Ships in 1-3 Business DaysGMC Canyon Oil Pan Part Number: 12676337
$109.77 MSRP: $171.90You Save: $62.13 (37%)GMC Canyon Oil Pan Part Number: 12580241
$259.50 MSRP: $352.23You Save: $92.73 (27%)GMC Canyon Oil Pan Part Number: 12632803
$163.57 MSRP: $257.38You Save: $93.81 (37%)Ships in 1-3 Business DaysGMC Canyon Oil Pan Part Number: 12732388
$67.00 MSRP: $104.92You Save: $37.92 (37%)Ships in 1-2 Business DaysGMC Canyon Oil Pan Part Number: 24045034
$40.90 MSRP: $69.63You Save: $28.73 (42%)Ships in 1-2 Business DaysGMC Canyon Oil Pan Part Number: 25202729
$147.88 MSRP: $232.64You Save: $84.76 (37%)Ships in 1-3 Business DaysGMC Canyon Oil Pan Part Number: 12643691
$147.61 MSRP: $232.26You Save: $84.65 (37%)GMC Canyon Oil Pan, Upper Part Number: 24589120
$233.48 MSRP: $367.28You Save: $133.80 (37%)GMC Canyon Oil Pan Part Number: 12667040
$326.21 MSRP: $555.36You Save: $229.15 (42%)Ships in 1-2 Business DaysGMC Canyon Oil Pan Part Number: 12716566
$170.33 MSRP: $268.00You Save: $97.67 (37%)Ships in 1-3 Business DaysGMC Canyon Oil Pan Part Number: 12726914
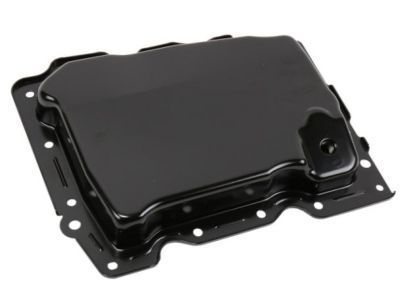
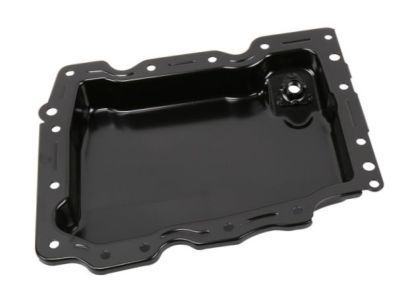
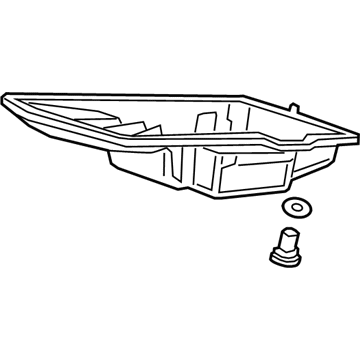
$43.22 MSRP: $74.22You Save: $31.00 (42%)Ships in 1-2 Business DaysGMC Canyon Lower Oil Pan Part Number: 12673401
$24.79 MSRP: $38.81You Save: $14.02 (37%)Ships in 1-2 Business DaysGMC Canyon Oil Pan Part Number: 24045041
$41.05 MSRP: $64.30You Save: $23.25 (37%)Ships in 1-2 Business DaysGMC Canyon Oil Pan Part Number: 25202730
$109.77 MSRP: $171.90You Save: $62.13 (37%)Ships in 1-3 Business Days
GMC Canyon Oil Pan Part Number: 12600499
$217.54 MSRP: $342.28You Save: $124.74 (37%)GMC Canyon Oil Pan Part Number: 12600498
| Page 1 of 2 |Next >
1-20 of 22 Results
GMC Canyon Oil Pan
Want to cut long-term maintenance and repair costs? Choose OEM Oil Pan. Those parts deliver top durability you can trust. On our site, you'll find a huge catalog of genuine GMC Canyon parts. Prices are unbeatable, so you can keep more in your pocket. Every OEM GMC Canyon Oil Pan includes a manufacturer's warranty. You can also get an easy return policy that keeps buying risk free. Fast delivery, get your car on the road quickly. It's simple to search, compare, and order. Stop guessing about quality or fit. Order today and save with parts that last.
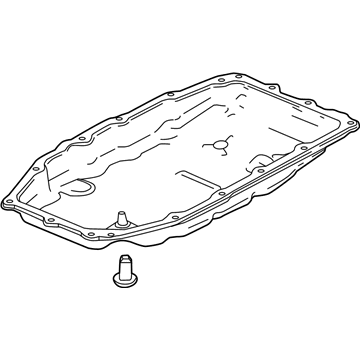
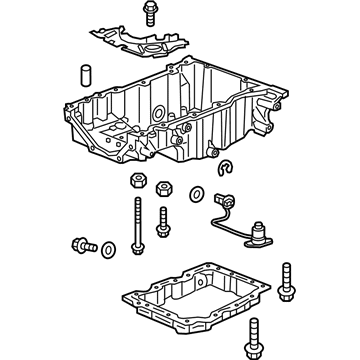
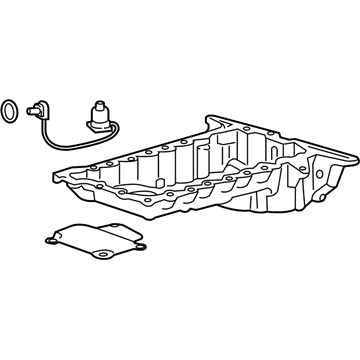
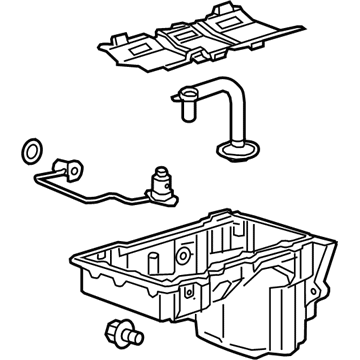
Oil Pan in GMC Canyon vehicles is one of the important and functional parts of the engine, which store the engine oil to lubricate and cool the parts of the engine. With the use of a wet sump system, the GMC Canyon's Oil Pan is used to gather oil pulled to the pickup tube by the oil pump and circulates the oil in the engine before it falls back in the pan. This design ensures that there is a constant supply of oil which is important in the efficiency of an engine. Traditionally, GMC Canyon Oil Pans are manufactured using stamped steel while technological improvements have seen the use of cast aluminum in many of the current models. All these evolutions help to increase the toughness and effectiveness of the system. In this case, while the GMC Canyon uses the wet sump system predominantly, it is very important to have some insight into the two types of oil pans and distinguish them, especially when talking about maintenance and performance during the sterner conditions.
GMC Canyon Oil Pan Parts Questions & Experts Answers
- Q: How to Properly Service and Replace the Oil Pan on GMC Canyon?A:The replacement of an Oil Pan starts with removing the oil level indicator and tube followed by removing the engine protection shield. First drain the engine oil then remove the necessary components to achieve sufficient space for Oil Pan replacement. The power steering gear must be removed when dealing with rwd models. Crews installing the front propeller shaft and differential carrier assembly bushing to frame bolts must pull the differential carrier assembly downward with a mounted pinion yoke to prevent rotation. First remove the service slot plug and then unfasten the brackets that hold the fuel hose/pipe in place by loosening the attached nuts. Finally detach the four lower transmission mounting bolts which connect to the Oil Pan. The power steering gear removal requires disassembly of steering gear mounting bolts in addition to pulling the gear downward. Remove the engine wiring harness retainers from the Oil Pan before unfastening the Oil Pan bolts. Apply two bolts into the threaded holes at the rear of the Oil Pan to function as jack screws before tightening them evenly so that the Oil Pan detaches from the engine block then extract the Oil Pan with its jack screws. Apply a 5.5 mm (0.22 in) bead of sealer to the Oil Pan marked areas after cleaning and inspecting the engine block sealing surface but avoid letting the sealer touch the oil pump pipe and screen assembly. Align the Oil Pan with the engine block by matching the rear Oil Pan surface to the rear block surface and performing proper alignment depending on transmission installation. Tighten the Oil Pan bolts beginning with side bolts at 25 n.m (18 lb ft) and moving to end bolts set to 10 n.m (89 lb in). Reattach the engine wiring harness retainers while raising the power steering gear into position followed by installation of the four lower transmission mounting bolts and torque them to 50 n.m (37 lb ft). Secure the transmission-facing nuts on the fuel hose/pipe bracket while tightening them to 20 n.m (15 lb ft) and install the service slot plug. The power steering gear should be installed as part of rwd setup. Install the front propeller shaft after positioning the differential carrier assembly to the frame while tightening bushing to frame bolts to 152 n.m (112 lb ft). Install the engine protection shield and oil level indicator and tube before you fill the engine with oil.
