ChevyParts
My Garage
My Account
Cart
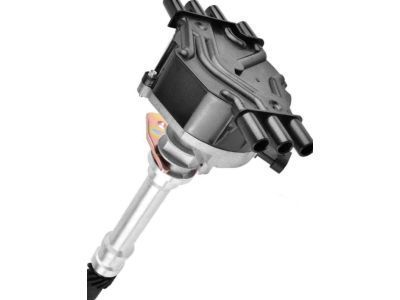
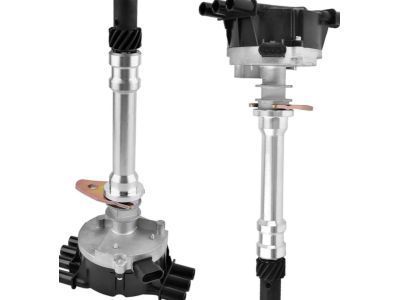
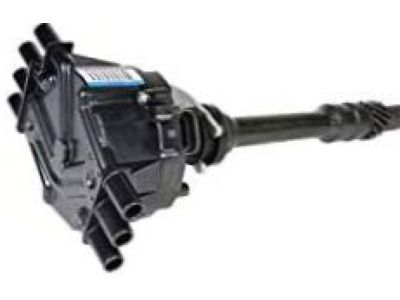
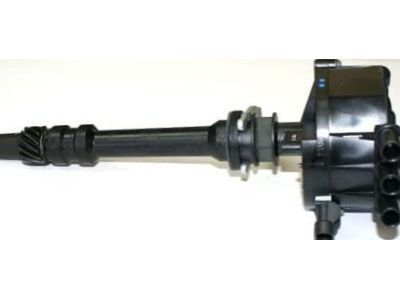
OEM GMC Sierra 1500 Classic Distributor
Ignition Distributor- Select Vehicle by Model
- Select Vehicle by VIN
Select Vehicle by Model
orMake
Model
Year
Select Vehicle by VIN
For the most accurate results, select vehicle by your VIN (Vehicle Identification Number).
1 Distributor found

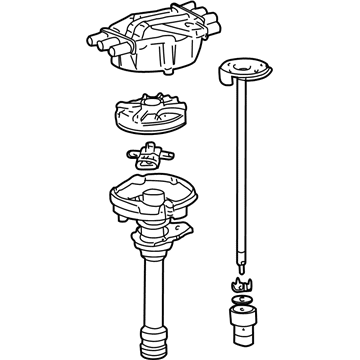
GMC Sierra 1500 Classic Distributor Assembly Part Number: 12598210
GMC Sierra 1500 Classic Distributor
Want to cut long-term maintenance and repair costs? Choose OEM Distributor. Those parts deliver top durability you can trust. On our site, you'll find a huge catalog of genuine GMC Sierra 1500 Classic parts. Prices are unbeatable, so you can keep more in your pocket. Every OEM GMC Sierra 1500 Classic Distributor includes a manufacturer's warranty. You can also get an easy return policy that keeps buying risk free. Fast delivery, get your car on the road quickly. It's simple to search, compare, and order. Stop guessing about quality or fit. Order today and save with parts that last.
GMC Sierra 1500 Classic Distributor Parts and Q&A
- Q: How to overhaul the distributor on GMC Sierra 1500 Classic?A:In order to overhaul this Distributor, start by removing the Distributor and marking the holes of the Distributor driven gear, shaft and rotor so that the correct assembly will be ensured. Line up the white paint mark on the bottom stem of the Distributor with the pre-drilled indent hole at the bottom of the gear and make sure the rotor segment is correctly set up for a v6 engine. Unscrew the rotor screws and the rotor, taking note of places where the rotor screw holes and rotor locator pin holes are located. Position the square-cut hole in the vane wheel over the cmp sensor, then remove and toss cmp sensor screws and cmp sensor. Write down the location of dimple below the roll pin hole on one side of the gear for accurate orientation at the time of assembling. Support Distributor drive gear on one end in a v-block and knock off the roll pin with suitable punch and take out the driven gear and the round washer, tang washer, shim washer, and oil seal. For assembly, align square-cut hole on vane wheel for the cmp sensor, and construct the cmp sensor onto it with new screws and 2.2 n.m(19 lb in). Locate the correct rotor mounting holes and install the Distributor rotor corresponding to the index marks by using the rotor screws and tightening to 1.9 n. M. (17 lb. In). Mount the shim washer, tang washer, and round washer, then install the driven gear with the index marks shown for a v6 engine and align the rotor segment as shown for a v6. Mount the gear and also align the white paint mark on the bottom stem of the Distributor with the pre-drilled indent hole on the bottom of the gear. Make sure that the installed dimple is not 180 degrees from the rotor segment. Place the Distributor drive gear into a v-block and insert the roll pin with the suitable punch and hammer. Finally, replace a brand new oil seal under mounting flange of Distributor base and reinstall the Distributor.
