ChevyParts
My Garage
My Account
Cart
OEM 2000 Cadillac DeVille Steering Knuckle
Front Steering Knuckle- Select Vehicle by Model
- Select Vehicle by VIN
Select Vehicle by Model
orMake
Model
Year
Select Vehicle by VIN
For the most accurate results, select vehicle by your VIN (Vehicle Identification Number).
3 Steering Knuckles found

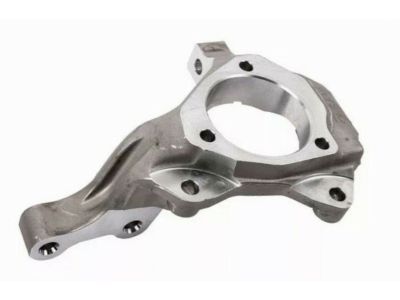
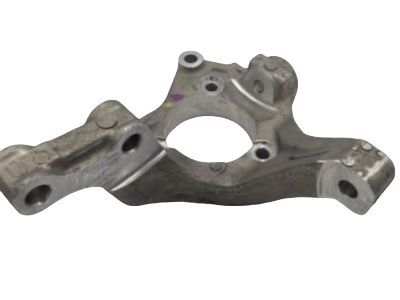
2000 Cadillac DeVille Knuckle, Driver Side Part Number: 23127629
$268.88 MSRP: $442.93You Save: $174.05 (40%)Ships in 1-2 Business DaysProduct Specifications- Other Name: Knuckle, Steering (Machining); Knuckle, Steering
- Position: Driver Side
- Replaces: 18060638, 18060652, 88955418, 10434254, 18060680, 20899802, 25816684, 22990752
- Item Weight: 5.10 Pounds
- Item Dimensions: 5.9 x 12.9 x 12.5 inches
- Condition: New
- Fitment Type: Direct Replacement
- SKU: 23127629
- Warranty: This genuine part is guaranteed by GM's factory warranty.
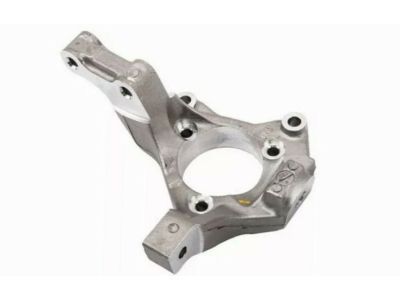
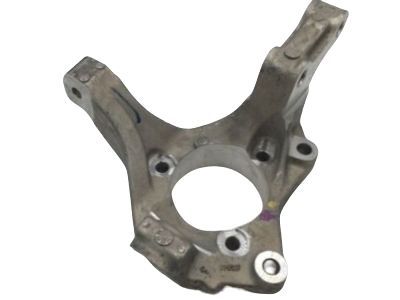
2000 Cadillac DeVille Knuckle, Passenger Side Part Number: 18060635
$164.43 MSRP: $376.96You Save: $212.53 (57%)Ships in 1-2 Business DaysProduct Specifications- Other Name: Knuckle, Steering
- Position: Passenger Side
- Replaces: 18021762, 18026646
- Item Weight: 5.90 Pounds
- Item Dimensions: 12.1 x 11.2 x 5.6 inches
- Condition: New
- Fitment Type: Direct Replacement
- SKU: 18060635
- Warranty: This genuine part is guaranteed by GM's factory warranty.

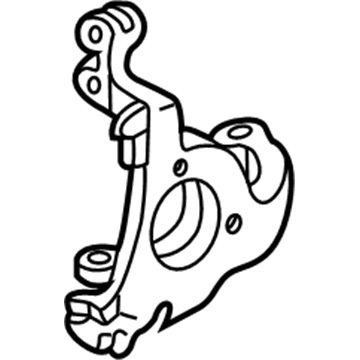
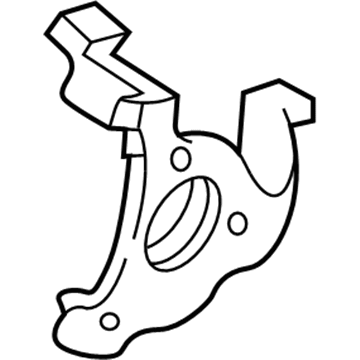
2000 Cadillac DeVille Knuckle, Driver Side Part Number: 18060634
Product Specifications- Other Name: Knuckle, Steering
- Position: Driver Side
- Replaces: 18021761
- Item Weight: 6.60 Pounds
- Item Dimensions: 11.6 x 11.6 x 7.2 inches
- Condition: New
- Fitment Type: Direct Replacement
- SKU: 18060634
- Warranty: This genuine part is guaranteed by GM's factory warranty.
2000 Cadillac DeVille Steering Knuckle
With a comprehensive array of OEM 2000 Cadillac DeVille Steering Knuckle, from fuel pumps to door handles, our website is a one-stop-shop for your needs. All our genuine 2000 Cadillac DeVille Steering Knuckle are backed by the manufacturer's warranty and are offered at competitive prices in the market. Rest assured, you can shop with complete confidence.
2000 Cadillac DeVille Steering Knuckle Parts Questions & Experts Answers
- Q: How to service and repair the steering knuckle for RPO FE7 on 2000 Cadillac DeVille?A: To service and repair Steering Knuckle for rpo fe7, one has to raise the vehicle and remove the wheel and tire. Then, take the cotter pin and nut off the lower Ball Joint, along with the wheel drive shaft nut, and, finally, remove the brake caliper bolts. Deposits the caliper away from the driving wheel, and has the rotor removed. Remove the wheel speed sensor connector and remove the hub and bearing retaining bolts. Use hub and bearing puller (J28733-B) to remove the hub and drive axle, and steering linkage and Tie Rod puller (J24319-B) to remove the Tie Rod from the Steering Knuckle. The lower arm, use the Ball Joint separator (j39549) to remove the ball joints from the Control Arm, then use the nuts and bolts to take the Steering Knuckle here from the strut to knuckle. The Steering Knuckle shall be attached to the strut, screwed to a tight strut to knuckle bolts 177 nm (131 ft. Lbs.). Install a new lower Ball Joint by connecting it, and tighten the Ball Joint stud nut to 30 nm (22 ft. Lbs.) with an extra 190 degrees, and install a new coter pin. Screw on the Tie Rod and tighten the Tie Rod end to knuckle nut to 30 nm (22 ft. Lbs.) plus 200 more degrees while making sure the cotter pin will be aligned, without backing off the nut. New hub and bearing install to Steering Knuckle/drive axle and install hub and bearing retaining bolts to 152 nm (112 ft. Lbs.). Reconnect the wheel speed sensor connector, rotor, followed by the caliper. Lastly, replace the drive axle nut by torquing it to 215 nm or 159 ft. Lbs. And wheel and tire which is torqued to 125 nm or 80 ft. Lbs. Check the wheel alignment as the final step of the process.
