OEM 2000 Chevrolet Tracker A/C Switch

Air Conditioning Switch
  • Select Vehicle by Model
  • Select Vehicle by VIN
Select Vehicle by Model
Make
Model
Year
or
Select Vehicle by VIN
For the most accurate results, select vehicle by your VIN (Vehicle Identification Number).

3 A/C Switches found

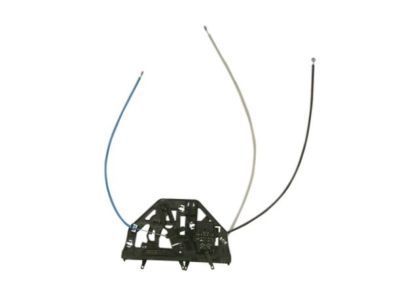
  • 2000 Chevy Tracker A/C Switch - 30021241
    2000 Chevy Tracker A/C Switch Diagram - 30021241
    View related parts
    Product Specifications
    • Other Name: Control, Heater Control; Climate Control Module; Dash Control Unit
    • Item Weight: 2.10 Pounds
    • Item Dimensions: 25.2 x 22.1 x 3.1 inches
    • Condition: New
    • Fitment Type: Direct Replacement
    • SKU: 30021241
    • Warranty: This genuine part is guaranteed by GM's factory warranty.
    More Info
    Fits the following 2000 Chevrolet Tracker Submodels:
    • Base, LSi, LT, ZR2 | 4 Cyl 1.6 L GAS, 4 Cyl 2.0 L GAS, 6 Cyl 2.5 L GAS
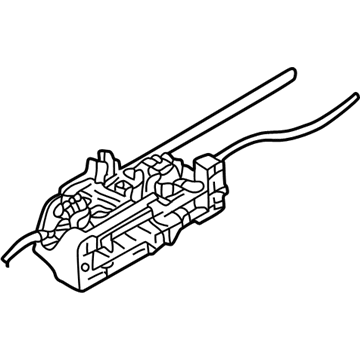
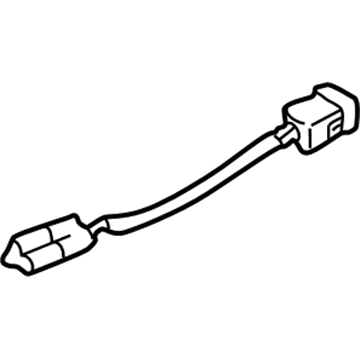
  • 2000 Chevy Tracker A/C Switch - 30026050
    2000 Chevy Tracker A/C Switch Diagram - 30026050
    View related parts
    Product Specifications
    • Other Name: Switch, Air Conditioner Electric Temperature And Motor Control; A/C Switch; Switch, A/C Electric Temperature And Motor Control
    • Replaces: 30021612
    • Item Weight: 0.30 Pounds
    • Item Dimensions: 7.1 x 2.1 x 1.2 inches
    • Condition: New
    • Fitment Type: Direct Replacement
    • SKU: 30026050
    • Warranty: This genuine part is guaranteed by GM's factory warranty.
    More Info
    Fits the following 2000 Chevrolet Tracker Submodels:
    • Base, LSi, LT, ZR2 | 4 Cyl 1.6 L GAS, 4 Cyl 2.0 L GAS, 6 Cyl 2.5 L GAS
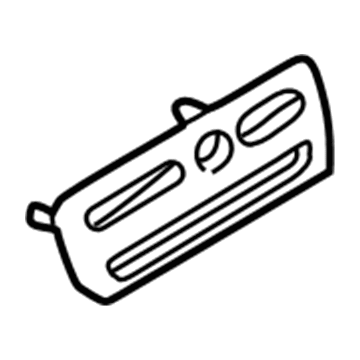
  • 2000 Chevy Tracker A/C Switch - 30021245
    2000 Chevy Tracker A/C Switch Diagram - 30021245
    View related parts
    Product Specifications
    • Other Name: Dial; Dial, Heater Control
    • Condition: New
    • Fitment Type: Direct Replacement
    • SKU: 30021245
    • Warranty: This genuine part is guaranteed by GM's factory warranty.
    Fits the following 2000 Chevrolet Tracker Submodels:
    • Base, LSi, LT, ZR2 | 4 Cyl 1.6 L GAS, 4 Cyl 2.0 L GAS, 6 Cyl 2.5 L GAS

2000 Chevrolet Tracker A/C Switch

With a comprehensive array of OEM 2000 Chevrolet Tracker A/C Switch, from fuel pumps to door handles, our website is a one-stop-shop for your needs. All our genuine 2000 Chevrolet Tracker A/C Switch are backed by the manufacturer's warranty and are offered at competitive prices in the market. Rest assured, you can shop with complete confidence.

2000 Chevrolet Tracker Parts Questions & Experts Answers

  • Q: How to replace the A/C Switch control assembly on 2000 Chevrolet Tracker?
    A: Begin control assembly replacement by detaching the mode control cable at the heater case along with defroster switch disconnection if present followed by removing two screws for the defroster switch. Start by taking out the temperature control cable at the heater case then open the instrument panel (IP) compartment using the left and right side levers to bring it down. Disconnect the fresh/recirc control cable at the blower case then separate the A/C Switch connector if present while removing the ip cluster trim bezel. Push the heater control fascia off the control assembly with gentle pressure followed by twisting the bulb socket to break loose. First disconnect the blower switch electrical connector and remove the three screws. Then pull the heater control unit through the ip as you tilt it to one side. Note how the cables route through the unit before removing the heater control assembly with its connected cables intact. The blower switch and A/C Switch must be removed from the heater control unit when needed. Process the heater control unit control cables by sliding the temperature control sheath from the unit and unhooking it from lever arms. To attach control cables to the heater control unit simply slide their ends into lever arm holes then pull sheaths back and dock retainers before securing them by snapping them into place. Position the cables and tilt the heater control unit to one side while installing it to the ip after you place the A/C Switch and blower switch to the heater control unit when necessary. Complete the blower switch electrical connection before adding the bulb socket and heater control fascia and the three screws. Place the ip cluster trim bezel first along with knobs back on control levers and connect the A/C Switch connector when a/c functionality is available. Attach the fresh/recirc control cable to its specific pin on the fresh/recirc door then lock it into position on the heater case clip. Before continuing close the ip compartment so you can install the temperature control cable and mode control cable at the heater case. Finish the installation by connecting the defroster switch if necessary followed by reinstalling it to the mounting points using two screws simultaneously. Make adjustments to the control cables if required.

Related 2000 Chevrolet Tracker Parts