ChevyParts
My Garage
My Account
Cart
OEM 2001 Cadillac Catera A/C Expansion Valve
Air Conditioning Expansion Valve- Select Vehicle by Model
- Select Vehicle by VIN
Select Vehicle by Model
orMake
Model
Year
Select Vehicle by VIN
For the most accurate results, select vehicle by your VIN (Vehicle Identification Number).
1 A/C Expansion Valve found
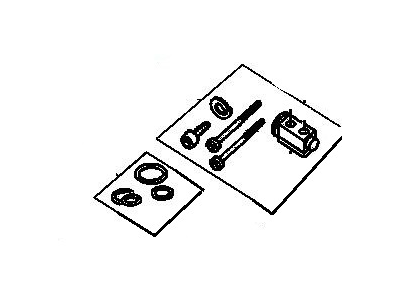
2001 Cadillac Catera Expansion Valve Part Number: 9119416
Product Specifications- Other Name: Valve, A/C Evaporator Thermostat Expansion; A/C Expansion Valve; Valve, A/C Expansion Refrigerant
- Item Weight: 0.30 Pounds
- Item Dimensions: 9.5 x 8.1 x 0.8 inches
- Condition: New
- Fitment Type: Direct Replacement
- SKU: 9119416
- Warranty: This genuine part is guaranteed by GM's factory warranty.
2001 Cadillac Catera A/C Expansion Valve
With a comprehensive array of OEM 2001 Cadillac Catera A/C Expansion Valve, from fuel pumps to door handles, our website is a one-stop-shop for your needs. All our genuine 2001 Cadillac Catera A/C Expansion Valve are backed by the manufacturer's warranty and are offered at competitive prices in the market. Rest assured, you can shop with complete confidence.
2001 Cadillac Catera A/C Expansion Valve Parts and Q&A
- Q: How to replace the A/C Expansion Valve in a system on 2001 Cadillac Catera?A: In order to replace the thermal expansion valve (TXV), drain refrigerant out of the A/C system. Eliminate the required parts, untie the electrical connectors, and remove the TXV. Install new TXV using lubricated O-rings and lock it in, and then put back other components. Lastly, drain and recharge the A/C system, and leak test it.


