ChevyParts
My Garage
My Account
Cart
OEM Buick Universal Joint
U-Joint- Select Vehicle by Model
- Select Vehicle by VIN
Select Vehicle by Model
orMake
Model
Year
Select Vehicle by VIN
For the most accurate results, select vehicle by your VIN (Vehicle Identification Number).
2 Universal Joints found

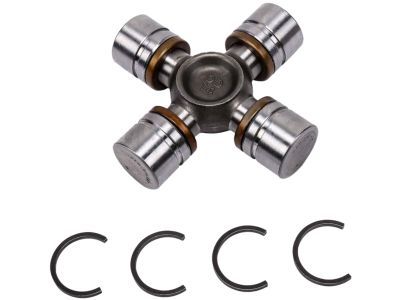
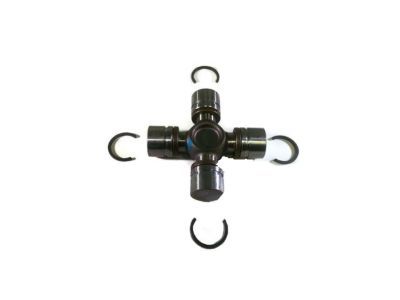
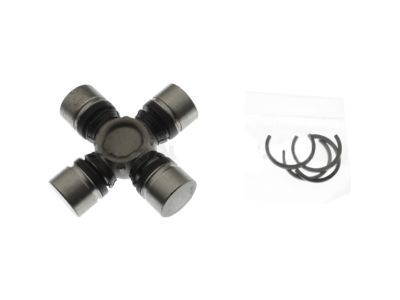
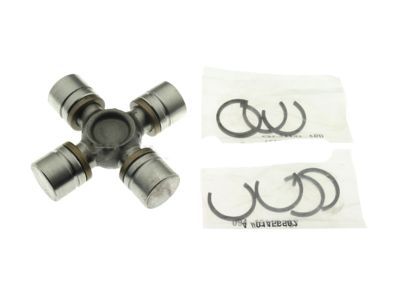
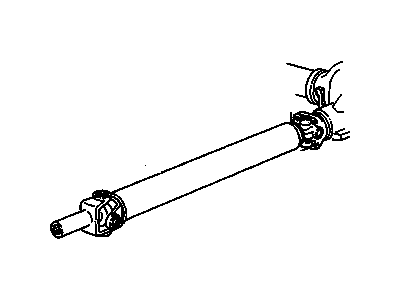
Buick Universal Joints Part Number: 23104840
$36.45 MSRP: $88.98You Save: $52.53 (60%)Product Specifications- Other Name: Joint Kit, Propeller Shaft Universal Joint; U Joint
- Position: Front
- Replaces: 12471502, 12479126, 26042371
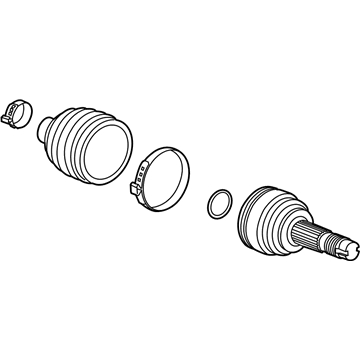
Buick Outer Joint, Inner Part Number: 84282539
$73.61 MSRP: $115.30You Save: $41.69 (37%)Product Specifications- Other Name: Inner CV Joint; CV Joint
- Position: Inner
- Replaces: 38028718
Buick Universal Joint
Want to cut long-term maintenance and repair costs? Choose OEM Universal Joint. Those parts deliver top durability you can trust. On our site, you'll find a huge catalog of genuine Buick parts. Prices are unbeatable, so you can keep more in your pocket. Every OEM Buick Universal Joint includes a manufacturer's warranty. You can also get an easy return policy that keeps buying risk free. Fast delivery, get your car on the road quickly. It's simple to search, compare, and order. Stop guessing about quality or fit. Order today and save with parts that last.
Buick Universal Joint Parts Questions & Experts Answers
- Q: How to Properly Service a Universal Joint with a Nylon Injected Ring on Buick Rainier?A:Start replacing the universal joint with a nylon injected ring using two essential tools: U Joint Bearing Separator (J 9522-3) and U Joint Bearing Spacer Remover (J 9522-5). Rest the propeller shaft parallel to ground without clamping tubing directly because it can hurt the parts. Note the exact locations where you installed the propeller shaft. Fit the universal joint onto a 1 1/8 inch socket with the yoke lower ear and push the U Joint Bearing Separator (J 9522-3) to pop the retaining ring and push the lower bearing cup out of the yoke ear. You can use the U Joint Bearing Spacer Remover (J 9522-5) to completely remove the bearing cup from the seal space when the seal space does not detach fully. Move the shaft to remove the bearing cup from the opposite end of the slip yoke while documenting its correct installation position. Check the cross and joint parts for any remaining components. Also search for damage on the path of the retaining ring and bearing opening. You need to clean every recovered plastic fragment from both bearing cup bores before installing replacement parts. Place one bearing cup in the yoke and fit the cross over it before pressing the cup firmly against the yoke ear. Use this method to place the bearing cups correctly on the other trunnion. Keep pushing down the bearing cup until the retainer groove empties before placing the bearing retainer into position and pressing both retainers to secure them. A dead blow hammer will help when needing to press the retainer into place along with chassis grease to make snap ring installation easier.
