ChevyParts
My Garage
My Account
Cart
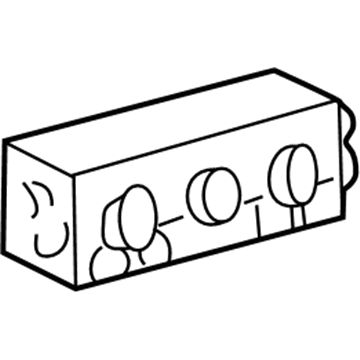
OEM Cadillac Escalade ESV HVAC Control Module
Heater Control Assembly- Select Vehicle by Model
- Select Vehicle by VIN
Select Vehicle by Model
orMake
Model
Year
Select Vehicle by VIN
For the most accurate results, select vehicle by your VIN (Vehicle Identification Number).
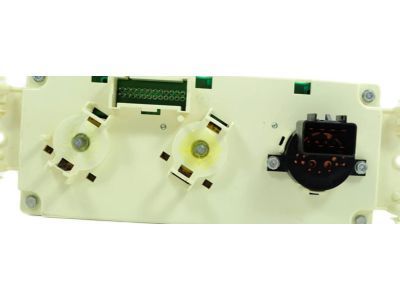
11 HVAC Control Modules found

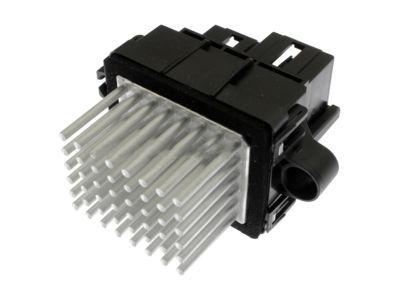
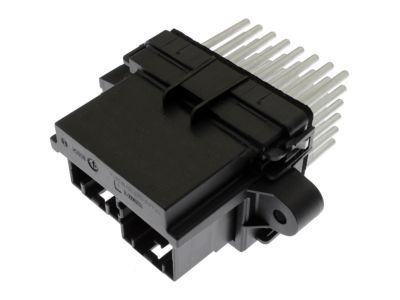
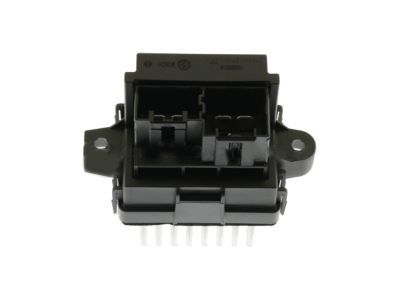
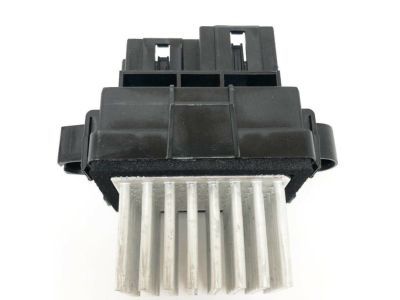
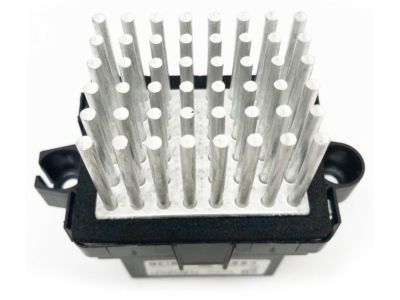
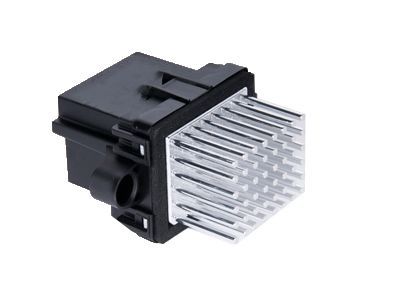
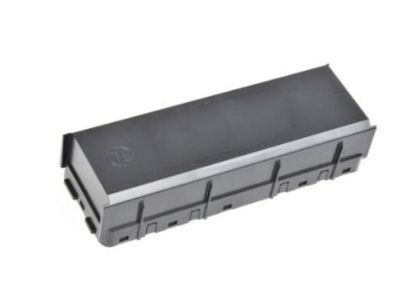
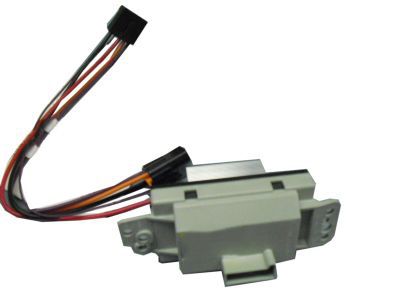
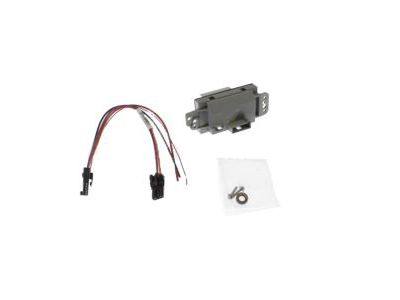
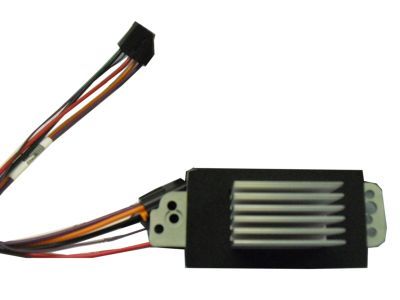
Cadillac Escalade ESV Blower Motor Resistor Part Number: 84178783
$89.14 MSRP: $183.19You Save: $94.05 (52%)Ships in 1-2 Business Days
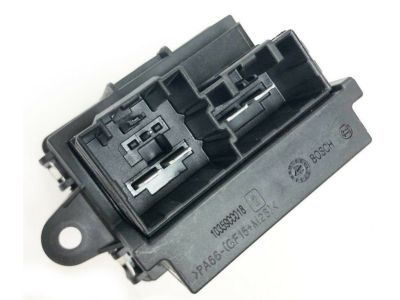
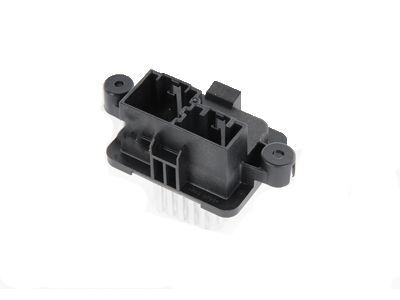
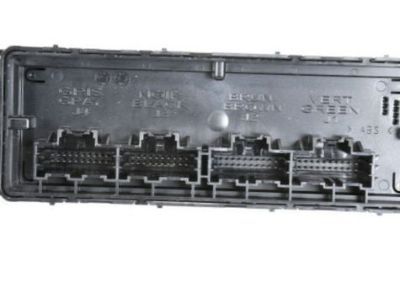
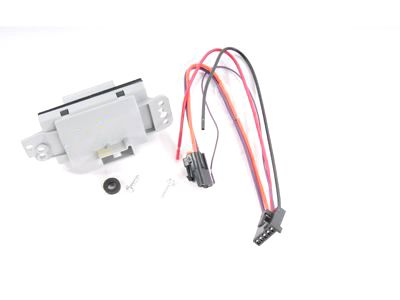
Cadillac Escalade ESV Control Module Part Number: 84097840
$94.51 MSRP: $194.20You Save: $99.69 (52%)Ships in 1-2 Business Days
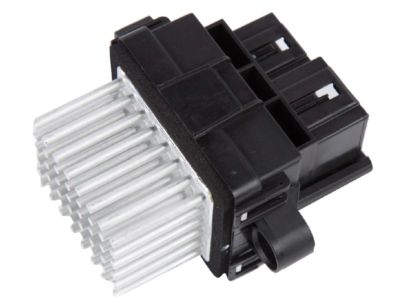
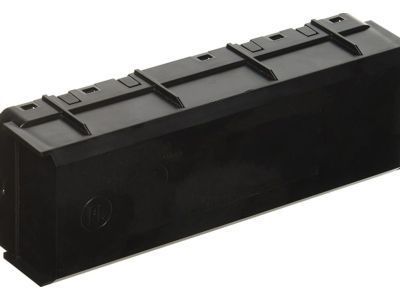
Cadillac Escalade ESV Control Module Part Number: 19260762
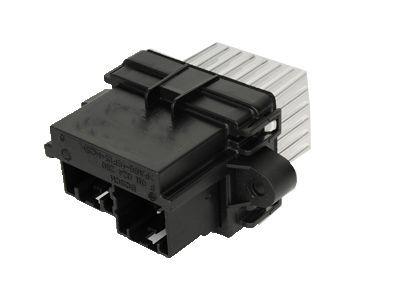
$79.78 MSRP: $163.98You Save: $84.20 (52%)Ships in 1-3 Business DaysCadillac Escalade ESV Blower Motor Resistor Part Number: 84488485
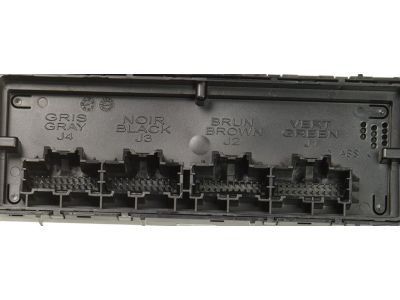
$39.23 MSRP: $70.05You Save: $30.82 (44%)Ships in 1-3 Business DaysCadillac Escalade ESV Control Module Part Number: 13506230
$98.81 MSRP: $203.07You Save: $104.26 (52%)Ships in 1-2 Business Days
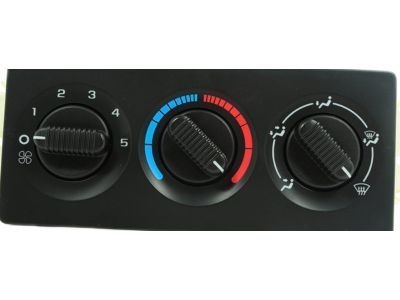
Cadillac Escalade ESV Heater Control Part Number: 15763059
Cadillac Escalade ESV Dash Control Unit Part Number: 19417446
$165.06 MSRP: $259.72You Save: $94.66 (37%)Cadillac Escalade ESV Heater Control, Front Part Number: 19370231
$237.42 MSRP: $373.56You Save: $136.14 (37%)Cadillac Escalade ESV Heater Control Part Number: 19370216
$174.14 MSRP: $274.00You Save: $99.86 (37%)Cadillac Escalade ESV Heater Control Part Number: 19370209
$169.27 MSRP: $266.33You Save: $97.06 (37%)
Cadillac Escalade ESV HVAC Control Module
Want to cut long-term maintenance and repair costs? Choose OEM HVAC Control Module. Those parts deliver top durability you can trust. On our site, you'll find a huge catalog of genuine Cadillac Escalade ESV parts. Prices are unbeatable, so you can keep more in your pocket. Every OEM Cadillac Escalade ESV HVAC Control Module includes a manufacturer's warranty. You can also get an easy return policy that keeps buying risk free. Fast delivery, get your car on the road quickly. It's simple to search, compare, and order. Stop guessing about quality or fit. Order today and save with parts that last.
Cadillac Escalade ESV HVAC Control Module Parts Questions & Experts Answers
- Q: How to replace the auxiliary HVAC Control Module on Cadillac Escalade ESV?A:To replace the auxiliary HVAC module in a tahoe, yukon, or escalade, recover the refrigerant from the A/C system and drain the engine coolant first. Lift up the vehicle and detach the heater lines (2, 3) and air conditioning lines (4, 5) from the auxiliary HVAC module located under the vehicle. Remove the nuts from the studs, securing the module, then drop the vehicle and remove the right rear quarter trim panel. Sheed the upper auxiliary air duct, remove the fastener for the upper auxiliary air duct, and carefully slide the duct up into the headliner then disconnect the electrical connectors from the auxiliary HVAC module. Take out the fasteners that hold the auxiliary HVAC module in place and remove the module from the vehicle. For installation, return the auxiliary HVAC module assembly back into the vehicle, home it in with 2 bolts. In the vehicle. Replace fastener , reconnect electrical connectors to auxiliary HVAC module, and install upper auxiliary air duct back on to air distributor duct. Replace the right rear quarter trim panel; hoist the vehicle again and mount the nuts that fasten auxiliary HVAC module torque to 9 N.m (80 lb in). Attach the air conditioning lines (4, 5) and the nut to the auxiliary HVAC module and tighten the nut to 16 N.m 12 lb ft) and install the heater lines (2, 3) at the underside of the vehicle. Lower the vehicle, check level of coolant, the engine, recharge the refrigerant, and lastly carry out a leakage test on the fittings using Halogen Leak Detector (J 39400-A).
