ChevyParts
My Garage
My Account
Cart
OEM Cadillac XLR Shift Cable
Transmission Shift Cable- Select Vehicle by Model
- Select Vehicle by VIN
Select Vehicle by Model
orMake
Model
Year
Select Vehicle by VIN
For the most accurate results, select vehicle by your VIN (Vehicle Identification Number).
2 Shift Cables found

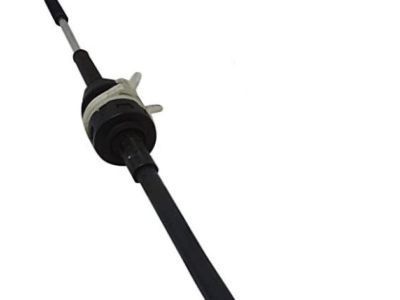
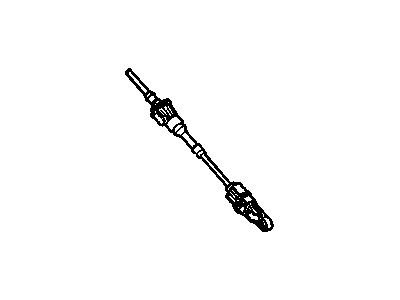
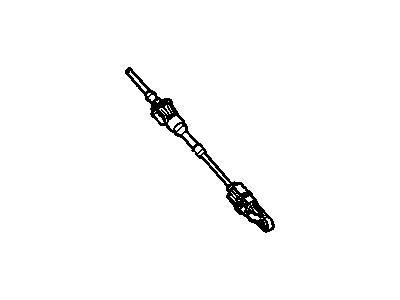
Cadillac XLR Shift Control Cable Part Number: 12569499
Cadillac XLR Shift Control Cable Part Number: 10347385
Cadillac XLR Shift Cable
Want to cut long-term maintenance and repair costs? Choose OEM Shift Cable. Those parts deliver top durability you can trust. On our site, you'll find a huge catalog of genuine Cadillac XLR parts. Prices are unbeatable, so you can keep more in your pocket. Every OEM Cadillac XLR Shift Cable includes a manufacturer's warranty. You can also get an easy return policy that keeps buying risk free. Fast delivery, get your car on the road quickly. It's simple to search, compare, and order. Stop guessing about quality or fit. Order today and save with parts that last.
Transmitting signals through gear shifter input is one fundamental function of the Cadillac XLR Shift Cable to maintain Cadillac XLR vehicle performance. The Shift Cable connects gear shifter to transmission therefore enabling smooth gear changes through precise engagement. Higher Shift Cable reliability ensures the Cadillac XLR operates efficiently and safely because transmission performance problems will arise from any Shift Cable issues. The Shift Cable functions with all models of Cadillac XLR from 2003 to 2009 to provide sturdy automobile performance enhancements for driving conditions. Vehicle functionality and performance stay optimally maintained when vehicle owners maintain regular check-ups of their Shift Cable along with scheduled replacements. The Cadillac XLR Shift Cable leads the automotive market with its strong construction and exceptional performance reliability throughout changing driving conditions. The component stands as a the brand innovation because it combines durable components with efficient operation features. The part acts as a critical component of the automaker model engineering which elevates its efficiency while providing safety and enjoyment features to become a luxury roadster known for its style and substance capabilities.
Cadillac XLR Shift Cable Parts Questions & Experts Answers
- Q: How to Ensure Proper Functionality of the Shift Cable on Cadillac XLR?A:The first step to replace the Shift Cable requires supporting the car vertically. Set the floor shift control to neutral position because a replacement of damaged cables requires both floor shift control and transmission to be in neutral. Before removing the driveline tunnel panel you need to be cautious about shifting the Shift Cable since the rod end guide tubes maintain their rigid shape. The large flat bladed screwdriver helps to carefully extract the Shift Cable end clip from the floor shift control arm stud. After releasing the cable end clip workers must take out the Shift Cable from the driveline tunnel bracket by dislodging the cable retaining staple clip from the cable and pressing retaining tabs through the bracket hole to extract the cable from its slot. To uninstall the Shift Cable retrieve the end clip from the transmission shift lever stud and remove the Shift Cable from the Shift Cable bracket by dislodging the retaining staple clip from the cable and pushing through the bracket hole to free the cable at the bracket slot. The smaller diameter end of the Shift Cable should be placed inside the slot of the driveline tunnel bracket before pushing the retaining tabs through the hole while applying the staple clip for security. Secure the Shift Cable end to the floor shift control arm stud and follow by installing the Shift Cable to the Shift Cable bracket by inserting the smaller diameter portion into the slot and pushing its retaining tabs through the hole and finally inserting the staple clip. Detach the Shift Cable end clip properly to the transmission shift lever stud. For new transmission Shift Cable installation you must first remove the adjuster lock shipping guard then manipulate the adjuster lock downwards. To check the Shift Cable features perform the following tests after lowering the car on the hoist by keeping it in place: activate the parking brake and turn on the Ignition Switch without starting the engine then press the regular brakes followed by gear shifts that need one-second pauses using each detent position while listening for transmission shift lever noises. Perform the previous procedure by shifting from park to first and then repeat it twice more. A visual inspection of the Shift Cable should be conducted to check for possible damage when no binding sensations appear during inspection. The floor shift control should be shifted into park position while releasing regular brakes followed by an off position of the ignition key and release of the parking brake. Bring the vehicle up with raising support while adding the driveline tunnel closeout panel followed by testing shifts through low-traffic roads to verify each detent position control.


