ChevyParts
My Garage
My Account
Cart
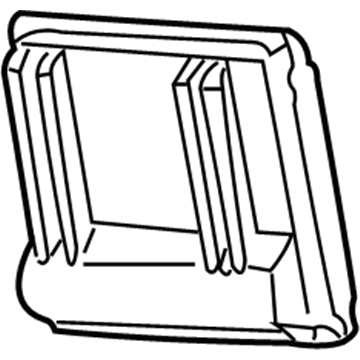
OEM Chevrolet Classic Engine Control Module
Engine Control Computer- Select Vehicle by Model
- Select Vehicle by VIN
Select Vehicle by Model
orMake
Model
Year
Select Vehicle by VIN
For the most accurate results, select vehicle by your VIN (Vehicle Identification Number).
1 Engine Control Module found
Chevrolet Classic Control Module Part Number: 19210073
$217.58 MSRP: $401.22You Save: $183.64 (46%)
Chevrolet Classic Engine Control Module
Want to cut long-term maintenance and repair costs? Choose OEM Engine Control Module. Those parts deliver top durability you can trust. On our site, you'll find a huge catalog of genuine Chevrolet Classic parts. Prices are unbeatable, so you can keep more in your pocket. Every OEM Chevrolet Classic Engine Control Module includes a manufacturer's warranty. You can also get an easy return policy that keeps buying risk free. Fast delivery, get your car on the road quickly. It's simple to search, compare, and order. Stop guessing about quality or fit. Order today and save with parts that last.
Chevrolet Classic Engine Control Module Parts Questions & Experts Answers
- Q: How to replace the Engine Control Module (ECM) on Chevrolet Classic?A:Disconnect or reconnect the pcm connector only when the ignition is off because doing so without power allows internal damage to occur. The process starts by disconnecting the negative Battery Cable before taking off the left closeout/insulator panel. The pins on the pcm connector along with soldered components must be protected from electrostatic discharge through avoidance of touching them to prevent failure. Also avoid removing integrated circuit boards from their carrier. The pcm harness connectors need disconnection by using a thumb to push down the locking tab and pull up the release lever. Use a finger to make the pcm retaining tab depression while sliding the pcm unit upward and out of the pcm bracket. The new pcm requires inspection to verify its service number matches the one from the defective unit. Bolt the new pcm into position through the bracket while allowing the retaining tab to produce a locking connection before installing the pcm connectors and securing all release levers. Put back the left closeout/insulator panel and then close the negative Battery Cable terminal. The replacement pcm needs reprogramming while the maintenance of crankshaft position (CKP) system variation learn process should happen immediately. The service programming system (SPS) should be used to program the existing pcm.


