ChevyParts
My Garage
My Account
Cart
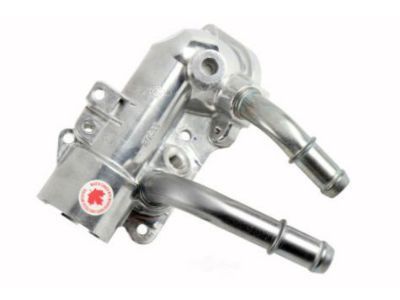
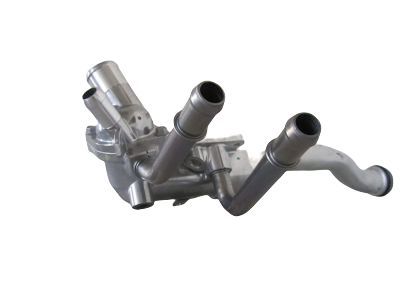
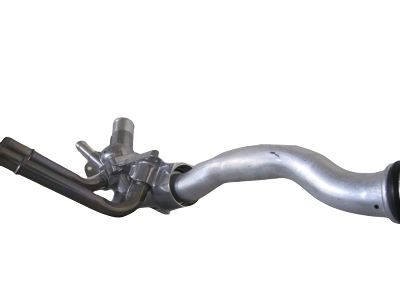
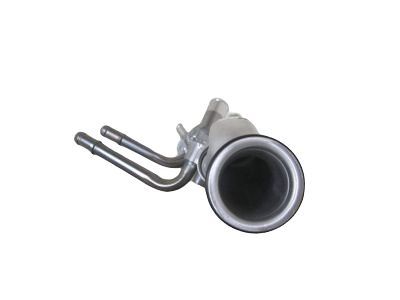
OEM Chevrolet HHR Thermostat Housing
Engine Coolant Thermostat Housing- Select Vehicle by Model
- Select Vehicle by VIN
Select Vehicle by Model
orMake
Model
Year
Select Vehicle by VIN
For the most accurate results, select vehicle by your VIN (Vehicle Identification Number).
3 Thermostat Housings found

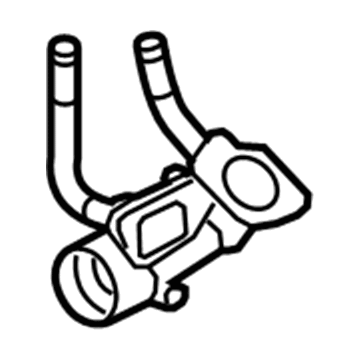
Chevrolet HHR Thermostat Housing, Green Line Part Number: 12597172
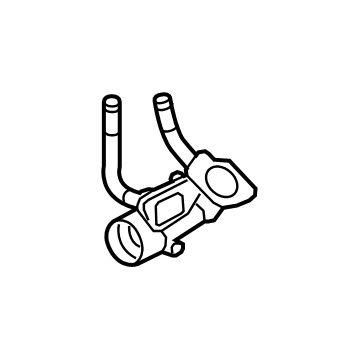
$98.01 MSRP: $201.41You Save: $103.40 (52%)Ships in 1-2 Business DaysChevrolet HHR Thermostat Housing Part Number: 12605853
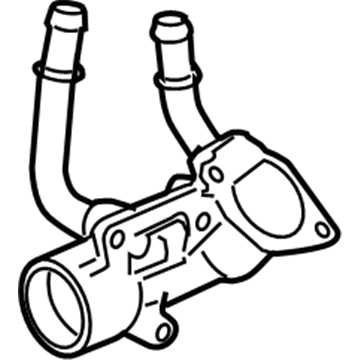
$99.70 MSRP: $204.86You Save: $105.16 (52%)Chevrolet HHR Thermostat Housing Part Number: 12590275
Chevrolet HHR Thermostat Housing
Want to cut long-term maintenance and repair costs? Choose OEM Thermostat Housing. Those parts deliver top durability you can trust. On our site, you'll find a huge catalog of genuine Chevrolet HHR parts. Prices are unbeatable, so you can keep more in your pocket. Every OEM Chevrolet HHR Thermostat Housing includes a manufacturer's warranty. You can also get an easy return policy that keeps buying risk free. Fast delivery, get your car on the road quickly. It's simple to search, compare, and order. Stop guessing about quality or fit. Order today and save with parts that last.
Thermostat Housing is a crucial part that speaks about the steadiness and power of the Chevrolet HHR model year, which was between 2005 and 2011. This Thermostat Housing is expressly significant for engine management, as it contains the thermostat and influences the flow of coolant which is of a great importance for avoiding problems connected with engine overheating and maintaining proper, given temperature. Protecting the automobile from various environmental changes is possible through the Thermostat Housing differently; they are made of metal or high-grade plastic. Although metal offers stronger material for construction, plastic model may not corrode and rust as easily as the metal types, thus they are preferred by Chevrolet lovers. Therefore, given that it is compatible with other HHR models and employs the 2.0L, 2.2L, and 2.4L Ecotec engine, this Thermostat Housing is adaptable to the needs of HHR users. The swivel and angled water necks are great additions as they offer the freedom of hose routing which is a great characteristic for those who have complex configurations. Thermostat Housing improves the engine performance while adding to the safety of the automobile through appropriate temperatures. The Thermostat Housing's auto part features O-ring that guarantees the car does not leak and it has several finishes, making it imperative in the extension of Chevrolet HHR's longevity and proper functioning.
Chevrolet HHR Thermostat Housing Parts Questions & Experts Answers
- Q: How to replace the thermostat housing for RPO L61 on Chevrolet HHR?A:Before starting Thermostat housing replacement for rpo l61 vehicles begin by draining the coolant system through the water pump drain before tightening the drain bolt. Before proceeding drop the vehicle or unplug the engine coolant temperature (ECT) sensor electrical connector for automatic transaxles or manual transaxles whenever possible. When required you will need to remove the ect sensor followed by relocating the radiator outlet hose clamp before extracting the hose from the Thermostat housing. Begin by removing the nuts from the air cleaner bracket and continue with the Exhaust Heat Shield studs before extracting the Exhaust Heat Shield. Reposition all heater hose clamps and disconnect ventilation hoses from their corresponding pipes on the Thermostat housing then lift the vehicle upward. Remove Thermostat housing bolts (3, 4) before twisting the water transfer pipe to separate it from the water pump. You should remove the water transfer pipe from the Thermostat housing before discarding both o-ring seals. Extract the Thermostat housing cover bolts and cover and the Thermostat before discarding the applicable o-ring seal from the Thermostat housing. Clean all material and thread sealant from the engine Coolant Temperature Sensor and bolt holes when using the same housing. Place a new o-ring seal on the recess groove before installing the Thermostat housing cover bolts to 10 nm (89 inch lbs.) and attaching the Thermostat when needed. After putting the new Thermostat housing to engine gasket into position carefully fit the assembly and apply a light layer of coolant to the water feed pipe seals before adding new o-ring seals to the pipe ends. Position the water pipe next to the water pump then install the water feed o-ring seal afterward position the Thermostat housing against the engine. Screw on Thermostat housing bolts (3, 4) to 10 nm (89 inch lbs.) before lowering the vehicle. Finally, install the heater inlet and outlet hoses to their respective pipes on the Thermostat housing while positioning clamps correctly. Use the Exhaust Heat Shield by tightening the studs above 22 nm (16 ft. Lbs.). Reinstall the air cleaner bracket after tightening its nuts at 10 nm (89 inch lbs.). After reinstalling the radiator outlet hose onto the Thermostat housing, position theclamp and place the ect sensor in position if necessary. After hooking up the ect sensor electrical connector for manual systems the technician must install the ho2s electrical connector clip on the Thermostat housing. The first step is maintaining vehicle levelness before adding coolant solution and checking drain controls at both radiator and water pump locations for closure. The repair can be verified through a leak inspection after lowering the vehicle.
