ChevyParts
My Garage
My Account
Cart
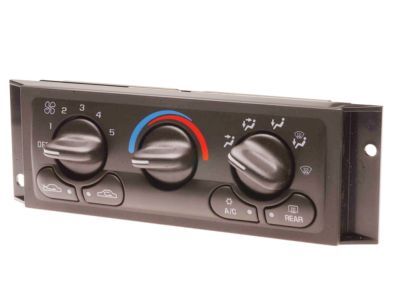
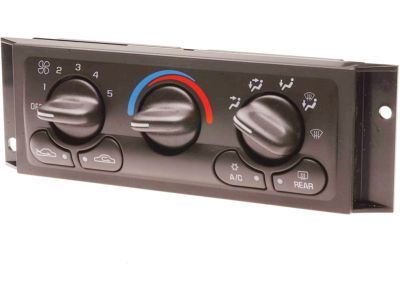
OEM 2002 Chevrolet Monte Carlo A/C Switch
Air Conditioning Switch- Select Vehicle by Model
- Select Vehicle by VIN
Select Vehicle by Model
orMake
Model
Year
Select Vehicle by VIN
For the most accurate results, select vehicle by your VIN (Vehicle Identification Number).
2 A/C Switches found

2002 Chevrolet Monte Carlo Control Panel Part Number: 10447471
Product Specifications- Other Name: Control Assembly-Heater & A/C; Climate Control Module; Blower Control Switch; Heater Control; Dash Control Unit; Control, Heater And A/C Control
- Replaces: 9384461, 09384461
- Item Weight: 2.60 Pounds
- Item Dimensions: 12.4 x 10.2 x 8.2 inches
- Condition: New
- Fitment Type: Direct Replacement
- SKU: 10447471
- Warranty: This genuine part is guaranteed by GM's factory warranty.
2002 Chevrolet Monte Carlo Control Panel Part Number: 19370208
$168.71 MSRP: $302.62You Save: $133.91 (45%)Product Specifications- Other Name: Control, Air Conditioner Instrument Panel; Climate Control Module; Blower Control Switch; Heater Control; Dash Control Unit; Control, Heater And A/C Control
- Replaces: 10308121, 10447472, 09384451, 09379021, 9375481, 9379021, 09375481, 9384451
- Item Weight: 1.20 Pounds
- Item Dimensions: 11.6 x 4.8 x 5.0 inches
- Condition: New
- Fitment Type: Direct Replacement
- SKU: 19370208
- Warranty: This genuine part is guaranteed by GM's factory warranty.
2002 Chevrolet Monte Carlo A/C Switch
With a comprehensive array of OEM 2002 Chevrolet Monte Carlo A/C Switch, from fuel pumps to door handles, our website is a one-stop-shop for your needs. All our genuine 2002 Chevrolet Monte Carlo A/C Switch are backed by the manufacturer's warranty and are offered at competitive prices in the market. Rest assured, you can shop with complete confidence.
2002 Chevrolet Monte Carlo A/C Switch Parts and Q&A
- Q: How to replace the A/C Switch control assembly on 2002 Chevrolet Monte Carlo?A: In order to access the HVAC control assembly and replace it, take away the instrument panel trim plate bezel and front floor console. Removal of retaining screws and the removal of HVAC control module in the panel. Unplug the connectors, reinsert the module with screws and replace the trim plate and console.


