ChevyParts
My Garage
My Account
Cart
OEM GMC Safari Universal Joint
U-Joint- Select Vehicle by Model
- Select Vehicle by VIN
Select Vehicle by Model
orMake
Model
Year
Select Vehicle by VIN
For the most accurate results, select vehicle by your VIN (Vehicle Identification Number).
2 Universal Joints found

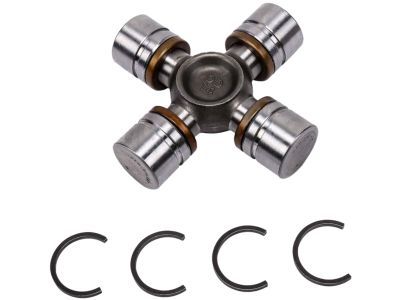
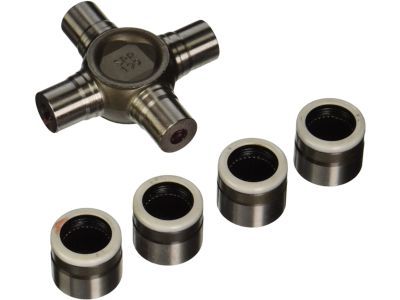
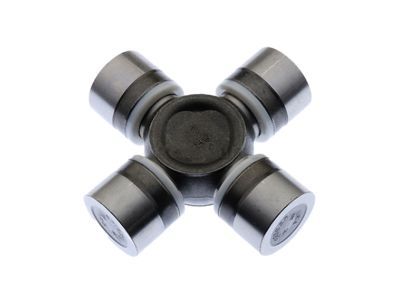
GMC Safari Universal Joints Part Number: 23104840
$36.45 MSRP: $88.98You Save: $52.53 (60%)
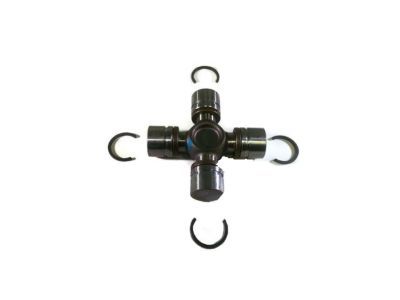
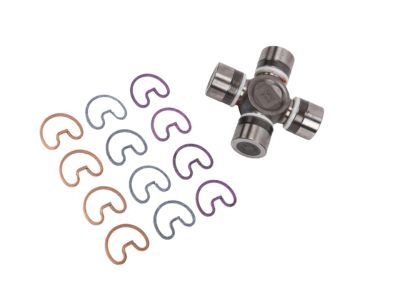
GMC Safari Universal Joints Part Number: 89059111
$163.83 MSRP: $273.43You Save: $109.60 (41%)Ships in 1-2 Business Days
GMC Safari Universal Joint
Want to cut long-term maintenance and repair costs? Choose OEM Universal Joint. Those parts deliver top durability you can trust. On our site, you'll find a huge catalog of genuine GMC Safari parts. Prices are unbeatable, so you can keep more in your pocket. Every OEM GMC Safari Universal Joint includes a manufacturer's warranty. You can also get an easy return policy that keeps buying risk free. Fast delivery, get your car on the road quickly. It's simple to search, compare, and order. Stop guessing about quality or fit. Order today and save with parts that last.
The Universal Joint is a factor highly appreciated and trusted relative to its contributions in the achievement of essential functions in GMC Safari vehicles. For smooth running the driveshaft must be able to tilt from a plane to another and this is where the Universal Joint comes in because it embodies the ability to compensate for angle differences due to the movement of the axle assembly due to the suspension. This feature is especially relevant to different GMC Safari models as it improves vehicle performance in terms of fuel consumption and reduces the risk of failure in rodents' joints that often cause knock by developing comfortable and operational noiseless movements. Universal Joint consists of a cross as well as needle bearings and is accommodated in hardened metal cups, usually lubricated before being used. The Universal Joint must be inspected regularly because worn parts of it can significantly affect the performance of the equipment. One ought to appreciate the compatibility of the GMC Safari with other models; this further cements the vehicle's reputation of being the go-to model for many drivers seeking reliable performance. Also, included in the new models of GMC Safari was the throttle body fuel injection which enhanced the fuel efficiency; thus, indicating the relevance of the Universal Joint for enhancing vehicle performance. Operating since 2005, the GMC Safari universal joint is designed with considerable durability and significant functionality that still makes GMC Safari a popular vehicle for private usage and additional business needs. All in all, the Universal Joint is a reflection of GMC's dedication to excellent production and excellent technology that goes into vehicle production.
GMC Safari Universal Joint Parts Questions & Experts Answers
- Q: What tools are required to service and repair the universal joint with an external snap ring on GMC Safari?A:The proper tools to maintain an external snap ring Universal Joint are a u-joint bearing separator part number j 9522-3 and u-joint bearing spacer remover part number j 9522-5. Place the propeller shaft on a press then set it horizontally for service. Indicate on the propeller shaft which ends need to connect to the transmission or transfer case and to the rear or front axle. Use pliers to grip the snap ring ends and remove it; when a ring does not come out freely hit gently on the bearing cup's end to release pressure. Apply the 30 mm (1 1/8 inch) socket at the lower yoke ear to hold the support position and press the lower bearing cup out of the yoke ear using the u-joint bearing separator tool j 9522-3. To get the remaining bearing cup out fully, lift the cross and position the u-joint bearing spacer remover (J 9522-5) between the seal and cup before proceeding with the presses. Press the opposite end of the shaft to push out the second bearing cup while removing the cross section and associated Universal Joint parts from the yoke. When replacing front universal joints at the rear axle you must extract the bearings from the Slip Yoke in the same way. Check for impurities in the bearing cup bores and groove area of the retaining ring before cleaning the grooves properly. Begin installation by inserting half of one bearing cup into the new journal before placing it in the yoke space. Lower the yoke ear and place the cross piece before pushing the bearing cup into the yoke until it reaches flush with the surface. Fit the opposite bearing cup into the second yoke ear while keeping trunnions straight. Push the yoke ear carefully to fit the bearing without trunnion hindrance while making the bearing retainer groove visible. Press the bearing retainer onto its proper location before using a dead blow hammer to loosen the yoke bearings slightly when needed. Finally, install the propeller shaft.
