ChevyParts
My Garage
My Account
Cart
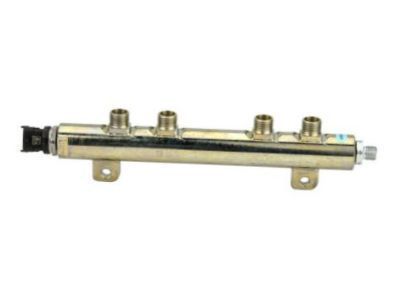
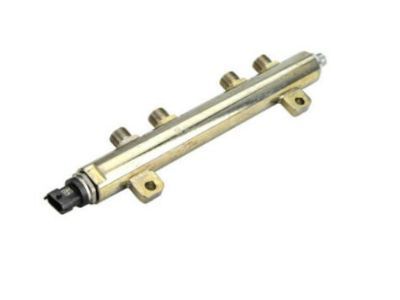
OEM GMC Savana 3500 Fuel Rail
Engine Fuel Rail- Select Vehicle by Model
- Select Vehicle by VIN
Select Vehicle by Model
orMake
Model
Year
Select Vehicle by VIN
For the most accurate results, select vehicle by your VIN (Vehicle Identification Number).
18 Fuel Rails found

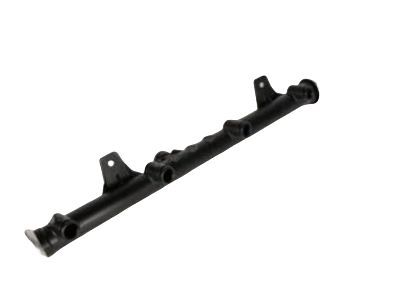
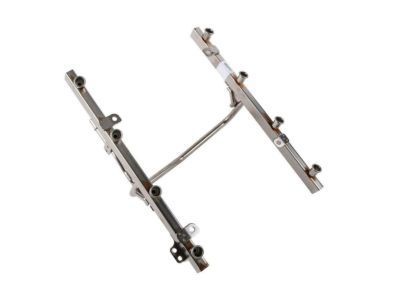
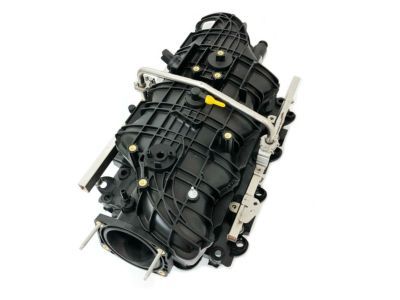
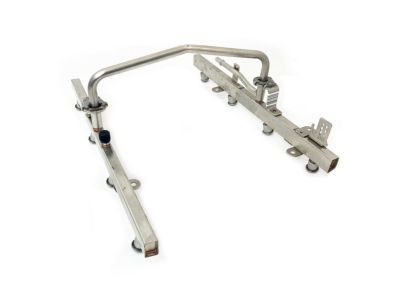
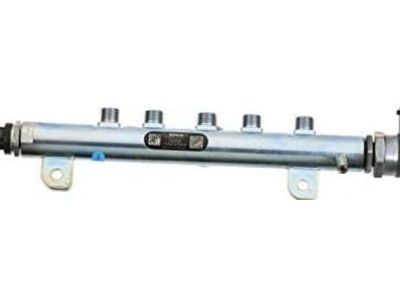
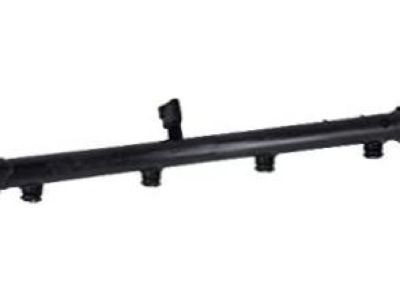
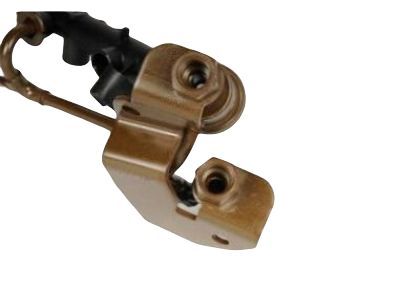
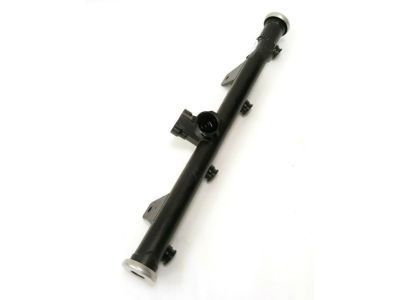
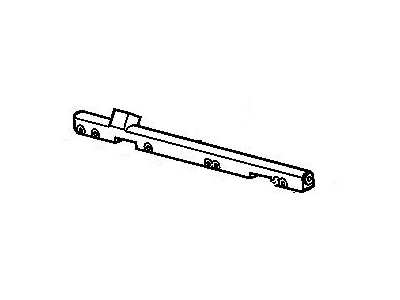
GMC Savana 3500 Fuel Rail Part Number: 97361352
$351.85 MSRP: $714.61You Save: $362.76 (51%)
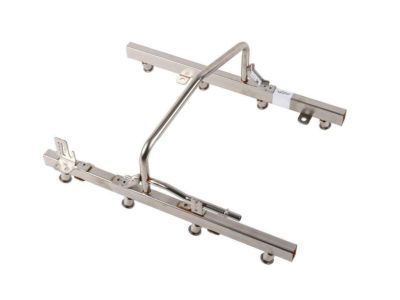
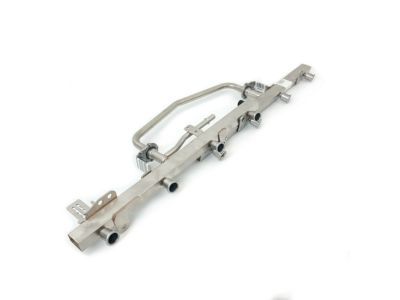
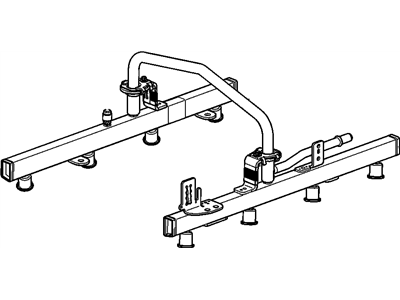
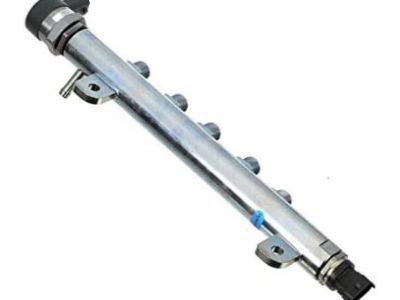
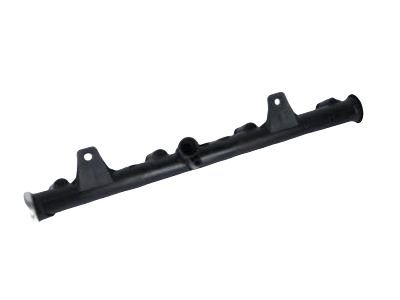
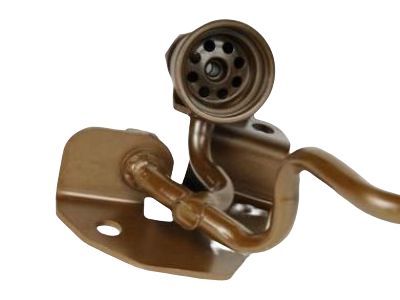
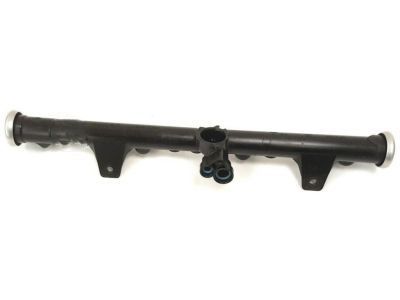
GMC Savana 3500 Fuel Rail Part Number: 97361353
$336.68 MSRP: $683.83You Save: $347.15 (51%)
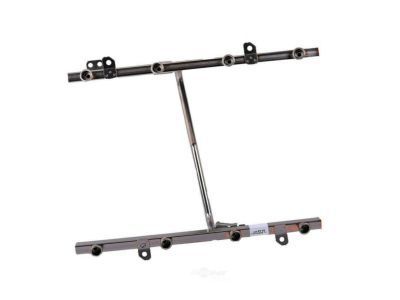
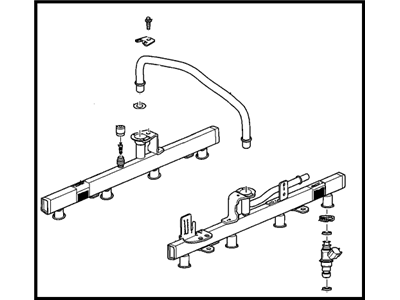
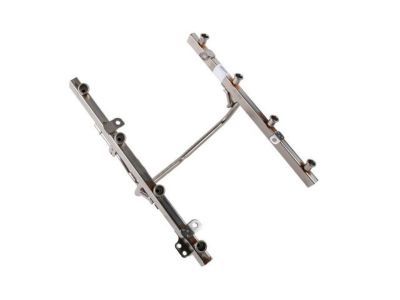
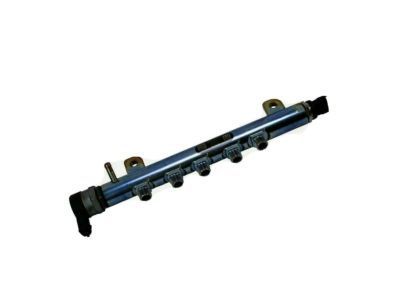
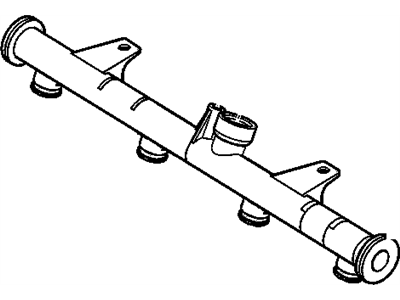
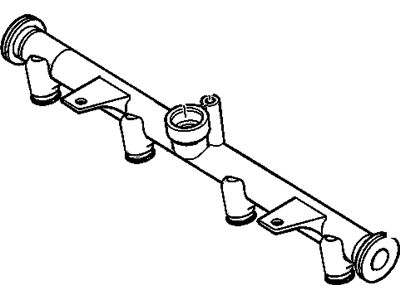
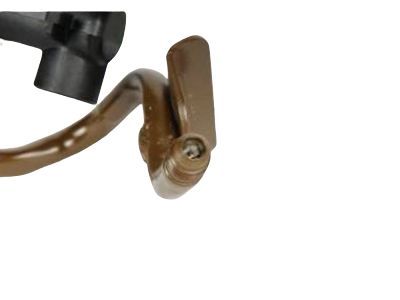
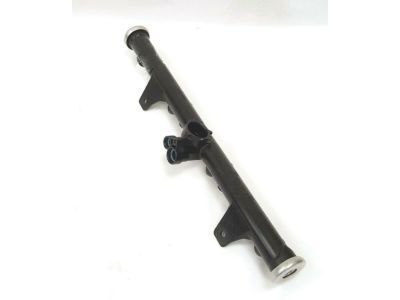
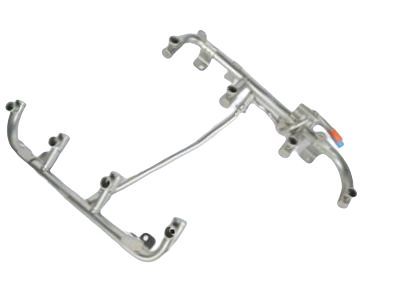
GMC Savana 3500 Fuel Rail Part Number: 17113695
$104.95 MSRP: $327.45You Save: $222.50 (68%)Ships in 1-2 Business Days
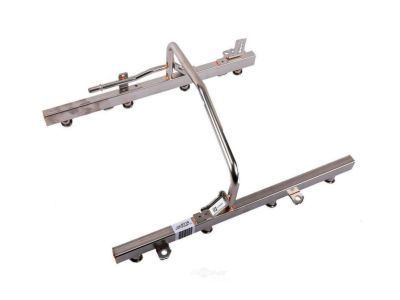
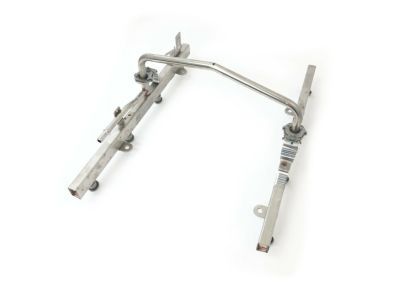
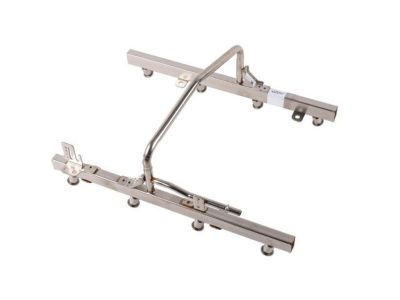
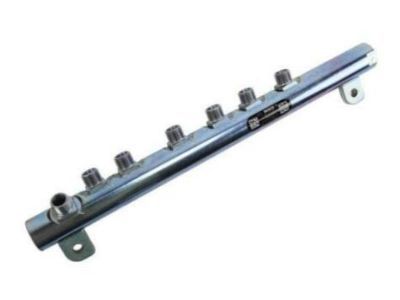
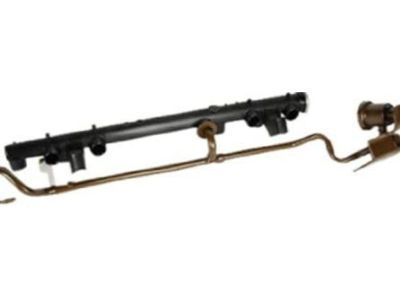
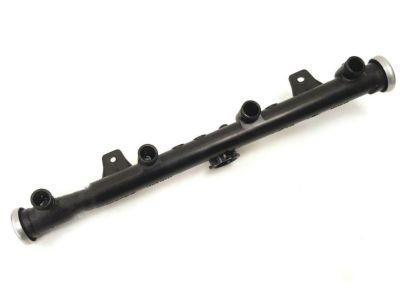
GMC Savana 3500 Fuel Rail Part Number: 12660710
$184.53 MSRP: $374.78You Save: $190.25 (51%)Ships in 1-2 Business Days
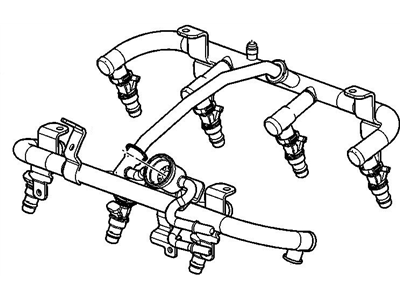
GMC Savana 3500 Fuel Rail Part Number: 12660709
$198.77 MSRP: $359.76You Save: $160.99 (45%)Ships in 1-2 Business Days
GMC Savana 3500 Fuel Rail Part Number: 12651989
$350.28 MSRP: $711.44You Save: $361.16 (51%)Ships in 1-2 Business Days
GMC Savana 3500 Fuel Rail Part Number: 12620532
$324.97 MSRP: $660.04You Save: $335.07 (51%)Ships in 1-2 Business Days
GMC Savana 3500 Fuel Rail Part Number: 12602113
$114.68 MSRP: $232.93You Save: $118.25 (51%)Ships in 1-2 Business DaysGMC Savana 3500 Fuel Rail Part Number: 55510921
$459.87 MSRP: $828.60You Save: $368.73 (45%)Ships in 1-3 Business DaysGMC Savana 3500 Fuel Rail Part Number: 12729466
$117.50 MSRP: $238.66You Save: $121.16 (51%)GMC Savana 3500 Fuel Rail Part Number: 12729464
$117.50 MSRP: $238.66You Save: $121.16 (51%)Ships in 1-2 Business DaysGMC Savana 3500 Fuel Rail Part Number: 12707886
$107.92 MSRP: $192.72You Save: $84.80 (44%)Ships in 1-2 Business DaysGMC Savana 3500 Fuel Rail Part Number: 12707885
$107.92 MSRP: $192.72You Save: $84.80 (44%)Ships in 1-2 Business DaysGMC Savana 3500 Fuel Rail Part Number: 12621668
$198.77 MSRP: $359.76You Save: $160.99 (45%)Ships in 1-2 Business Days
GMC Savana 3500 Fuel Rail Part Number: 17120039

GMC Savana 3500 Fuel Rail Part Number: 17113696

GMC Savana 3500 Fuel Rail Part Number: 12575055
GMC Savana 3500 Fuel Rail Part Number: 89018109
GMC Savana 3500 Fuel Rail
Want to cut long-term maintenance and repair costs? Choose OEM Fuel Rail. Those parts deliver top durability you can trust. On our site, you'll find a huge catalog of genuine GMC Savana 3500 parts. Prices are unbeatable, so you can keep more in your pocket. Every OEM GMC Savana 3500 Fuel Rail includes a manufacturer's warranty. You can also get an easy return policy that keeps buying risk free. Fast delivery, get your car on the road quickly. It's simple to search, compare, and order. Stop guessing about quality or fit. Order today and save with parts that last.
GMC Savana 3500 Fuel Rail Parts and Q&A
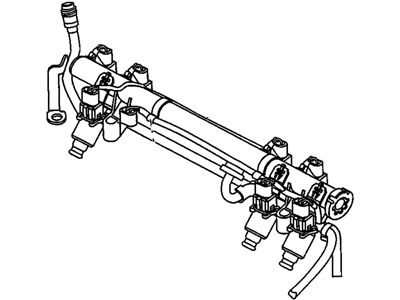
- Q: How to replace the Fuel Injection Fuel Rail Assembly on GMC Savana 3500?A:Begin the replacement process of the fuel injection Fuel Rail assembly by taking out engine cover and air cleaner resonator outlet duct. A serviceable component requires the eight-digit id number located on the Fuel Rail assembly for all related service operations. Use gm x-30a or an equivalent spray type engine cleaner to clean the Fuel Rail assembly under package instructions with soaking in liquid cleaning solvents excluded. Remove the accelerator control cable together with cruise control cable from the cable bracket while also disconnecting it from the Throttle Body when present. You must disconnect the evaporative emission (EVAP) purge valve harness connector by removing the upper engine wire harness retainer nut then moving the upper engine wire harness to a different position. Users should drain the fuel system pressure using ch 48027 while marking injector connector points to their designated firing sequence positions to maintain proper system operation. The user should not use pliers when disconnecting the multec 2 fuel injector connectors because this can cause damage. To disconnect the fuel injector connector users must separate the connector position assurance from the top while pushing the tab forward and then release the assurance to fully disconnect. The customer should repeat this removal process on all fuel injector connectors before carefully removing the Fuel Rail assembly to protect injector terminals and spray tips with supports placed under the rail. Seal the fittings before plugging the holes to stop contamination and disconnect the fuel feed and return pipes (1, 2) and the fuel pressure regulator vacuum line. Unscrew the crossover tube to right Fuel Rail retainer screw before you remove the Fuel Rail bolts and finally you can remove the Fuel Rail. The technicians discard lower o-ring seals for fuel injectors during this process. You should prepare new fuel injector lower o-ring seals by applying clean engine oil and place them one by one onto each injector. Start by removing the retaining clip attaching screw as well as crossover pipe retainer from the right-hand Fuel Rail and subsequent removal of crossover pipe rail with its o-ring . The crossover pipe must receive clean engine oil to lubricate a new o-ring before installation on the crossover pipe and subsequent installation into the right Fuel Rail. Use a hand to start the retaining clip attaching screw before installing the crossover pipe retainer and screw along with the right-hand Fuel Rail. Use a 5 mm (0.020 in) band of gm p/n 12345382 (Canadian P/N 10953489) threadlock on the Fuel Rail bolts' threads before bolting and tightening to 10 n.m (89 lb in) and the screw to 3.8 n.m (34 lb in). Connect the fuel pressure regulator vacuum line with the fuel feed and return pipes (1, 2) and attach the fuel injector electrical connectors to their specific injectors while rotating the injectors to prevent wire harness stretching. Attach the evap purge solenoid connector followed by installing the retainer nut to the upper engine wire harness while torquing it to 5.5 n.m (49 lb in). Installation of the engine cover includes hooking up the accelerator control cable with cruise control cable to the cable bracket and Throttle Body while also connecting the cruise control cable engine-end fitting to the throttle lever stud if available. Completing the sequence with the air cleaner resonator outlet duct installation. Check for fuel leaks by enabling the ignition while the engine remains off for two seconds then disabling it for 10 seconds before enabling it again with an engine-off state to conduct the inspection.
