ChevyParts
My Garage
My Account
Cart
OEM 2001 Cadillac Seville Control Arm
Suspension Arm- Select Vehicle by Model
- Select Vehicle by VIN
Select Vehicle by Model
orMake
Model
Year
Select Vehicle by VIN
For the most accurate results, select vehicle by your VIN (Vehicle Identification Number).
4 Control Arms found

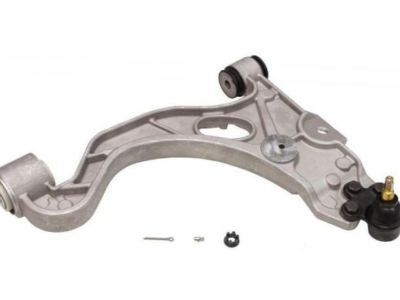
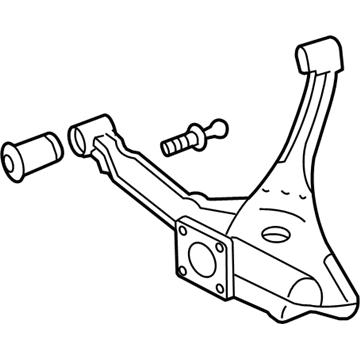
2001 Cadillac Seville Control Arm, Driver Side Part Number: 25766511
$195.81 MSRP: $317.79You Save: $121.98 (39%)Product Specifications- Other Name: Arm, Steering Knuckle Upper & Lower Control; Suspension Control Arm and Ball Joint Assembly; Control Arm Assembly; Lower Control Arm; Arm, Steering Knuckle Lower Control
- Position: Driver Side
- Replaces: 25699467, 25703055, 25672870, 25696334, 88967801, 25766508, 25746324, 88986632, 25702221, 25745395
- Item Weight: 8.50 Pounds
- Item Dimensions: 18.8 x 16.1 x 4.4 inches
- Condition: New
- Fitment Type: Direct Replacement
- SKU: 25766511
- Warranty: This genuine part is guaranteed by GM's factory warranty.

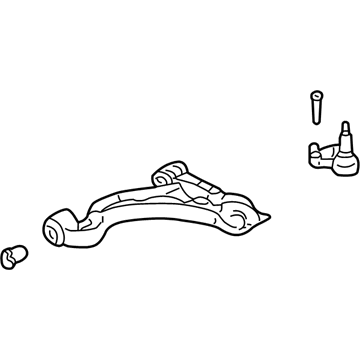
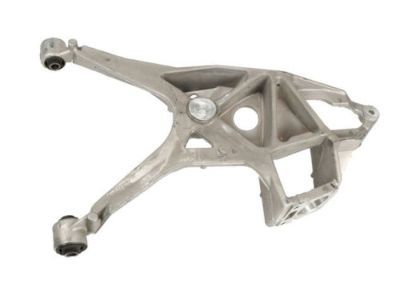
2001 Cadillac Seville Control Arm, Passenger Side Part Number: 25766510
$195.81 MSRP: $317.79You Save: $121.98 (39%)Product Specifications- Other Name: Arm, Steering Knuckle Upper & Lower Control; Suspension Control Arm and Ball Joint Assembly; Control Arm Assembly; Lower Control Arm; Arm, Steering Knuckle Lower Control
- Position: Passenger Side
- Replaces: 19202594, 25696335, 25766509, 25672871, 88986633, 25746325, 25702222, 25703056, 25699468
- Item Weight: 8.40 Pounds
- Item Dimensions: 19.3 x 16.2 x 4.3 inches
- Condition: New
- Fitment Type: Direct Replacement
- SKU: 25766510
- Warranty: This genuine part is guaranteed by GM's factory warranty.
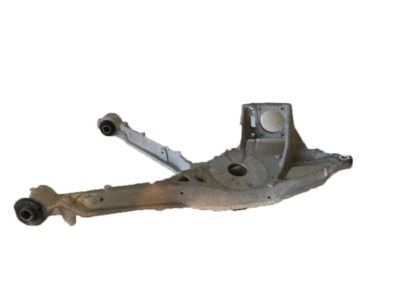
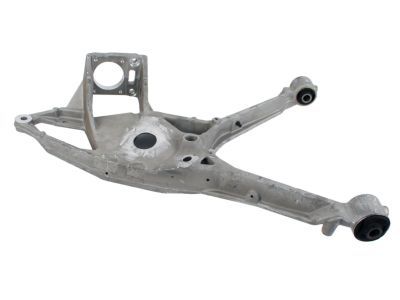
 Product Specifications
- Other Name: Arm Assembly-Rear Suspension Control; Lower Control Arm; Arm, Rear Axle Control Arm
- Position: Rear Passenger Side
- Replaces: 15897790, 25771881
- Item Weight: 17.30 Pounds
- Item Dimensions: 28.4 x 21.7 x 7.7 inches
- Condition: New
- Fitment Type: Direct Replacement
- SKU: 25820033
- Warranty: This genuine part is guaranteed by GM's factory warranty.
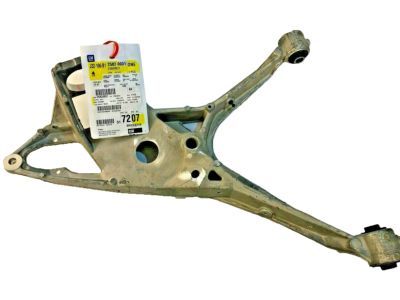
 Product Specifications
- Other Name: Arm Assembly-Rear Suspension Control; Lower Control Arm; Arm, Rear Axle Control Arm
- Position: Rear Driver Side
- Replaces: 15897788, 25626733, 25743300, 25675172, 25690655, 25765590, 25699091, 25628897
- Item Weight: 16.80 Pounds
- Item Dimensions: 31.2 x 22.1 x 8.2 inches
- Condition: New
- Fitment Type: Direct Replacement
- SKU: 25820031
- Warranty: This genuine part is guaranteed by GM's factory warranty.
2001 Cadillac Seville Control Arm
With a comprehensive array of OEM 2001 Cadillac Seville Control Arm, from fuel pumps to door handles, our website is a one-stop-shop for your needs. All our genuine 2001 Cadillac Seville Control Arm are backed by the manufacturer's warranty and are offered at competitive prices in the market. Rest assured, you can shop with complete confidence.
2001 Cadillac Seville Control Arm Parts and Q&A
- Q: How to service and repair the control arm on 2001 Cadillac Seville?A: In order to service and repair the control arm, remove rear support first. Unscrew the stabilizer shaft link and the adjustment link of the lower control arm. Separate the adjustment link with a puller, and take out the wheel bearing and hub. Fit the lower control arm and tighten it. Last but not the least, set the vehicle to trim height.
