ChevyParts
My Garage
My Account
Cart
OEM Cadillac DeVille A/C Condenser
Air Conditioning Condenser- Select Vehicle by Model
- Select Vehicle by VIN
Select Vehicle by Model
orMake
Model
Year
Select Vehicle by VIN
For the most accurate results, select vehicle by your VIN (Vehicle Identification Number).
7 A/C Condensers found
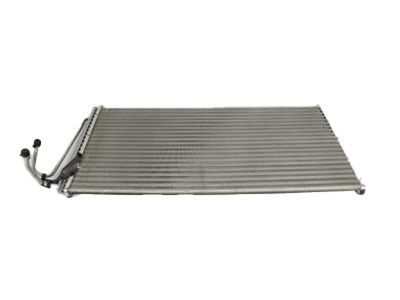
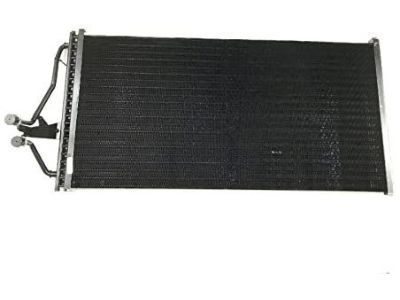
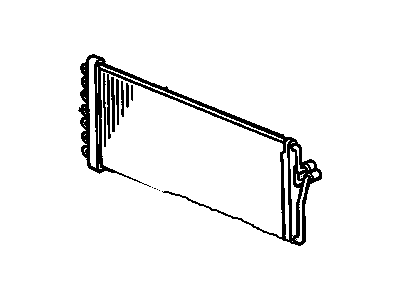
Cadillac DeVille Condenser Part Number: 3095844
$140.98 MSRP: $263.06You Save: $122.08 (47%)
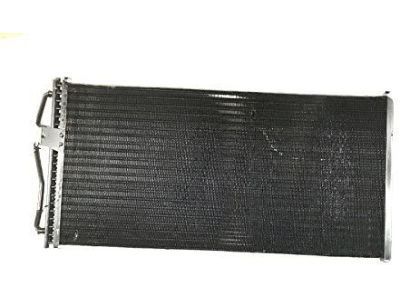
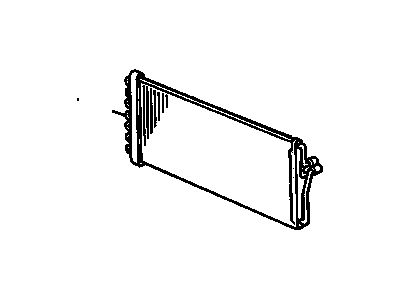
Cadillac DeVille Condenser Part Number: 52485722

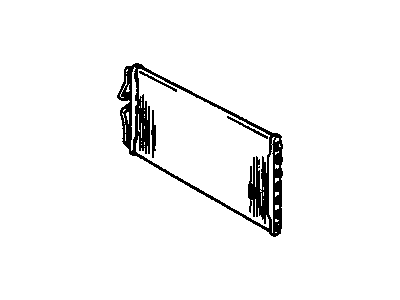
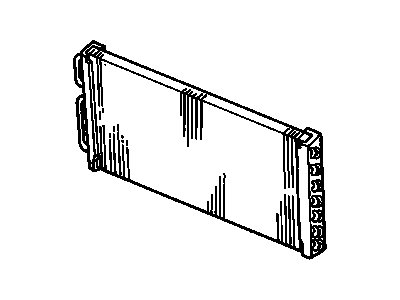
Cadillac DeVille Condenser Part Number: 52482102
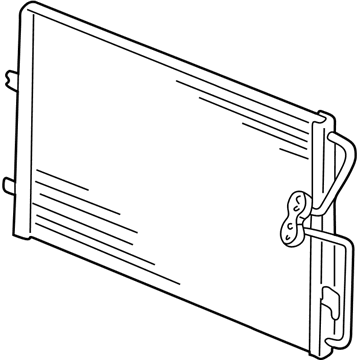
Cadillac DeVille Condenser Part Number: 89019239
Cadillac DeVille Condenser Part Number: 52469683
Cadillac DeVille Condenser Part Number: 52461751
Cadillac DeVille Condenser Part Number: 3094990
Cadillac DeVille A/C Condenser
Want to cut long-term maintenance and repair costs? Choose OEM A/C Condenser. Those parts deliver top durability you can trust. On our site, you'll find a huge catalog of genuine Cadillac DeVille parts. Prices are unbeatable, so you can keep more in your pocket. Every OEM Cadillac DeVille A/C Condenser includes a manufacturer's warranty. You can also get an easy return policy that keeps buying risk free. Fast delivery, get your car on the road quickly. It's simple to search, compare, and order. Stop guessing about quality or fit. Order today and save with parts that last.
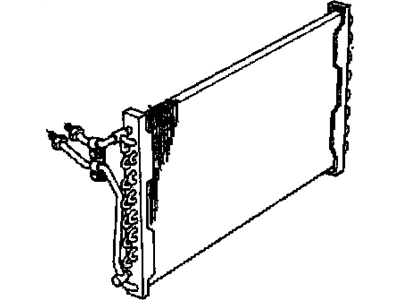
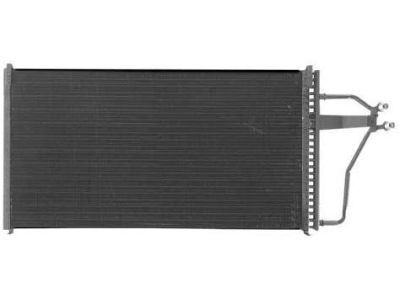
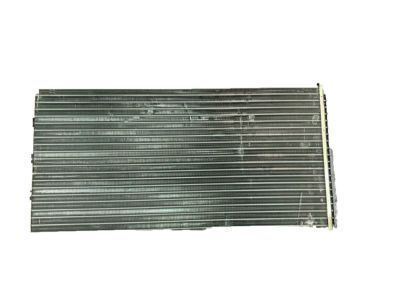
The A/C Condenser on Cadillac DeVille vehicles is arguably a heat exchanger that cools the gaseous refrigerant and subsequently changes its phase to a liquid one before it has to proceed to the next stage of its circulation; the accumulator. Usually, located in front of the radiator, the A/C Condenser is a collection of pipes that allow for such cooling. Even though the overview does not present differences in types or styles of A/C Condenser applied to different models of DeVille, it is important to stay on the basic design and the principle of operation, concerning the refrigerant cooling. This part is critically used in enhancing the functionality of the car's air conditioning thus providing the rider with the right temperatures inside the car.
Cadillac DeVille A/C Condenser Parts and Q&A
- Q: How to replace the A/C Condenser on Cadillac DeVille?A:The replacement process begins with proper recovery of refrigerant from the system. Start the repair by taking off the upper filler panel then the hood latch support. The discharge hose nut needs detachment before you pull out the discharge hose from the condenser. Unscrew the suction hose nut at the condenser then pull out the suction hose from its location. Single-handedly take the mounting bolts off the condenser until you free both sides of the condenser from its retainer. Finally reach inside the vehicle to retrieve the condenser. To install the condenser position the right side of the component first into the retainer followed by the left side before slotting it into the vehicle. Screw in the condenser mounting bolts and apply torque to 13 N.m (10 lb ft). Replace damaged sealing washers immediately because they do not need lubrication. Connect the evaporator hose to the condenser while using the evaporator hose nut and tighten it to 20 N.m (15 lb ft). Install the discharge hose to the condenser while using the discharge hose nut for attachment before tightening it to 20 N.m (15 lb ft). Reattach the hood latch bracket and recharge the A/C system before running a Halogen Leak Detector (J 39400-A) to test fittings for leaks. Complete installation by putting back the upper filler panel.

