ChevyParts
My Garage
My Account
Cart
OEM Cadillac Fan Shroud
Radiator Fan Shroud- Select Vehicle by Model
- Select Vehicle by VIN
Select Vehicle by Model
orMake
Model
Year
Select Vehicle by VIN
For the most accurate results, select vehicle by your VIN (Vehicle Identification Number).
62 Fan Shrouds found
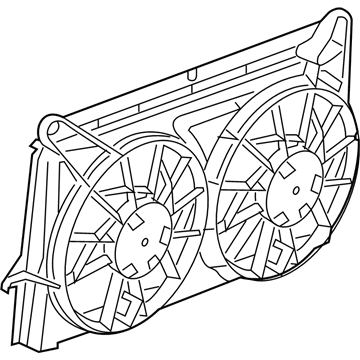
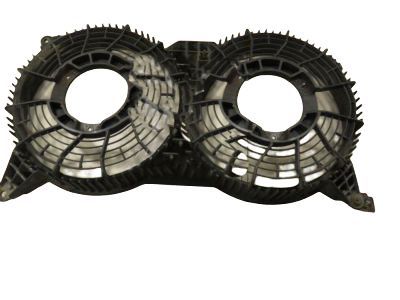
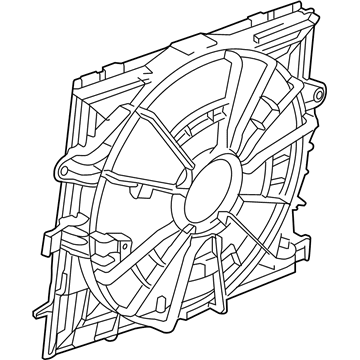
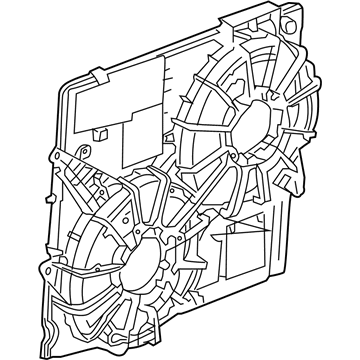
Cadillac Fan Shroud Part Number: 15780788
$185.27 MSRP: $350.41You Save: $165.14 (48%)Ships in 1-3 Business DaysProduct Specifications- Other Name: Shroud Kit, Radiator Fan Shroud; Dual Radiator and Condenser Fan Assembly; Shroud

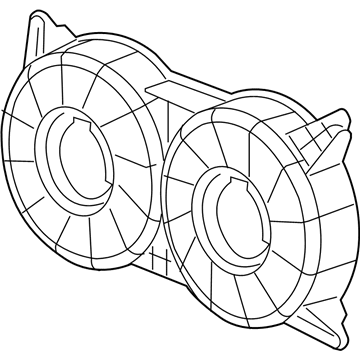
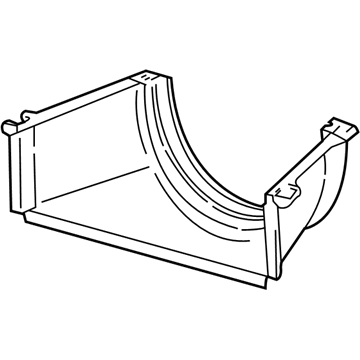
Cadillac Upper Shroud Part Number: 15088328
$77.77 MSRP: $121.82You Save: $44.05 (37%)Product Specifications- Other Name: Shroud, Radiator Fan Shroud; Shroud; Fan Shroud
- Position: Upper
- Replaces: 15707521

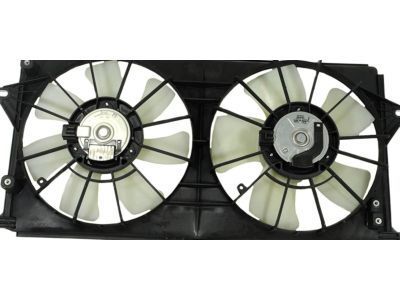
Cadillac Fan Shroud Part Number: 89022527
Product Specifications- Other Name: Shroud, Radiator Fan Shroud; Shroud

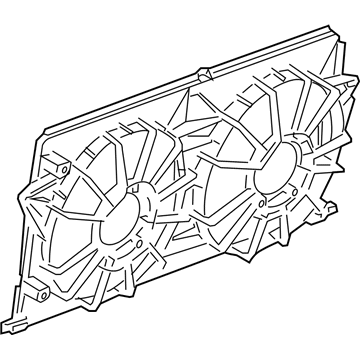
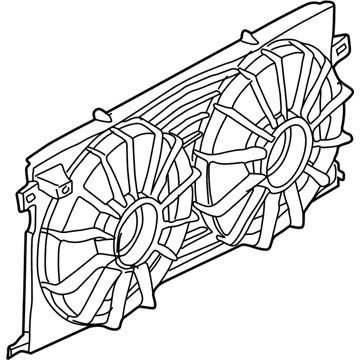
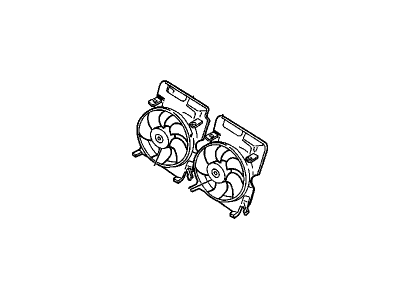
Cadillac Fan Shroud Part Number: 21999691
Product Specifications- Other Name: Shroud Assembly-Engine Coolant Fan; Dual Radiator and Condenser Fan Assembly; Cooling Fan Assembly; Shroud, Engine Air Cooling(Electrical); Shroud, Radiator Fan Shroud
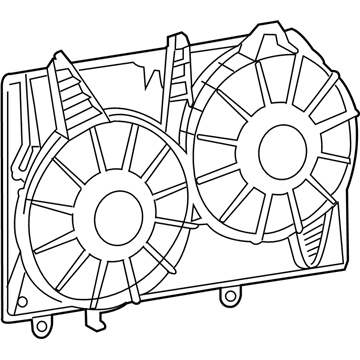
Cadillac Fan Shroud Part Number: 22966146
$49.36 MSRP: $73.45You Save: $24.09 (33%)Product Specifications- Other Name: Shroud, Radiator Fan Shroud; Fan Module
- Replaces: 22800704
Cadillac Fan Shroud Part Number: 90570704
Product Specifications- Other Name: Shroud, Radiator Fan Shroud
Cadillac Fan Shroud Part Number: 12494766
Product Specifications- Other Name: Shroud Kit, Engine Electrical Coolant Fan; Dual Radiator and Condenser Fan Assembly; Cooling Fan Assembly; Shroud; Shroud Kit, Radiator Fan Shroud
Cadillac Fan Shroud Part Number: 25708388
Product Specifications- Other Name: Shroud, Radiator Fan Shroud; Dual Radiator and Condenser Fan Assembly; Cooling Fan Assembly
Cadillac Fan Shroud Part Number: 22752356
$44.43 MSRP: $66.12You Save: $21.69 (33%)Product Specifications- Other Name: Shroud, Radiator Fan Shroud; Shroud
- Replaces: 19210938
Cadillac Fan Shroud Part Number: 9128971
Product Specifications- Other Name: Shroud, Radiator Auxiliary Fan; Shroud, Radiator Fan Shroud
Cadillac Fan Shroud Part Number: 20914376
Product Specifications- Other Name: Shroud-Engine Coolant Fan
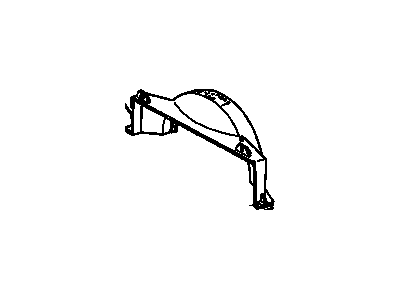
Cadillac Lower Shroud Part Number: 15954691
Product Specifications- Other Name: Shroud, Radiator Fan Shroud; Fan Shroud
- Position: Lower
Cadillac Shroud, Lower Part Number: 1624868
Product Specifications- Other Name: Shroud, Radiator Fan Lower; Fan Shroud
- Position: Lower
Cadillac Shroud, Lower Part Number: 1623157
Product Specifications- Other Name: Shroud, Radiator Fan Lower; Fan Shroud; Shroud, Radiator Fan Shroud
- Position: Lower
Cadillac Shroud, Upper Part Number: 1623158
Product Specifications- Other Name: Shroud, Radiator Fan Upper; Fan Shroud; Shroud, Radiator Fan Shroud
- Position: Upper
Cadillac Shroud Part Number: 1636023
Product Specifications- Other Name: Fan Shroud; Shroud, Radiator Fan Shroud
Cadillac Shroud, Upper Part Number: 1622071
Product Specifications- Other Name: Shroud, Radiator Fan Upper; Fan Shroud
- Position: Upper
Cadillac Shroud Part Number: 1619444
Product Specifications- Other Name: Fan Shroud; Shroud, Radiator Fan Shroud
Cadillac Shroud Part Number: 3520714
Product Specifications- Other Name: Shourd; Fan Shroud; Shroud, Radiator Fan Shroud
Cadillac Shroud Part Number: 3520715
Product Specifications- Other Name: Fan Shroud; Shroud, Radiator Fan Shroud
| Page 1 of 4 |Next >
1-20 of 62 Results
Cadillac Fan Shroud
Want to cut long-term maintenance and repair costs? Choose OEM Fan Shroud. Those parts deliver top durability you can trust. On our site, you'll find a huge catalog of genuine Cadillac parts. Prices are unbeatable, so you can keep more in your pocket. Every OEM Cadillac Fan Shroud includes a manufacturer's warranty. You can also get an easy return policy that keeps buying risk free. Fast delivery, get your car on the road quickly. It's simple to search, compare, and order. Stop guessing about quality or fit. Order today and save with parts that last.
Cadillac Fan Shroud Parts Questions & Experts Answers
- Q: How to replace the Fan Shroud for the Engine Coolant (Lower, Mechanical) on Cadillac Escalade?A:Starting the replacement of the engine coolant fan lower shroud (Mechanical) requires the removal of the Radiator by unhooking its two retaining clips. It is necessary to remove the lower Fan Shroud's oil cooler hose clip if the vehicle comes with this equipment before you remove the shroud from the car. Position the lower Fan Shroud at the center of the lower Radiator support and then start the installation by placing the two clips from the Radiator. The Radiator installation requires installation of the oil cooler hose clip onto the lower Fan Shroud when included in the system.
- Q: How to replace the fan shroud (LH2) on Cadillac SRX?A:Start by clearing the fan (LH2) then lowering the vehicle while performing the replacement. Begin by detaching the condenser tube from its retainer clip before you remove the retaining bolts of the Fan Shroud. After that you can remove the cooling Fan Shroud altogether. Reposition the cooling Fan Shroud correctly then install the retaining bolts following the fastener notice specifications while tightening them to 6.5 n.m (58 lb in). After connecting the condenser tube to the Fan Shroud retainer clip you will need to raise and support the vehicle before finishing the installation by adding the fan.
- Q: How to Service and Repair the Fan Shroud on Cadillac DTS?A:Before bringing down the Fan Shroud you must disconnect the battery negative cable and eliminate the condenser and upper tie bar. Then drain the cooling system and detach the front air deflector. You should remove the engine oil cooler pipe retaining bolts (1, 2) from the Fan Shroud when equipped. Then lower the vehicle before using the hose clamp plier (J 38185) to reposition the Radiator inlet hose clamp prior to disconnecting the Radiator inlet hose from the Radiator. The next procedure involves eliminating the transmission oil cooler pipe retaining bolts that secure the Fan Shroud as well as disconnecting transmission lines from the Radiator and disconnecting the wiring harness electrical connectors that connect to the cooling fan motors. Detach both harness clips which connect to the Fan Shroud as well as the electric cooling fan mounting bolts. Take out the electric cooling fan assembly while moving it left across the vehicle with upward right-side pulling followed by right-side movement and final upward removal. Position the cooling fan assembly behind the Radiator before moving it to the right side followed by downward pressure on the right side until the lower feet align with the mounting tabs of the Radiator while using only specific-length bolts for retention. Secure the electric cooling fan mounting bolts at 6 n.m (53 lb in) and sequence the wiring harness electrical connectors to the cooling fan motors before you fasten the wiring harness retaining clips onto the Fan Shroud. Position the upper transaxle oil cooler pipe into the Radiator quick connect fitting until you hear a "click" noise before gently pulling to verify proper connection and then apply the plastic cap to the fitting. Connect the transmission oil cooler pipe retaining bolts to the Fan Shroud while tightening each bolt to 6 n.m (53 lb in). Next, install the Radiator inlet hose to the Radiator before positioning the clamp with the hose clamp plier (J 38185). Install the engine oil cooler pipe retaining bolts (1, 2) to the Fan Shroud at 6 n.m (53 lb in) torque then add the front air deflector and the condenser and the upper tie bar after vehicle lowering. Complete the filling of the cooling system then connect the battery negative cable before checking the engine oil level.
