ChevyParts
My Garage
My Account
Cart
OEM Cadillac Timing Cover
Engine Timing Cover- Select Vehicle by Model
- Select Vehicle by VIN
Select Vehicle by Model
orMake
Model
Year
Select Vehicle by VIN
For the most accurate results, select vehicle by your VIN (Vehicle Identification Number).
45 Timing Covers found
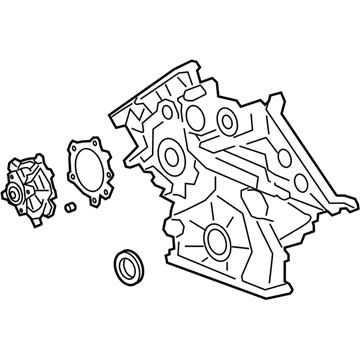
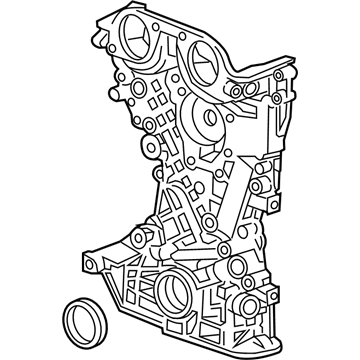
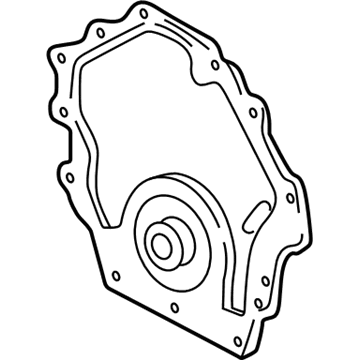
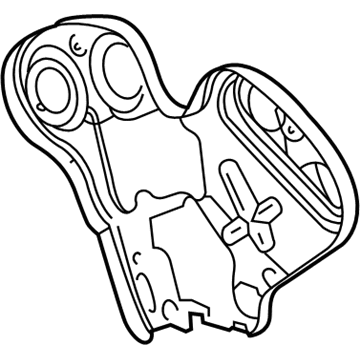
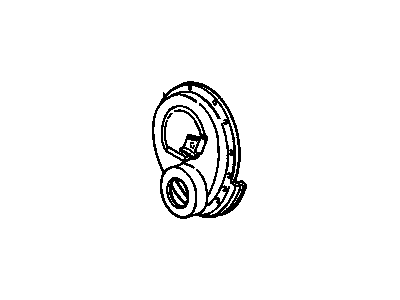
Cadillac Front Cover Part Number: 12698470
$878.12 MSRP: $1387.90You Save: $509.78 (37%)Ships in 1-3 Business DaysProduct Specifications- Other Name: Cover Assembly-Engine Front (W/Water Pump); Timing Cover; Cover, Engine Front Cover
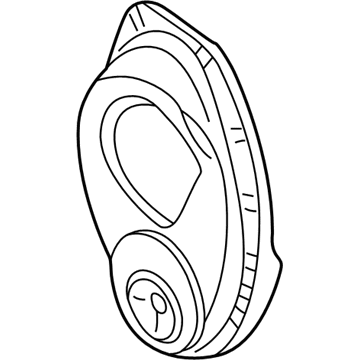
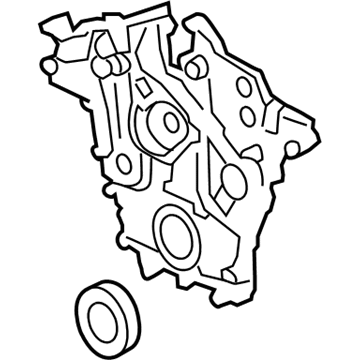
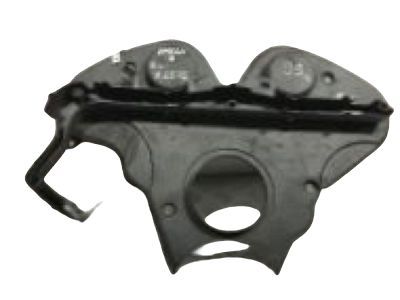
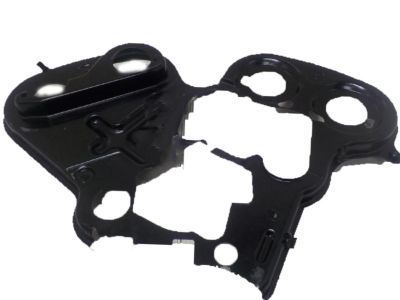
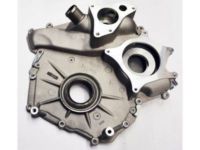
Cadillac Timing Cover Part Number: 93800970
$86.76 MSRP: $147.70You Save: $60.94 (42%)Ships in 1-3 Business DaysProduct Specifications- Other Name: Cover Assembly-Engine Front; Front Cover; Cover, Engine Front Cover
- Position: Front
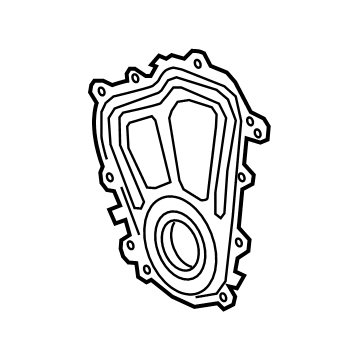
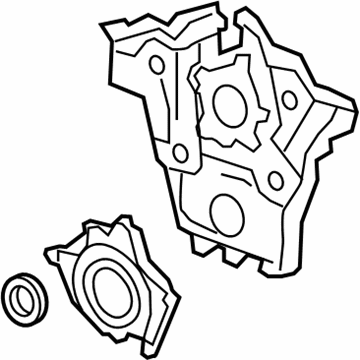
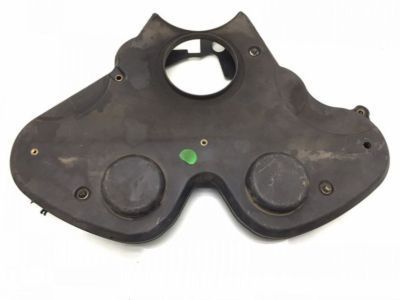
Cadillac Front Cover, Upper Part Number: 55514491
$24.72 MSRP: $38.72You Save: $14.00 (37%)Ships in 1-2 Business DaysProduct Specifications- Other Name: Cover-Timing Belt Upper Front; Timing Cover; Cover, Engine Front Cover
- Position: Front Upper
- Replaces: 55506518
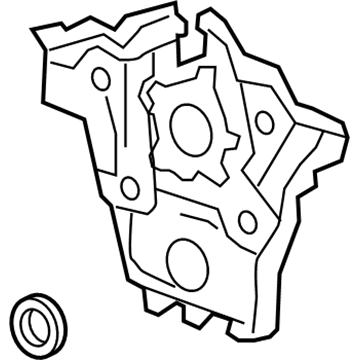
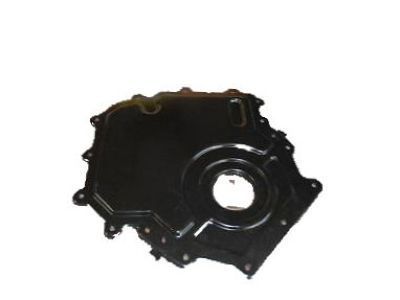
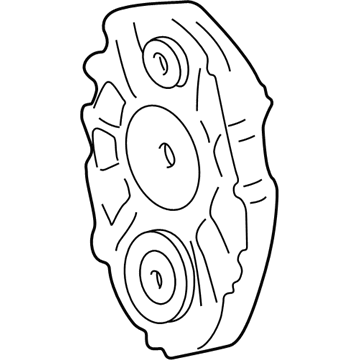
Cadillac Water Pump, Front Part Number: 12693557
$358.60 MSRP: $564.10You Save: $205.50 (37%)Ships in 1-3 Business DaysProduct Specifications- Other Name: Cover Assembly-Engine Front (W/Water Pump); Timing Cover; Front Cover; Cover, Engine Front Cover
- Position: Front
- Replaced by: 12732627
Cadillac Rear Cover Part Number: 12731559
$39.55 MSRP: $61.95You Save: $22.40 (37%)Ships in 1-2 Business DaysProduct Specifications- Other Name: Housing Assembly, Crankshaft Rear Oil Seal; Housing
- Position: Rear
- Replaces: 12687463, 12707673
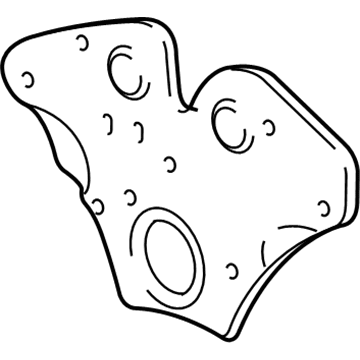
Cadillac Front Cover Part Number: 12728654
$43.95 MSRP: $68.82You Save: $24.87 (37%)Product Specifications- Other Name: Cover Assembly-Timing Chain Upper; Upper Timing Cover; Cover, Engine Cover Front; Cover, Engine Front Cover
- Replaces: 12689670
Cadillac Thermostat Cover, Front Part Number: 55581013
$299.57 MSRP: $471.35You Save: $171.78 (37%)Ships in 1-3 Business DaysProduct Specifications- Other Name: Cover, Engine Front Cover; Thermostat Housing Cover; Timing Cover; Front Cover
- Position: Front
- Replaces: 55577160
Cadillac Timing Cover, Front Part Number: 12622483
$344.06 MSRP: $541.34You Save: $197.28 (37%)Ships in 1-3 Business DaysProduct Specifications- Other Name: Cover, Engine Front Cover; Front Cover
- Position: Front
Cadillac Front Cover Part Number: 12716029
$35.40 MSRP: $58.32You Save: $22.92 (40%)Ships in 1-3 Business DaysProduct Specifications- Other Name: Cover Assembly-Engine Front; Timing Cover; Lower Timing Cover
- Replaced by: 12731560
Cadillac Rear Cover, Lower Part Number: 55515618
$68.88 MSRP: $107.89You Save: $39.01 (37%)Ships in 1-3 Business DaysProduct Specifications- Other Name: Cover Assembly-Timing Chain Lower; Crankshaft Seal; Timing Cover; Rear Main Seal Retainer; Rear Main Seal Housing; Housing
- Position: Lower
- Replaced by: 40009071
Cadillac Front Cover Part Number: 55512356
$15.93 MSRP: $24.96You Save: $9.03 (37%)Ships in 1-3 Business DaysProduct Specifications- Other Name: Cover, Engine Front Cover
- Position: Front
Cadillac Front Cover Part Number: 12623400
$342.28 MSRP: $571.39You Save: $229.11 (41%)Ships in 1-2 Business DaysProduct Specifications- Other Name: Cover, Engine Front (W/Water Pump); Timing Cover; Cover, Engine Front Cover
- Position: Front

Cadillac Timing Cover Part Number: 12576050
Product Specifications- Other Name: Cover Assembly-Engine Front; Front Cover; Cover, Engine Front Cover
- Position: Front
- Replaces: 12563938

Cadillac Timing Cover Part Number: 90572780
Product Specifications- Other Name: Cover, Timing Belt Front; Front Cover; Cover, Engine Front Cover
- Position: Front

Cadillac Timing Cover, Front Part Number: 24449774
Product Specifications- Other Name: Cover, Engine Front Cover; Front Cover; Inner Cover; Rear Cover
- Position: Front
Cadillac Timing Cover Part Number: 12552427
Product Specifications- Other Name: Cover Assembly-Engine Front; Front Cover; Cover, Engine Front Cover
- Position: Front
Cadillac Timing Cover, Front Part Number: 14089019
Product Specifications- Other Name: Cover, Engine Front Cover; Front Cover
- Position: Front
Cadillac Timing Cover, Front Part Number: 3540170
Product Specifications- Other Name: Cover-Engine Front; Front Cover; Cover, Engine Front Cover
- Position: Front
Cadillac Timing Cover Part Number: 12523974
Product Specifications- Other Name: Cover; Front Cover; Engine Timing Indicator; Reinforcement; Cover
- Position: Front
Cadillac Timing Cover, Front Part Number: 22525282
Product Specifications- Other Name: Cover, Engine Front Cover
- Position: Front
| Page 1 of 3 |Next >
1-20 of 45 Results
Cadillac Timing Cover
Want to cut long-term maintenance and repair costs? Choose OEM Timing Cover. Those parts deliver top durability you can trust. On our site, you'll find a huge catalog of genuine Cadillac parts. Prices are unbeatable, so you can keep more in your pocket. Every OEM Cadillac Timing Cover includes a manufacturer's warranty. You can also get an easy return policy that keeps buying risk free. Fast delivery, get your car on the road quickly. It's simple to search, compare, and order. Stop guessing about quality or fit. Order today and save with parts that last.
Cadillac Timing Cover Parts Questions & Experts Answers
- Q: How to replace the Timing Cover on Cadillac CTS?A:A complete Timing Belt cover replacement starts by uninstalling the intake air resonator and intake plenum while removing the drive belt tensioner and Water Pump Pulley bolts until you detach the Water Pump Pulley. Take out only the Power Steering Pump mounting bolts while detaching the Power Steering Pump from its accessory mounting bracket before placing it safely to the side. Begin by removing the Timing Belt cover bolts before removing the engine's Timing Belt cover. Check the Timing Belt for serviceability while performing a clean inspection of the Timing Belt cover. Set the Timing Belt cover into the engine space while you install the Timing Belt cover bolts which need tightening at 8 nm (71 inch lbs.). Reconnect the Power Steering Pump to its accessory mounting bracket while installing each mounting bolt in sequence until they achieve 35 nm (26 ft. Lbs.) of torque. Secure the Water Pump Pulley next to the Water Pump before installing the Water Pump Pulley bolts which require 8 nm (71 inch lbs.) torque. Install the drive belt tensioner along with both the intake plenum and successive the intake air resonance.
- Q: How to replace the engine front timing cover on Cadillac SRX?A:To remove the engine front cover the first step should be to drain the cooling system. Remove air outlet duct so that you can reach Thermostat Housing and from there you use hose clamp pliers (J 38185) in order to remove heaters hose from Thermostat Housing. Secondly, disconnect the coolants Radiator Hose along with the helper Water Pump if present. Move to eliminate the drive belt tensioner, supported by the drive belt idler pulley bolt as well as the drive belt idler pulley itself. Lower the pulley for the Water Pump, lift the vehicle and support it with the help of stands, remove the crankshaft balancer, then run the repair procedures that are depicted in the pictures. Unbolt the engine front cover and remove it along with discarding the old gasket. Clean and inspect the engine front cover before using a little touch of sealant along the split line of the upper and the lower crankcases, and at the top of the block face. Replace the new engine front cover gasket over the crankcase dowel pins and set the engine front cover. Apply threadlocking compound to the engine front cover bolts and install with them holding in the specified sequence or 15 n.m (11 lb ft). Replace the crankshaft balancer and the Water Pump Pulley by mounting the bolts with a torque of 10 n.m (89 lb in). Mount the upper portion of the upper slip joint in the engine block" the upper banjo nipple of the pgs 76 pn "and tighten with bolt "5" the t-grade twenty three (23) first switch "don't forget which nut is really to the t with the bolt" when bolt "5" is replaced (PGS 76 PN) tighten to 150, buna-n standart (111 lb ft" "5 fasteners note) "then replace the p-roller assembly, idler pulley and its bolt" install it of materials grade sc with twelve nine (12) ft lb" colours "as listed reconnect the coolant Radiator Hose and the heater hose using hose clamp pliers (J 38185) and the air outlet duct. Finally, fill the cooling system.
- Q: How to replace the engine front timing cover on Cadillac XLR?A:In order to replace the engine front cover, one should first drain the cooling system with the help of the cooling system draining and filling (Static Fill) (GE 47716). Remove the air outlet duct and then you can access the Thermostat Housing, remove the heater hose by using the hose clamppliers (J 38185) from the Thermostat Housing. Then disconnect the coolant Radiator Hose from the Thermostat Housing, and further, the Drive Belt tensioner and the accessory Drive Belt. Take off the Drive Belt idler pulley bolt and its idler pulley, remove the Water Pump Pulley. Lift up the vehicle and remove the crankshaft balancer. Following that, unbolt the engine front cover bolts and the engine front cover itself and discard the old gasket. Clean and inspect the engine front cover, then apply a small quantity of sealant on top of the split-line in which the upper and lower crankcases join as well as at the upper end of the block face. Apply a new engine front cover gasket to crankcase dowel pins and locate the engine front cover. Apply thread locking compound on the threads of engine front cover bolts, fit the bolts, tightening them (as specified) to 15 n.m (11 lb ft) in the specified sequence. Re-install the crankshaft balancer and then the Water Pump Pulley; tighten its bolts to 10 n.m (89 lb in). Fit the Drive Belt idler pulley together with its bolt and fasten it using the pressure of 50 n.m (37 lb ft). Replace the accessory Drive Belt and the Drive Belt tensioner. Last, connect the coolant Radiator Hose with the heater hose again with the help of the hose clamp pliers (J 38185), reinstall the air outlet duct and fill the cooling system, by following the cooling system draining and filling (Static Fill) (GE 47716).
