ChevyParts
My Garage
My Account
Cart
OEM Chevrolet A/C Hose
Air Conditioning Hose- Select Vehicle by Model
- Select Vehicle by VIN
Select Vehicle by Model
orMake
Model
Year
Select Vehicle by VIN
For the most accurate results, select vehicle by your VIN (Vehicle Identification Number).
861 A/C Hoses found

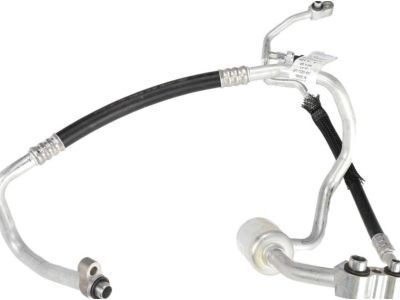
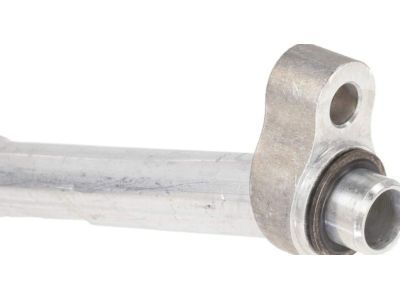
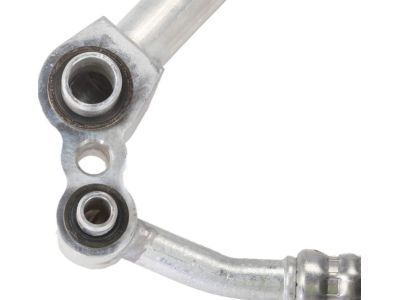
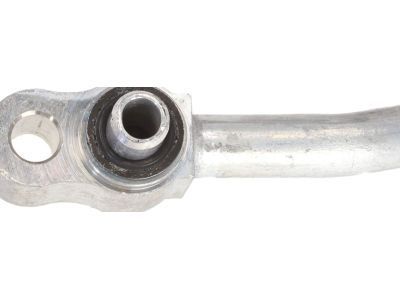
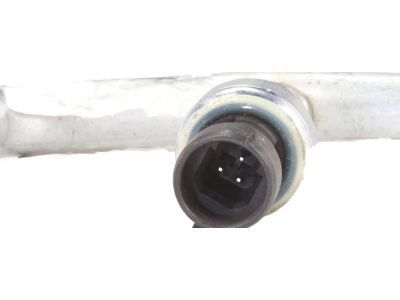
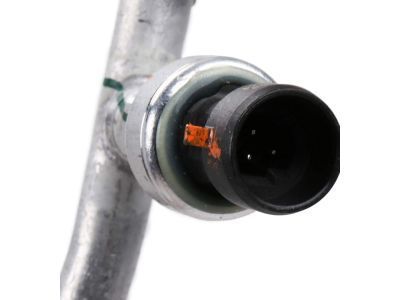
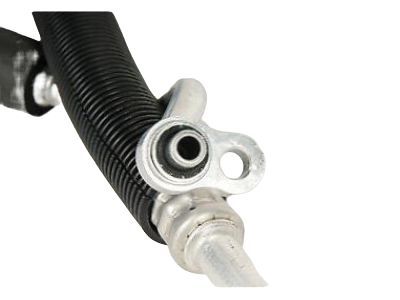
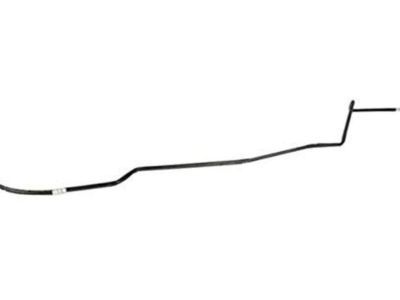
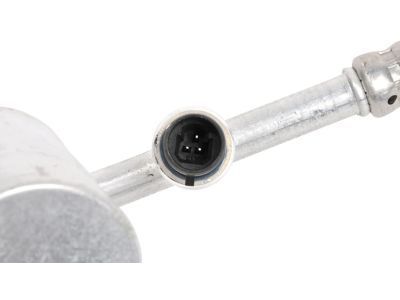
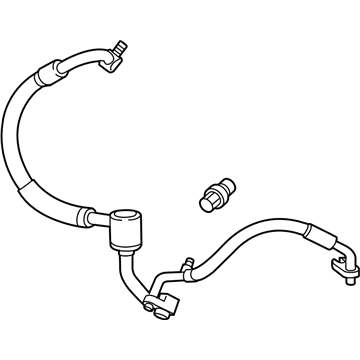
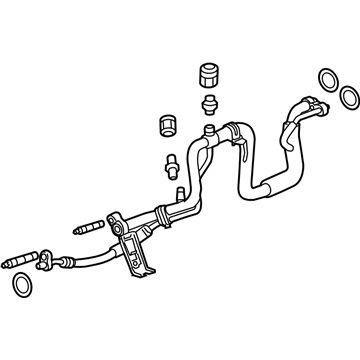
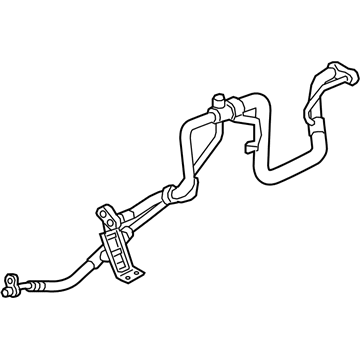
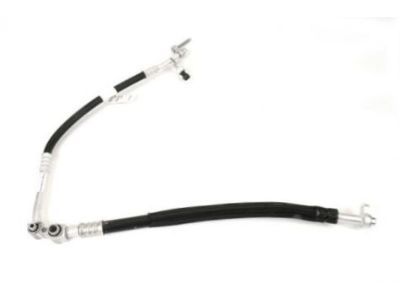
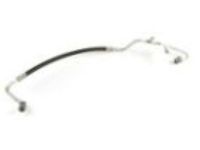
Chevrolet Discharge Hose Part Number: 84008572
$123.90 MSRP: $254.61You Save: $130.71 (52%)Ships in 1-2 Business DaysProduct Specifications- Other Name: Hose Assembly-A/C Compressor; A/C Refrigerant Liquid Hose; A/C Hose; Suction Hose; Hose, A/C Compressor
- Replaces: 23369752

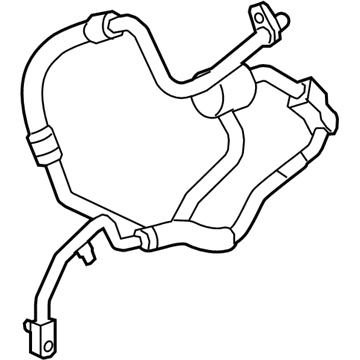
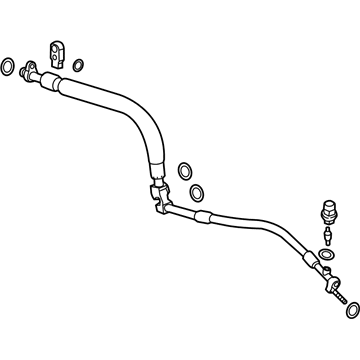
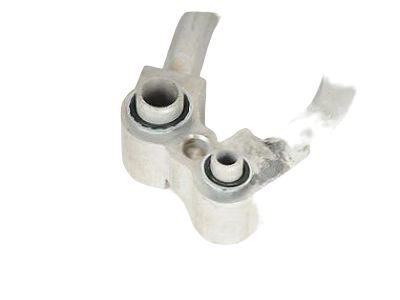
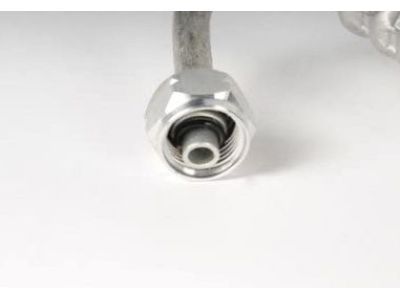
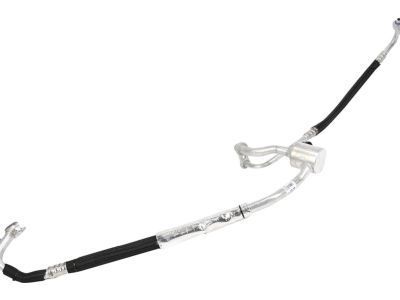
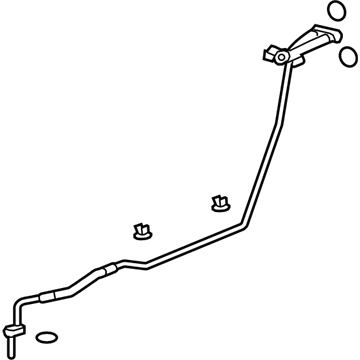
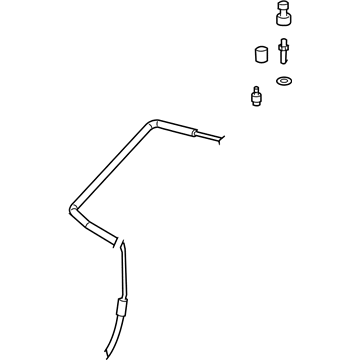
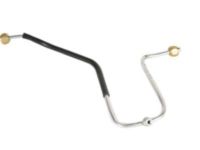
Chevrolet Suction & Discharge Hose Assembly Part Number: 84398336
$123.29 MSRP: $221.15You Save: $97.86 (45%)Ships in 1-3 Business DaysProduct Specifications- Other Name: Hose, Air Conditioner Compressor; A/C Refrigerant Liquid Hose; A/C Hose; Front Pressure Hose; Hose, A/C Compressor

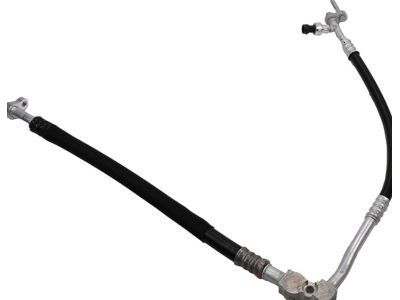
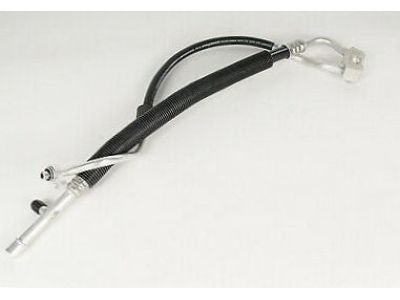
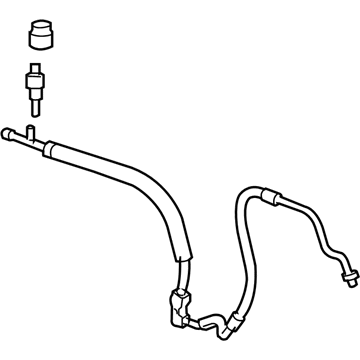
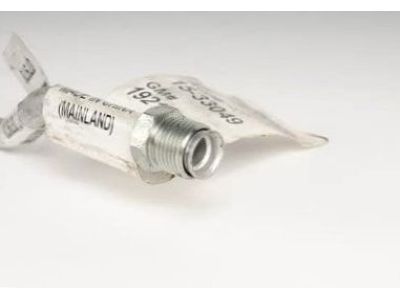
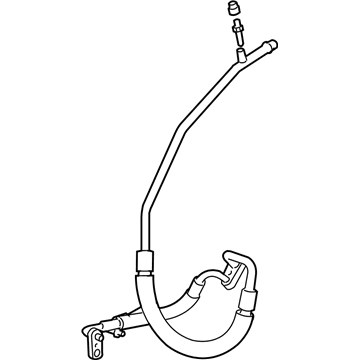
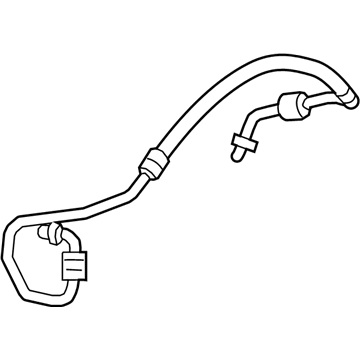
Chevrolet A/C Hoses Part Number: 15250411
$106.52 MSRP: $218.90You Save: $112.38 (52%)Ships in 1-2 Business DaysProduct Specifications- Other Name: Hose, Air Conditioner Compressor; A/C Refrigerant Liquid Hose; A/C Hose; Pressure Hose; Hose, A/C Compressor

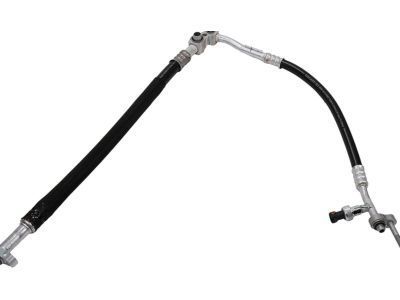
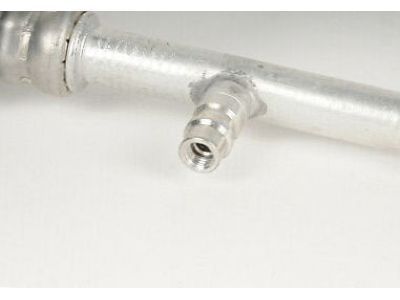
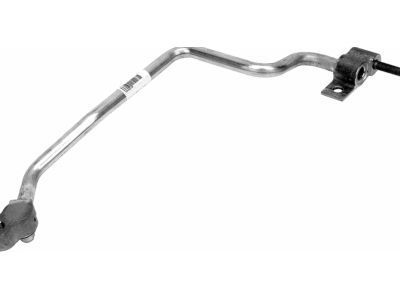
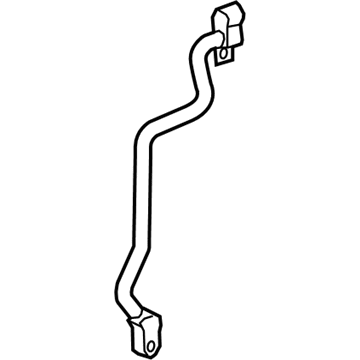
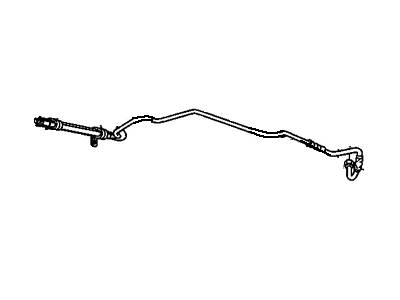
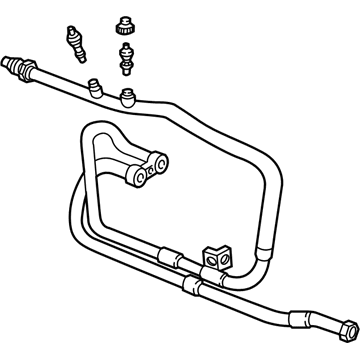
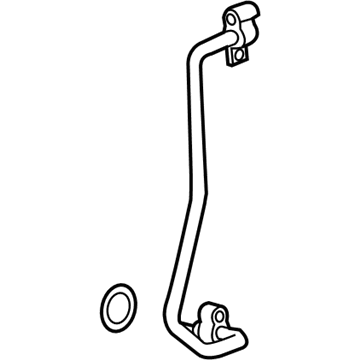
Chevrolet Front A/C Tube Part Number: 23108201
$73.03 MSRP: $137.14You Save: $64.11 (47%)Ships in 1-2 Business DaysProduct Specifications- Other Name: Tube, Air Conditioner Refrigerant (All Metal); A/C Refrigerant Liquid Hose; A/C Hose; Tube, A/C Refrigerant (All Metal)

Chevrolet Rear Hose Part Number: 19213723
$90.45 MSRP: $168.78You Save: $78.33 (47%)Product Specifications- Other Name: Hose Assembly, Auxiliary A/C Evaporator Inlet Rear; Hose, A/C Compressor And Condenser
- Position: Rear
- Replaces: 15010133

Chevrolet A/C Hoses Part Number: 84069778
$115.16 MSRP: $236.66You Save: $121.50 (52%)Ships in 1-2 Business DaysProduct Specifications- Other Name: Hose Assembly-A/C Compressor; A/C Refrigerant Liquid Hose; A/C Hose; Discharge Line; Hose, A/C Compressor
Chevrolet Discharge Hose Part Number: 84498822
$130.45 MSRP: $236.10You Save: $105.65 (45%)Ships in 1-2 Business DaysProduct Specifications- Other Name: Hose, Air Conditioner Refrigerant (Metal And Rubber Sections); A/C Refrigerant Liquid Hose; A/C Hose; Suction Hose; Rear A/C Tube; Hose, A/C Refrigerant (Metal And Rubber Sections)
- Replaces: 22878732, 23228915, 84341887
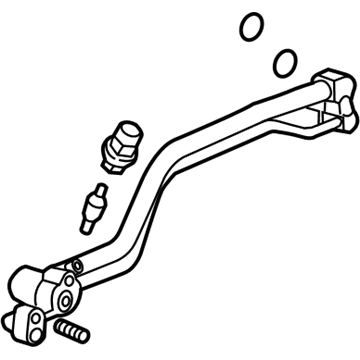
Chevrolet A/C Tube Part Number: 23147329
$111.28 MSRP: $228.68You Save: $117.40 (52%)Ships in 1-2 Business DaysProduct Specifications- Other Name: Tube, Air Conditioner Refrigerant (All Metal); Drier Desiccant Element; Drier; Tube, A/C Refrigerant (All Metal)
- Replaces: 92232839
Chevrolet A/C Hoses Part Number: 84553818
$127.24 MSRP: $228.24You Save: $101.00 (45%)Ships in 1-3 Business DaysProduct Specifications- Other Name: Hose Assembly-A/C Compressor; A/C Refrigerant Liquid Hose; A/C Hose; Discharge Line; Hose, A/C Compressor
Chevrolet Suction Hose, Green Line Part Number: 20800917
$60.97 MSRP: $114.49You Save: $53.52 (47%)Ships in 1-2 Business DaysProduct Specifications- Other Name: Hose, Air Conditioner Compressor; A/C Refrigerant Liquid Hose; A/C Hose; Suction & Discharge Hose Assembly; Hose & Tube Assembly; Hose, A/C Compressor
- Replaces: 15781163
Chevrolet Discharge Hose Part Number: 84498820
$117.76 MSRP: $221.14You Save: $103.38 (47%)Ships in 1-2 Business DaysProduct Specifications- Other Name: Hose, Air Conditioner Refrigerant (Metal And Rubber Sections); A/C Refrigerant Liquid Hose; A/C Hose; Suction Hose; Rear A/C Tube; Hose, A/C Refrigerant (Metal And Rubber Sections)
- Replaces: 23228913, 22858115, 84341885
Chevrolet A/C Hose Part Number: 19213715
$116.59 MSRP: $211.02You Save: $94.43 (45%)Ships in 1-2 Business DaysProduct Specifications- Other Name: Hose, Air Conditioner Compressor; A/C Refrigerant Liquid Hose; A/C Hoses; Hose & Tube Assembly; Hose, A/C Compressor
- Replaces: 10409630
Chevrolet Front A/C Tube Part Number: 23320792
$58.24 MSRP: $172.37You Save: $114.13 (67%)Ships in 1-2 Business DaysProduct Specifications- Other Name: Tube, Air Conditioner Refrigerant (All Metal); A/C Refrigerant Liquid Hose; A/C Hose; Tube, A/C Refrigerant (All Metal)
Chevrolet Discharge Hose Part Number: 84498819
$70.89 MSRP: $209.84You Save: $138.95 (67%)Ships in 1-2 Business DaysProduct Specifications- Other Name: Hose, Air Conditioner Refrigerant (Metal And Rubber Sections); Suction Hose; Rear A/C Tube; Hose, A/C Refrigerant (Metal And Rubber Sections)
- Replaces: 84341884, 23111445
Chevrolet Suction & Discharge Hose Assembly Part Number: 85566434
$237.87 MSRP: $426.67You Save: $188.80 (45%)Ships in 1-2 Business DaysProduct Specifications- Other Name: Tube Assembly-A/C Condenser & A/C Evaporator; Center A/C Tube; Tube, A/C Refrigerant (All Metal)
- Replaces: 84671738
Chevrolet A/C Hose Part Number: 84418020
$96.89 MSRP: $181.96You Save: $85.07 (47%)Product Specifications- Other Name: Hose Assembly-A/C Compressor; A/C Refrigerant Liquid Hose; Suction Line; Hose, A/C Compressor Suction And Discharge
- Replaces: 84277594
Chevrolet Discharge Hose Part Number: 84498818
$123.09 MSRP: $231.16You Save: $108.07 (47%)Product Specifications- Other Name: Hose, Air Conditioner Refrigerant (Metal And Rubber Sections); A/C Refrigerant Liquid Hose; A/C Hose; Suction Hose; Rear A/C Tube; Hose, A/C Refrigerant (Metal And Rubber Sections)
- Replaces: 84341883, 23108203
Chevrolet Evaporator Tube Part Number: 23175602
$77.55 MSRP: $145.63You Save: $68.08 (47%)Ships in 1-2 Business DaysProduct Specifications- Other Name: Tube Assembly-A/C Evaporator; A/C Refrigerant Liquid Hose; A/C Hose; Rear Pressure Tube; Tube, A/C Refrigerant (All Metal)
- Replaced by: 23435951

Chevrolet Suction & Discharge Hose Assembly Part Number: 23373155
$102.94 MSRP: $183.82You Save: $80.88 (44%)Product Specifications- Other Name: Hose, Air Conditioner Compressor; A/C Refrigerant Liquid Hose; A/C Hose; Front Pressure Hose; Hose, A/C Compressor
- Replaces: 22768496, 23435950
Chevrolet Evaporator Tube Part Number: 19244816
$135.92 MSRP: $243.80You Save: $107.88 (45%)Product Specifications- Other Name: Tube, Air Conditioner Refrigerant (All Metal); A/C Refrigerant Liquid Hose; A/C Hose; Tube, A/C Refrigerant (All Metal)
- Replaces: 15239827, 15820165, 22715450, 15801385, 25814612
| Page 1 of 44 |Next >
1-20 of 861 Results
Chevrolet A/C Hose
Want to cut long-term maintenance and repair costs? Choose OEM A/C Hose. Those parts deliver top durability you can trust. On our site, you'll find a huge catalog of genuine Chevrolet parts. Prices are unbeatable, so you can keep more in your pocket. Every OEM Chevrolet A/C Hose includes a manufacturer's warranty. You can also get an easy return policy that keeps buying risk free. Fast delivery, get your car on the road quickly. It's simple to search, compare, and order. Stop guessing about quality or fit. Order today and save with parts that last.
Chevrolet A/C Hose Parts Questions & Experts Answers
- Q: How to replace the A/C Hose for LY2, LMF, L76, and L92 on Chevrolet Tahoe?A:The replacement process for discharge hoses refers to models ly2, lmf, l76, and l92 that requires refrigerant recovery before continuing. First disconnect the A/C Compressor discharge hose mounting bolt then detach the discharge hose from the compressor. The first step begins with removing the upper radiator baffle then proceeding to take off the discharge hose nut from the condenser and finally dismantling the discharge hose from the condenser. Disconnect the electrical a/c recirculation switch connector while removing the discharge hose from the vehicle through system openings which need sealing caps. Discard all used washer components. The new discharge hose should be attached to the vehicle before connecting it to the condenser after inserting new sealing washers. Fasten the discharge hose nut onto the condenser while tightening it up to 16 nm (12 lb ft). After reinstalling the upper air baffle the electrical connector should be reattached to the a/c recirculation switch. Fix the discharge hose to the A/C Compressor by using new sealing washers then install the discharge hose mounting bolt while tightening it to 16 nm (12 lb ft). The a/c system evacuation follows by recharging and a leak test of fittings with j 39400-a halogen leak detector.
- Q: How to replace the A/C Hose for HVAC systems (LLV - 2.9L, LLR - 3.7L) on Chevrolet Colorado?A:Replacement of discharge hoses for hvac applications requires a preliminary step of recovering refrigerant when using systems with the capacity of llv - 2.9l or llr - 3.7l. Next, remove the generator. Begin by removing the discharge hose mounting bolt of the A/C Compressor and completing the hose removal from the compressor. The procedures start with removing first the discharge hose bolt from the condenser before moving to remove the discharge hose from the condenser and finishing with the discharge hose removal from the vehicle. The process includes discarding sealing washers used in the system and applying caps to the system openings. New sealing washers should be used before attaching the discharge hose to the condenser. Afterwards, install the discharge hose bolt to the condenser and tighten it to 16 n.m (12 lb ft). Fasten the discharge hose to the A/C Compressor using new sealing washers followed by installation of the discharge hose mounting bolt onto the A/C Compressor and secure it to 16 n.m (12 lb ft). You need to reposition the generator before conducting an a/c system evacuation while performing recharging before utilizing the halogen leak detector (J 39400-A) for fittings leak checks.
- Q: How to replace the A/C Hose in a compressor assembly on Chevrolet S10?A:Recruiting refrigerant from the a/c system must happen before adjusting the compressor hose assembly. Detach the compressor hose assembly bolt accompanied by its washer which allows you to remove the compressor hose assembly from the compressor unit. The compressor hose assembly should be removed from the accumulator before discarding its o-ring seal. Detach the lower Radiator Hose before removing the compressor hose assembly from the condenser along with discarding the o-ring seal. Begin by putting a new o-ring with 525 viscosity refrigerant oil coating then secure the compressor hose assembly to the condenser by applying 28 n.m (21 lb ft) of torque. Reinstall the lower Radiator Hose but apply another new o-ring seal after coating it with 525 viscosity refrigerant oil before attaching the compressor hose assembly to the accumulator while tightening it to 48 n.m (35 lb ft). Fasten the compressor hose assembly to the compressor while installing sealing washers first and tighten the bolt to 33 n.m (24 lb ft). The process ends with evacuating and recharging the a/c system and conducting a leak test of fittings through the halogen leak detector (J 39400-A).
Related Chevrolet Parts
Browse Chevrolet A/C Hose by Models
Nova S10 Colorado C10 Tahoe Cruze Malibu Camaro Equinox Impala SS SSR Avalanche Silverado 1500 Silverado 2500 HD Caprice Classic Cobalt Suburban Traverse Blazer HHR Sonic Tracker Volt K10 Spark Trax Trailblazer Astro Cavalier Corvette C20 Aveo Beretta Bolt EUV Bolt EV C1500 C2500 C30 C3500 Celebrity City Express Corsica Express 1500 Express 2500 Express 3500 G10 G20 G30 K1500 K20 K2500 K30 K3500 Lumina Metro Monte Carlo P30 Prizm S10 Blazer Silverado 2500 Uplander Venture Lumina APV Silverado 3500 Suburban 1500 Trailblazer EXT Avalanche 1500 Avalanche 2500 Aveo5 C10 Suburban C1500 Suburban C20 Suburban C2500 Suburban Captiva Sport Citation II Cruze Limited Impala Limited K10 Suburban K1500 Suburban K20 Suburban K2500 Suburban Malibu Limited P20 R10 R10 Suburban R1500 Suburban R20 R20 Suburban R2500 R2500 Suburban R30 R3500 Silverado 1500 Classic Silverado 1500 HD Silverado 1500 HD Classic Silverado 1500 LD Silverado 1500 LTD Silverado 2500 HD Classic Silverado 3500 Classic Silverado 3500 HD Spark EV Spectrum Suburban 2500 Suburban 3500 HD V10 V10 Suburban V1500 Suburban V20 V20 Suburban V2500 Suburban V30 V3500
